Plant Overview
Often called the Branching Grass Flag, this elegant Australian native brings a touch of wild woodland charm to any shady corner. Unlike the flashy, oversized garden Irises, Libertia paniculata offers a more delicate, airy aesthetic with its clouds of snowy white blossoms. It is a favorite for gardeners looking to mimic the serene, dappled-light feeling of a rainforest floor.
🔍 How to Identify
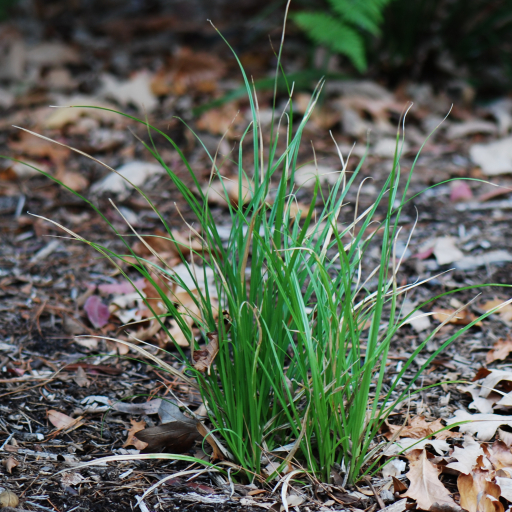
- 🌿 The Foliage: It grows in dense, tufted clumps of linear, sword-shaped leaves that are leathery to the touch and remain a vibrant deep green year-round.
- 🌸 The Blooms: The flowers are small and star-like with three distinct white petals, appearing in "panicles" (branched clusters) that give the plant its scientific name.
- 🌾 The Growth Habit: It typically forms neat mounds about 15–20 inches tall, making it a perfect "filler" plant that looks organized yet natural.
🏡 In Your Garden
- 💧 The "Goldilocks" Soil: This plant thrives in soil that is consistently moist but never waterlogged. Because it naturally grows near rainforest margins, it appreciates a thick layer of organic mulch to keep its roots cool and hydrated during summer.
- 🌥️ Shade Specialist: It is an excellent choice for those tricky, low-light spots under tree canopies where other flowering plants might struggle. While it can handle some filtered morning sun, harsh afternoon rays will quickly scorch its thin, grass-like leaves.
- 🌱 Low Maintenance: Once established, it requires very little attention. You only need to trim back the dead flower stems and the occasional brown leaf to keep the clump looking fresh and tidy.
⚠️ Safety & Toxicity
- ✅ Safe Status: Libertia paniculata is generally considered non-toxic to humans and common household pets. It is a much safer alternative for "wildlife-friendly" gardens than many exotic Iris species.
- 🧤 Minor Irritation: While not poisonous, the sap of most plants in the Iridaceae family can cause mild skin irritation for people with very sensitive skin. It is always a good idea to wear gloves when dividing large clumps.
✨ Fun Fact
The genus name Libertia was chosen to honor Marie-Anne Libert, a pioneering 19th-century Belgian botanist. She was one of the first women to work in plant pathology and was famous for her incredibly detailed studies of mosses and fungi!

Detailed Care Instructions
To grow Libertia Paniculata plant, follow these steps:
- Choose a suitable location: Libertia Paniculata prefers a sunny or partially shaded spot in well-draining soil. It can tolerate various soil types but prefers slightly acidic to neutral pH levels.
- Prepare the soil: Dig a hole that is slightly larger than the root ball of the plant. Mix some organic matter, like compost or well-rotted manure, into the soil to improve its fertility and drainage.
- Plant the seedlings: Place the Libertia Paniculata seedlings into the hole, ensuring that the crown of the plant is level with the soil surface. Gently backfill the hole with soil and lightly firm it around the plant.
- Water thoroughly: After planting, water the seedlings generously to settle the soil and ensure good root establishment. Afterward, water the plant regularly, especially during dry spells, to keep the soil slightly moist but not waterlogged.
- Mulch the soil: Apply a layer of organic mulch, such as wood chips or straw, around the base of the plant. This will help retain moisture, suppress weed growth, and protect the roots from extreme temperatures.
- Fertilize sparingly: Libertia Paniculata generally doesn't require heavy feeding. However, you can apply a balanced slow-release fertilizer in spring to support healthy growth.
- Prune as needed: Remove any dead or damaged foliage throughout the growing season. Additionally, if the plant becomes overcrowded or overly leggy, you can prune it back in late winter or early spring to promote bushier growth.
- Divide the plant: Libertia Paniculata can benefit from division every few years to prevent overcrowding and rejuvenate the plant. Dig up the clump, separate it into smaller sections, and replant them in well-prepared soil.
By following these steps, you should be able to successfully grow Libertia Paniculata plant in your garden or outdoor space.
The best way to water this plant is to ensure that the soil is moist but not waterlogged. The frequency of watering will depend on factors such as the size of the plant, the pot or container it is in, and the environmental conditions it is exposed to. It is important to avoid letting the soil dry out completely between watering. When watering, it is recommended to water the soil directly at the base of the plant rather than watering the leaves or flowers. This will help to minimize the risk of fungal diseases. It is also important to use water that is at room temperature or slightly cooler, as hot water can damage the roots. Additionally, it is recommended to keep the soil evenly moist at all times by watering consistently, rather than over-watering intermittently.
To fertilize this plant, mix a slow-release, balanced fertilizer into the soil around the base of the plant in early spring. Repeat this application every four to six weeks during the growing season. Use a fertilizer with equal amounts of nitrogen, phosphorus, and potassium, and follow the package instructions for application rates. Water the plant immediately after fertilizing to help distribute the nutrients into the root zone. Avoid over-fertilizing, as this can lead to poor growth and may even damage the plant.
In terms of growing conditions, the plant prefers moist, well-draining soil that is rich in organic matter. A slightly acidic to neutral pH range of 6.0 to 7.0 is ideal. It can tolerate a range of soil types, including loam, clay, and sand, but prefers fertile soil. To improve soil structure and fertility, adding compost or well-rotted manure can be beneficial. It also prefers a full sun to partial shade location, and regular watering during dry periods.
To propagate this plant, start by selecting healthy and mature specimens with a good root system. They can be dug up from the ground or removed from their existing containers.
Next, cut the stems back to 2-3 inches above the root ball and remove any dead or damaged leaves.
Prepare a pot filled with a moist and well-draining propagation mix. This can be a mix of peat moss, perlite, and sand.
Make a hole in the center of the potting mix and insert the root ball of the plant. Gently pat the soil around the plant to secure it in place.
Water the plant well and cover the pot with a clear plastic bag to create a mini greenhouse effect. This will help to maintain the humidity levels around the plant.
Place the pot in a spot that receives bright, indirect light and keep the soil moist but not waterlogged.
After a few weeks, roots should start to grow out of the drainage holes at the bottom of the pot. Once this happens, remove the plastic bag and continue to care for the plant as you would with a mature specimen.


