Plant Overview
Often called the "Jewel of the Garden," Asiatic Lilies are the vibrant, early-blooming stars of the lily family. Derived from a mix of species native to East Asia, these hybrids are the reliable workhorses of the spring garden. Unlike their "dramatic" Oriental cousins, Asiatics focus their energy on bold, saturated colors and sturdy stems rather than heavy perfumes, making them a favorite for those who want visual impact without an overwhelming scent.
🔍 How to Identify
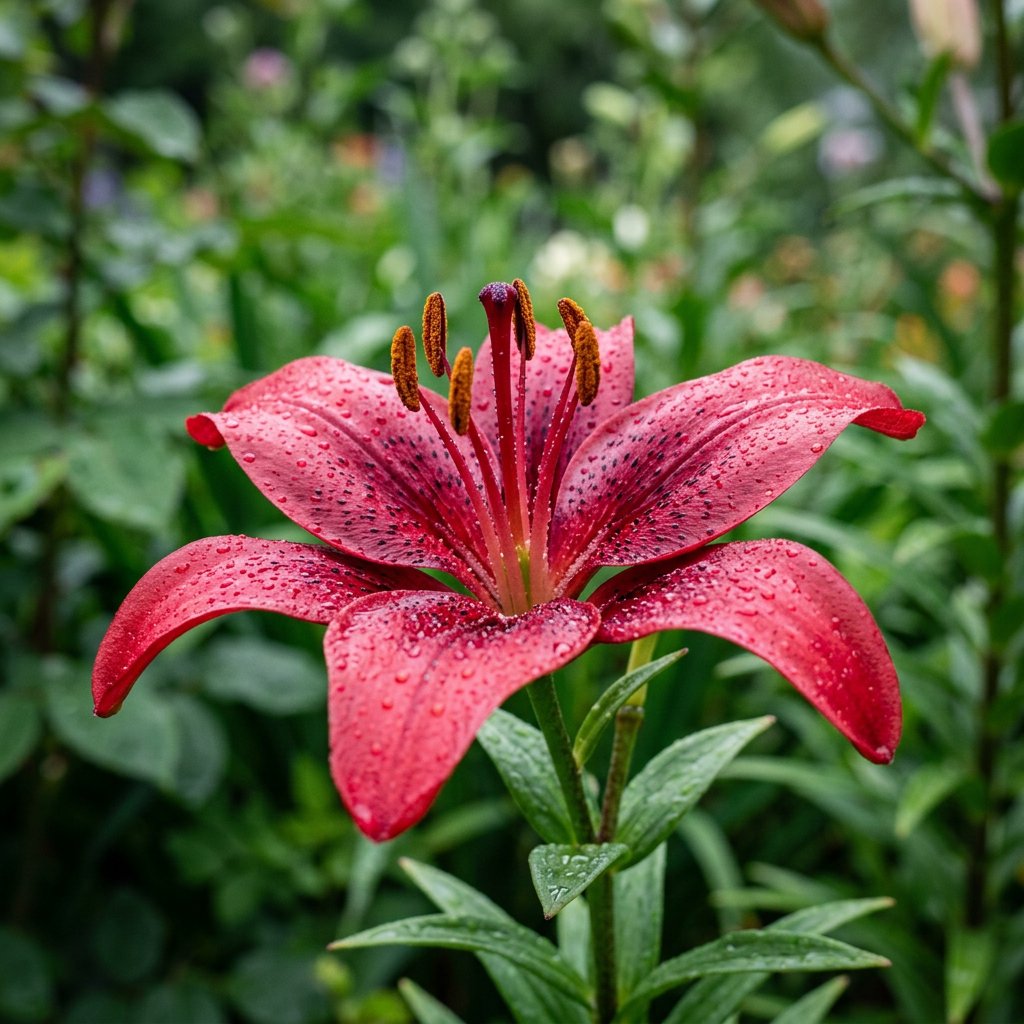
- 🌸 Floral Display: Features large, star-shaped blooms with six distinct tepals. The flowers typically face directly upward or outward, greeting you with their bright faces.
- 🍃 Foliage Structure: Look for narrow, lance-shaped, dark green leaves that grow in a tight spiral or whorl pattern all the way up a single, unbranched stem.
- 🎨 Color Palette: They boast an incredible range of solid colors and "freckled" bicolors, including fiery oranges, sunny yellows, deep reds, and soft creams.
🏡 In Your Garden
- ☀️ Sun Lovers: These plants crave full sun to keep their stems strong. If you notice your lily leaning significantly, it is likely "stretching" because it isn't getting enough light.
- 🧊 Cool Feet: While their heads love the heat, their bulbs prefer to stay cool. Planting them alongside low-growing perennials or applying a layer of mulch helps insulate the soil and keep the roots happy.
- 🪴 Container Friendly: Because they are more compact than many other lily varieties, they are excellent candidates for large pots on patios or balconies.
⚠️ Safety & Toxicity
- 🐱 Severe Feline Danger: STRICT WARNING: All parts of the Asiatic Lily are exceptionally toxic to cats. Ingesting even a tiny bit of pollen or drinking the water from a vase can cause life-threatening kidney failure in felines.
- 👶 General Caution: While not as deadly to humans or dogs, eating the plant can cause nausea, vomiting, and stomach upset. It is best kept in areas where curious toddlers and pets cannot snack on the blooms.
✨ Fun Fact
Asiatic Lilies are the ultimate "allergy-friendly" flower! Because they lack the heavy fragrance and volatile oils of other lilies, they are one of the best choices for indoor bouquets for people who are sensitive to strong floral scents.

Detailed Care Instructions
To grow Lilium asiatica plants, also known as Asiatic lilies, follow these steps:
- Choose a suitable location: Asiatic lilies require a well-drained, sunny spot in your garden. Select an area with at least 6 hours of direct sunlight per day.
- Prepare the soil: As Asiatic lilies prefer slightly acidic soil, ensure the pH is around 6 to 6.5. Enhance the soil's drainage by adding organic matter, such as compost or well-rotted manure. Mix it thoroughly with the existing soil.
- Plant the bulbs: Plant the bulbs in the spring or early fall, following the depth guidelines provided with the bulbs. Typically, they should be planted 4-6 inches deep and spaced 8-12 inches apart.
- Watering and maintenance: Keep the soil consistently moist but not waterlogged. Water the plants regularly, especially during hot and dry periods. Mulching around the plants will help retain moisture and suppress weeds. Remove any spent flowers and dead leaves to promote new growth.
- Fertilize: Apply a balanced, slow-release fertilizer when the plants are actively growing in spring or the beginning of summer. Follow the instructions on the fertilizer package for proper application.
- Protect from pests and diseases: Monitor the plants for signs of pests, such as aphids or lily beetles. In case of an infestation, use suitable insecticides or organic pest control methods. Watch out for common diseases like botrytis or lily mosaic virus and take necessary measures to prevent or treat them.
- Provide support: If your lilium asiatica plants tend to grow tall and fall over, provide support with stakes or cages to prevent breakage.
- Overwintering: In areas with harsh winters, apply a layer of mulch or straw around the plants in late fall to protect them from extreme cold. Remove the mulch in spring when temperatures rise.
By following these steps, your Lilium Asiatica plants should thrive and produce beautiful blooms.

Place in a window with dappled sun or a spot in the middle of a room. Or directly in a window facing west or east.

Lilium Asiatica is a tall perennial plant that requires moist soil to thrive. When watering, avoid getting the foliage wet and only water the soil at the base of the plant. The soil should be consistently moist, but not waterlogged, and the plant should never be allowed to dry out completely. Watering frequency will depend on the climate and the amount of rainfall, but generally, the plant should be watered deeply once or twice a week. During hot, dry weather, more frequent watering may be necessary. To prevent fungal diseases, avoid watering in the late afternoon or evening and instead aim to water in the morning or early afternoon.
To fertilize the Lilium Asiatica plant, you should apply a balanced fertilizer (10-10-10) in early spring when new growth appears and again after flowering. Use only a small amount as too much can damage the delicate roots. Apply the fertilizer evenly around the plant and water well after application. Avoid fertilizing during the dormant period in the winter.
Lilium Asiatica plants prefer well-draining soil with a slightly acidic pH level. It is best to use soil that is rich in organic matter, such as compost or peat moss, to promote healthy growth. The soil should also be moist but not waterlogged to prevent root rot. Some common additions to improve the soil's quality include perlite, vermiculite, and coarse sand. It is essential to avoid using heavy soils or those that are prone to compaction, as this can hinder root growth and prevent proper nutrient uptake. Additionally, Lilium Asiatica plants benefit from regular fertilization, especially during their active growth phase. A slow-release fertilizer, high in nitrogen, phosphorus, and potassium, can be added to the soil to provide essential nutrients throughout the growing season.
To propagate this species of plant, first obtain healthy and mature bulbs. Using a clean and sharp knife, carefully divide the bulb into sections, making sure that each section contains a portion of the stem and roots. The sections should be about 2-3 inches in diameter.
Prepare a soil mixture consisting of equal parts sand, peat moss, and perlite, and fill a pot with the mixture. Place the bulb sections on top of the soil with the stem facing upwards, and cover them with about an inch of soil. Water thoroughly and place the pot in a bright area but away from direct sunlight.
In about two to four weeks, the bulbs should start producing new shoots and roots. Keep the soil moist but not too wet, and fertilize with a balanced fertilizer every two weeks to encourage growth.
Once the new shoots have grown to about six inches in height, they can be transplanted into individual pots or directly into the ground outdoors in well-draining soil with full sunlight exposure. Water regularly and continue fertilizing as needed to promote healthy growth.
Common pests of the lilium asiatica include Spider mites, aphids, thrips, larvae. Make a habit of checking your lilium asiatica frequently for pests so that any infestations can be caught and managed early.


