Let's face it: the Fiddle Leaf Fig (Ficus lyrata) is the undisputed superstar of the houseplant world. With those massive, dramatic, violin-shaped leaves, it instantly elevates any room. But if you’ve recently noticed those gorgeous green leaves developing crispy, brown edges, take a deep breath. You are not a bad plant parent! Fiddle Leaf Figs are famous for being a little sensitive, and these minor blemishes happen to the absolute best of us. Whether you’re a seasoned green thumb or just starting your indoor jungle, we can get your leafy diva back on track. And remember, whenever you feel stuck, the Plantiary app is always right in your pocket to help you decode what your plants are trying to say.
The Problem: Decoding Those Blemished Leaves
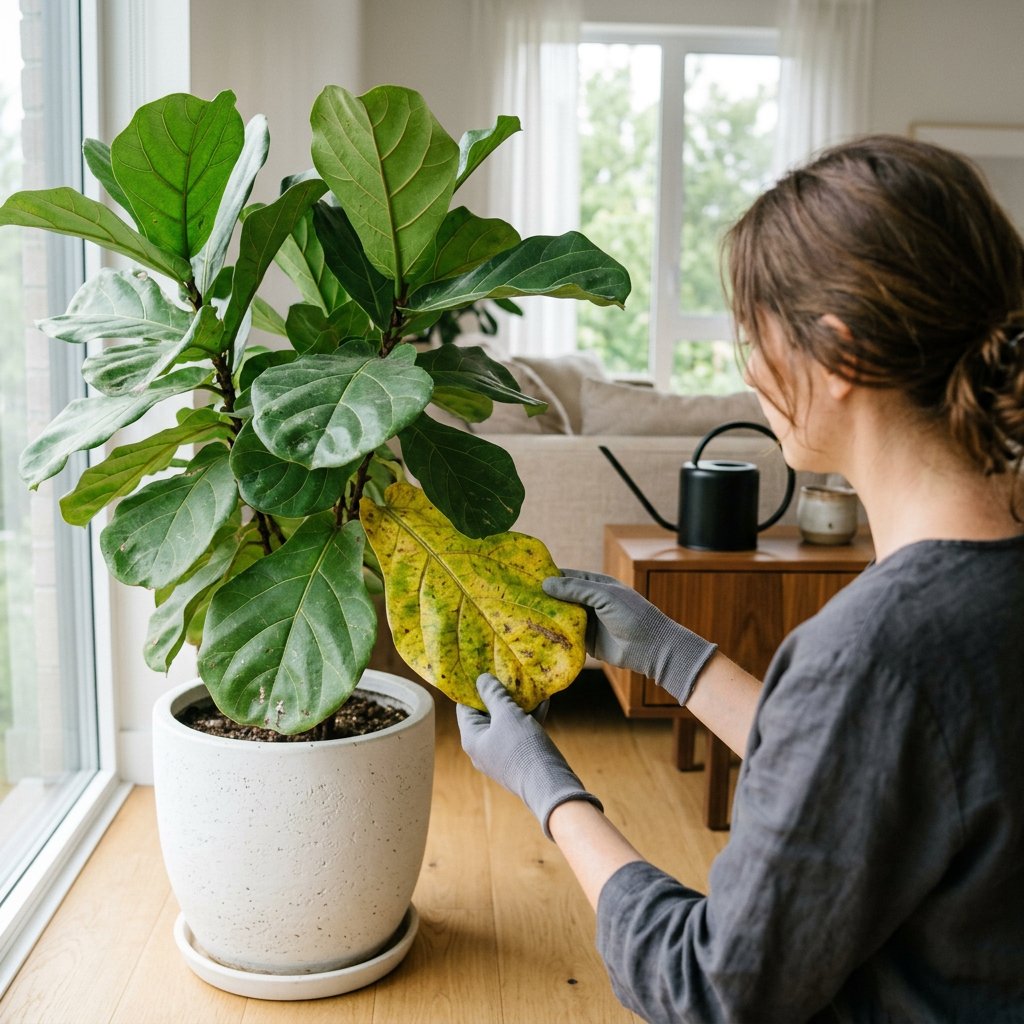
Before we fix the issue, we need to know exactly what we are looking at. Brown edges usually appear around the perimeter of the leaves and feel dry, crispy, and brittle to the touch.
It’s important to distinguish these crispy edges from soft, mushy, dark brown or black spots located in the center of the leaf. Soft central spots typically point to a fungal infection or root rot. However, if the margins (the outer edges of the leaf) are turning brown and crumbling between your fingers, your plant is likely dealing with an environmental stressor rather than a deep-rooted disease.
The Causes: Why Are the Edges Turning Brown?
When a plant is stressed, it goes into survival mode, drawing water and nutrients away from its extremities (the leaf tips and edges) to protect its core stem and roots. Here are the most common scientific culprits behind this reaction:
- Inconsistent Watering: Allowing the soil to become completely bone-dry and then heavily flooding it causes severe shock to the plant's fine root hairs. Over time, these damaged roots struggle to send water up to the large leaves.
- Low Ambient Humidity: Fiddle Leaf Figs hail from the tropical rainforests of West Africa. When the air in our homes gets too dry—especially during winter when heaters are blasting—the leaves lose moisture to the air faster than the roots can absorb it from the soil. This leads to a condition called desiccation (severe and rapid drying out).
- Tap Water Toxicity: Regular tap water often contains chemicals like chlorine, fluoride, and heavy mineral salts. Over time, these minerals build up in the soil and cause chemical burns, which show up as scorched leaf edges.
- Fertilizer Burn: We all want our plants to grow big and tall, but overfeeding your plant with too much fertilizer can scorch the roots, resulting in those crispy edges up top.
The Solutions: How to Restore Your Fiddle Leaf Fig
Don't panic! While you cannot turn a dead, brown leaf edge back to green, you can absolutely stop the browning from spreading and encourage flawless new growth.
If you are unsure what is wrong with your plant, you can use the AI-powered plant disease scanner in the Plantiary app to get a diagnosis in seconds. Once you are ready to treat your plant, follow these actionable steps:
Step 1: Assess and Adjust Your Watering Routine Check the moisture level of your soil before watering. Stick your finger about two to three inches deep into the topsoil. If it feels completely dry, it's time to water. If it still feels moist, wait a few more days. When you do water, soak the soil thoroughly until water drains out of the bottom of the pot, and be sure to empty the saucer so the plant doesn't sit in stagnant water.
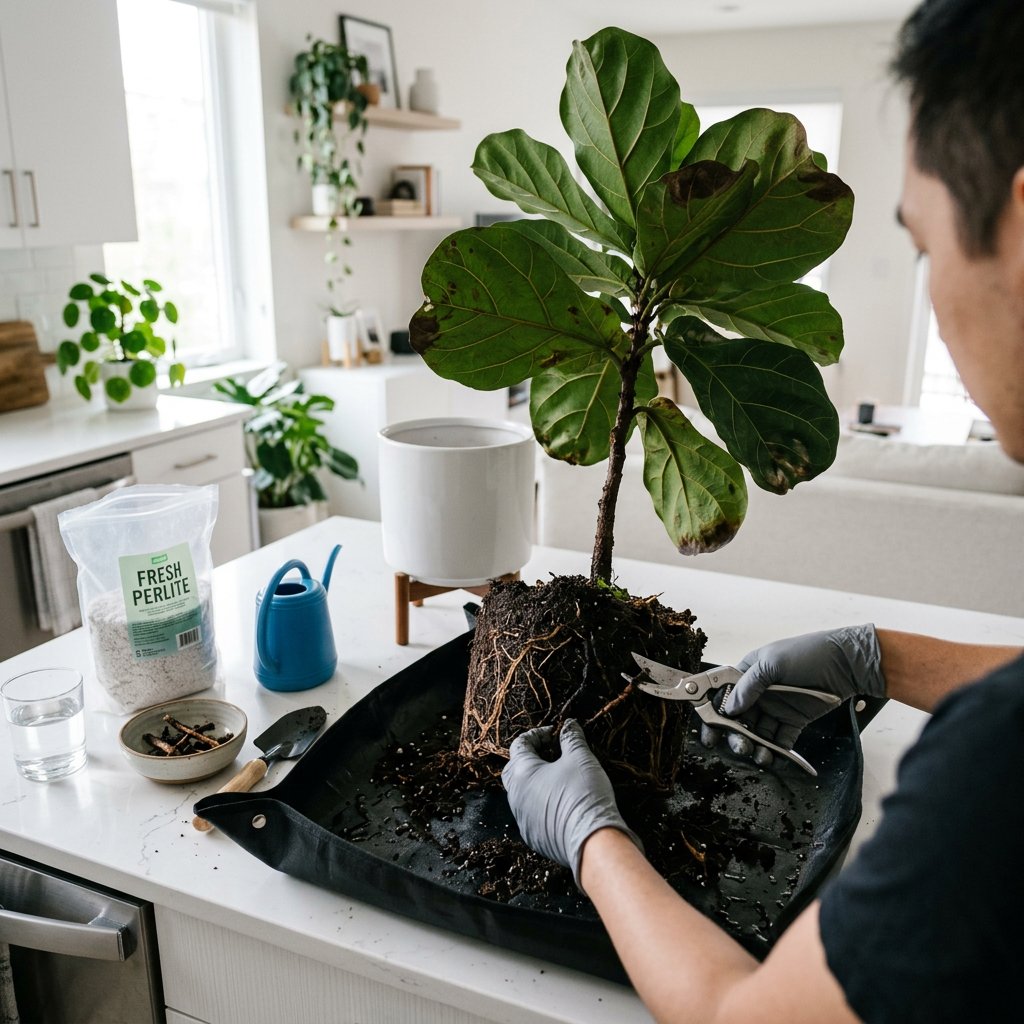
Step 2: Flush the Soil If you suspect tap water minerals or excess fertilizer are to blame, it’s time to practice leaching—a process where you wash out excess salts. Take your plant to the shower or outdoors, and slowly pour filtered or distilled water over the soil. Let the water flow freely out of the drainage holes for a few minutes. Moving forward, try watering your Fiddle Leaf Fig with filtered water or rainwater.
Step 3: Boost the Humidity Give your plant the tropical spa treatment it craves. You can easily raise ambient humidity by placing a humidifier near your plant. Alternatively, you can place the plant’s pot on a pebble tray (a shallow dish filled with pebbles and a little water). As the water evaporates, it naturally creates a humid microclimate around the foliage.
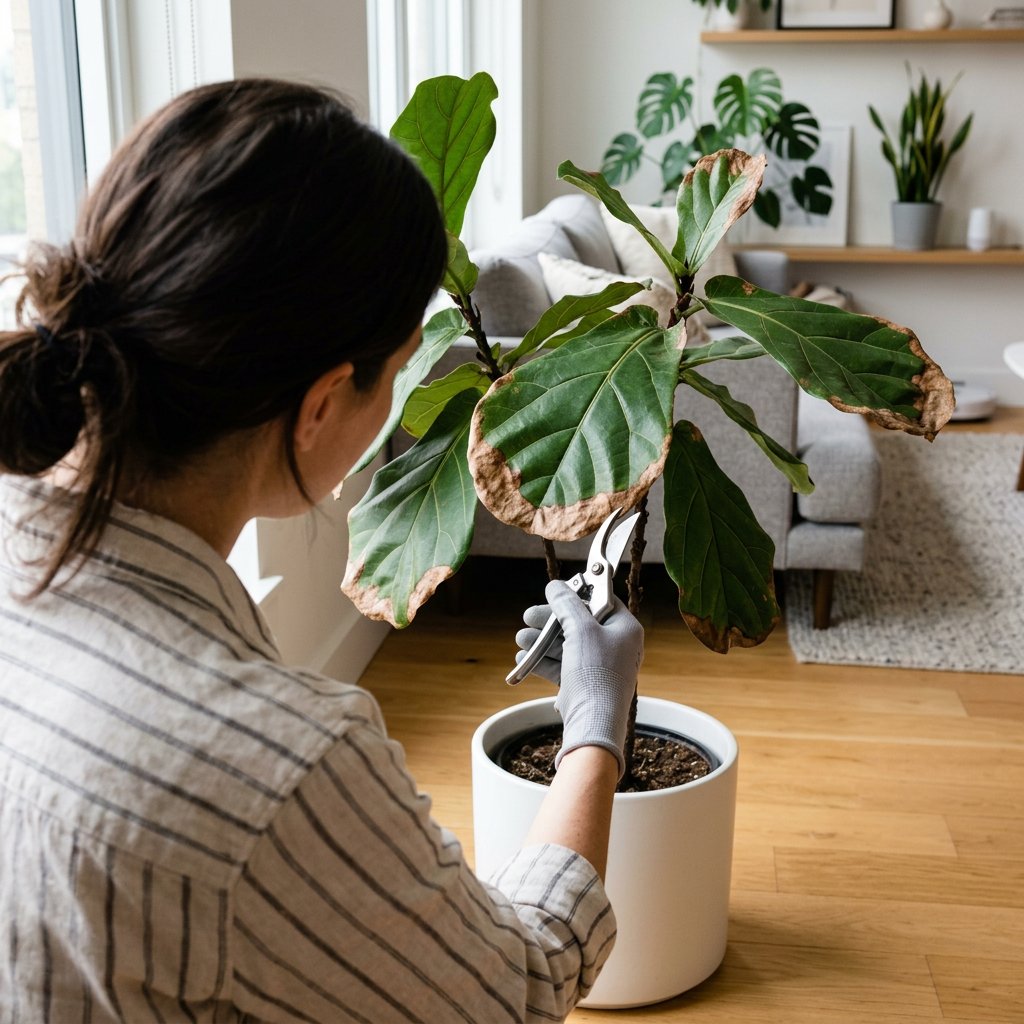
Step 4: Safely Prune the Damage For aesthetic purposes, you can trim away the crispy brown edges. Using a pair of sharp, sterile pruning shears, carefully cut along the brown edge. Be sure to leave a tiny, millimeter-thin margin of brown on the leaf. If you cut directly into the healthy green tissue, you will create a fresh wound that will simply brown and heal over again.
Patience is Key
Plants operate on their own slow and steady timeline, so don't be discouraged if you don't see overnight changes. Keep up with your new, balanced care routine, and soon enough, your Fiddle Leaf Fig will reward you with stunning, flawless new growth at its canopy. You've got this!