Have you ever noticed your favorite houseplant looking a little tired, no matter how perfectly you water it? Don't worry—you haven't lost your touch! Just like us, plants eventually outgrow their living spaces. Repotting can feel like a daunting task, especially if you're worried about harming your green best friend, but it's actually a wonderful milestone. It means your plant is thriving and growing! If you're ever feeling unsure about your plant's health, the Plantiary app is always here to guide you with tailored care tips and disease scanning. Today, let's walk through the repotting process together, stress-free.
The Signs: How to Tell It's Time for an Upgrade
Before you grab a new pot, let's make sure your plant actually needs one. Plants are excellent communicators if you know what to look for. Keep an eye out for these common symptoms:
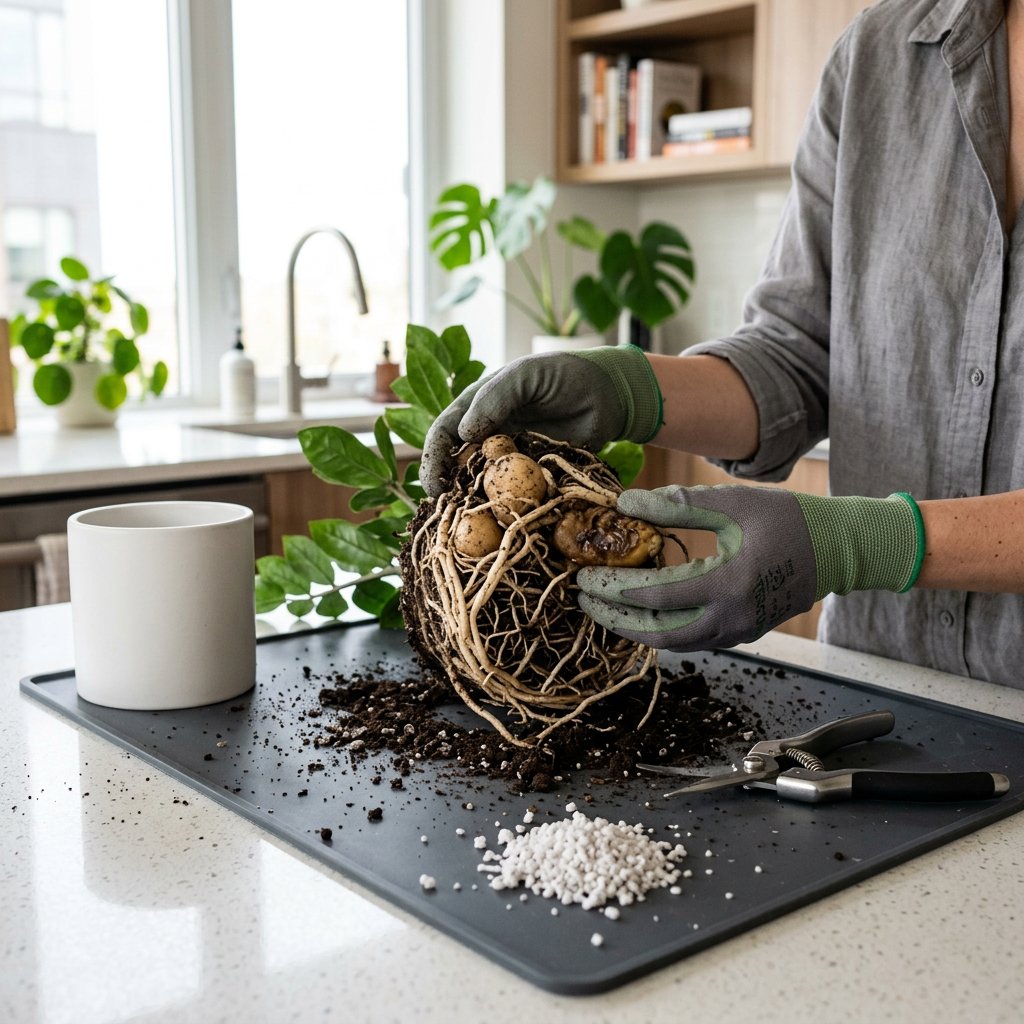
- Roots escaping: If you see roots poking out of the bottom drainage holes or aggressively circling the surface of the soil, your plant is likely root-bound (a condition where roots have run out of room and begun to tangle and choke each other).
- Water rushing through: If water immediately pours out the bottom the second you water it, the pot is mostly filled with roots and very little soil is left to retain moisture.
- Stunted growth: When a plant runs out of space, it stops growing new leaves and may even start dropping older ones.
- The pot feels unusually heavy or distorted: Plastic nursery pots will often bulge or warp when roots are pushing against the sides.
The Causes: Why Do We Repot?
Soil doesn't last forever. Over time, potting mix degrades, compacts, and loses its essential nutrients. Repotting isn't just about giving your plant a bigger home; it's about replenishing its food supply and restoring aeration (vital air pockets in the soil that allow roots to breathe and absorb water efficiently). Without fresh soil and room to expand, the plant becomes starved of both oxygen and nutrients, leading to a slow decline.
The Solution: Your Step-by-Step Repotting Guide
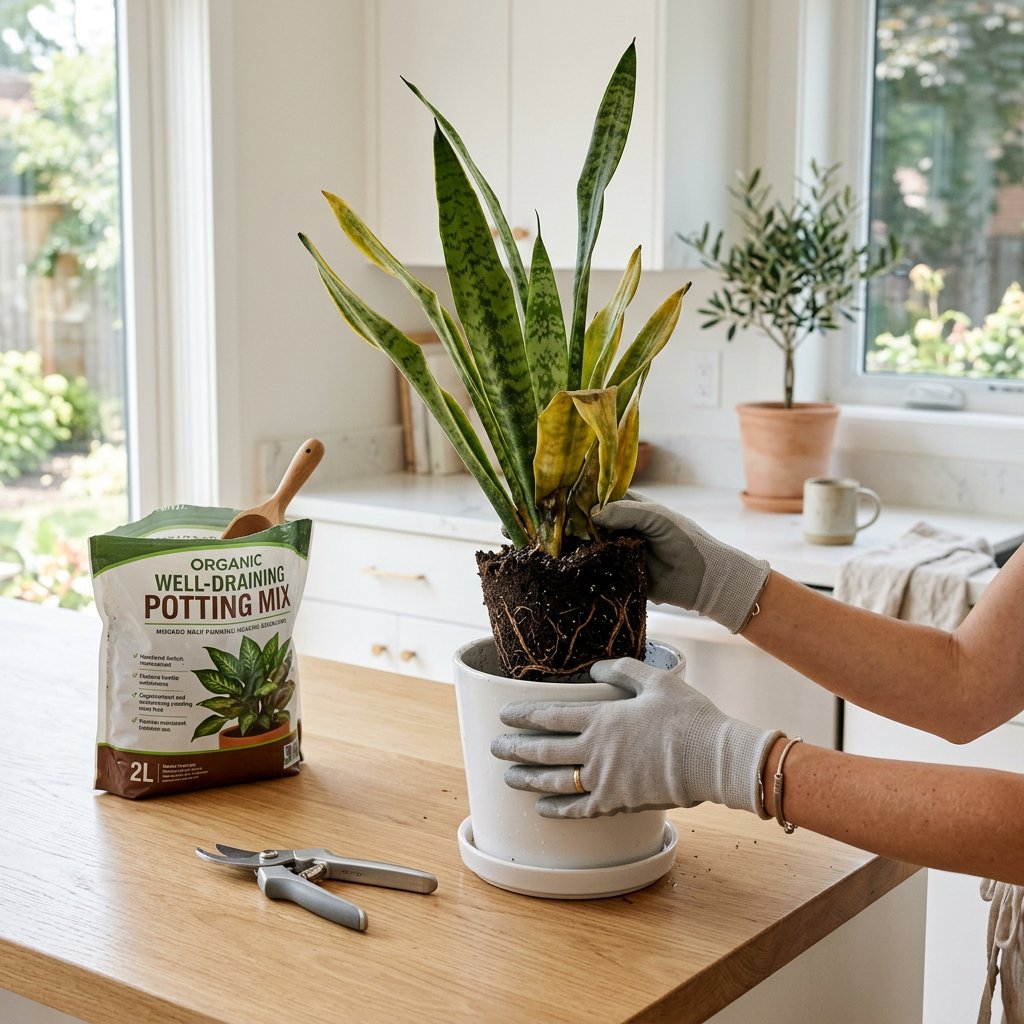
Ready to get your hands dirty? Grab a fresh bag of high-quality potting mix, a pair of clean shears, and a new pot.
Pro tip: Only choose a pot that is 1 to 2 inches larger in diameter than the current one. Upgrading to a pot that is too large means the excess soil will hold onto too much water, which can easily lead to root rot.
Step 1: Hydrate before you migrate. Water your plant a day or two before you plan to repot. Well-hydrated roots are much more flexible, plump, and less likely to snap during the transition.
Step 2: Gently remove the plant. Turn the pot sideways, support the main stem with your fingers, and gently tap the bottom of the pot to slide the plant out. Never yank or pull the plant by its delicate stem!
Step 3: Inspect and massage the roots. Take a close look at the root system. If you spot any mushy, black, or foul-smelling roots, snip them off with sterilized shears. Gently massage the outer layer of the root ball with your fingers to loosen them. This encourages the roots to grow outward into the new soil rather than continuing to grow in a tight circle.
Step 4: Create a base layer. Add a couple of inches of fresh, well-draining potting soil to the bottom of the new pot. Place your plant in the center, ensuring the top of the root ball sits about an inch below the rim of the pot to leave room for watering.
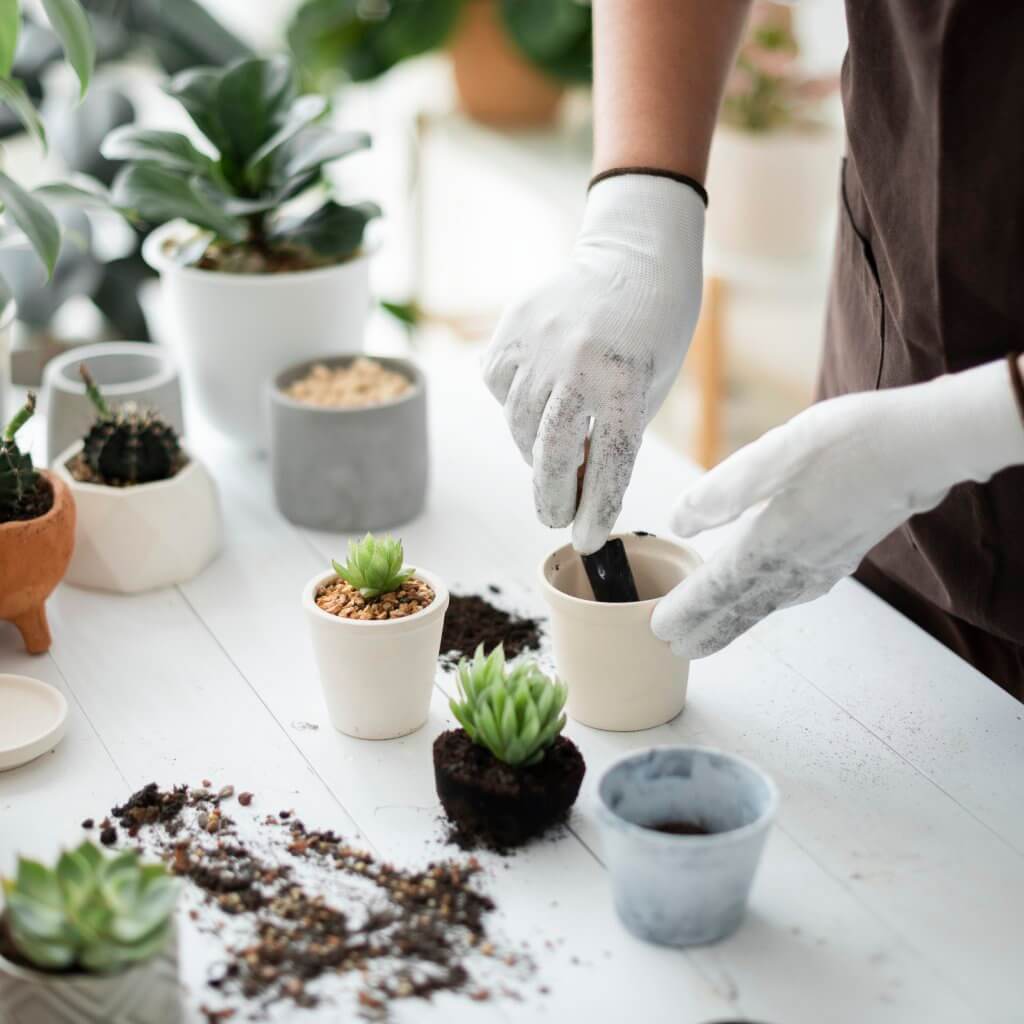
Step 5: Fill in the gaps. Add fresh soil around the sides of the plant. Press the soil down gently to remove large air pockets, but avoid packing it down too tightly—remember, those roots need room to breathe!
Step 6: Water thoroughly. Give your plant a good drink to help settle the new soil and hydrate the roots in their new environment. Let the excess water drain completely.
Navigating Transplant Shock
If your plant looks a little droopy for a few days after repotting, don't panic! This is known as transplant shock, a temporary stress response to having its roots disturbed. Keep it in its usual spot, avoid placing it in direct, harsh sunlight for a week, and hold off on fertilizing for at least a month so the roots can heal naturally.
Repotting is a true act of love that rewards you with fresh, lush growth. Remember, every plant parent experiences a few bumps along the road, so always give yourself some grace. To make your plant care journey even smoother, don't forget to log your recent repotting in the Plantiary app. You can set up smart reminders for your next watering and track your plant's growth progress, ensuring your indoor jungle continues to thrive!