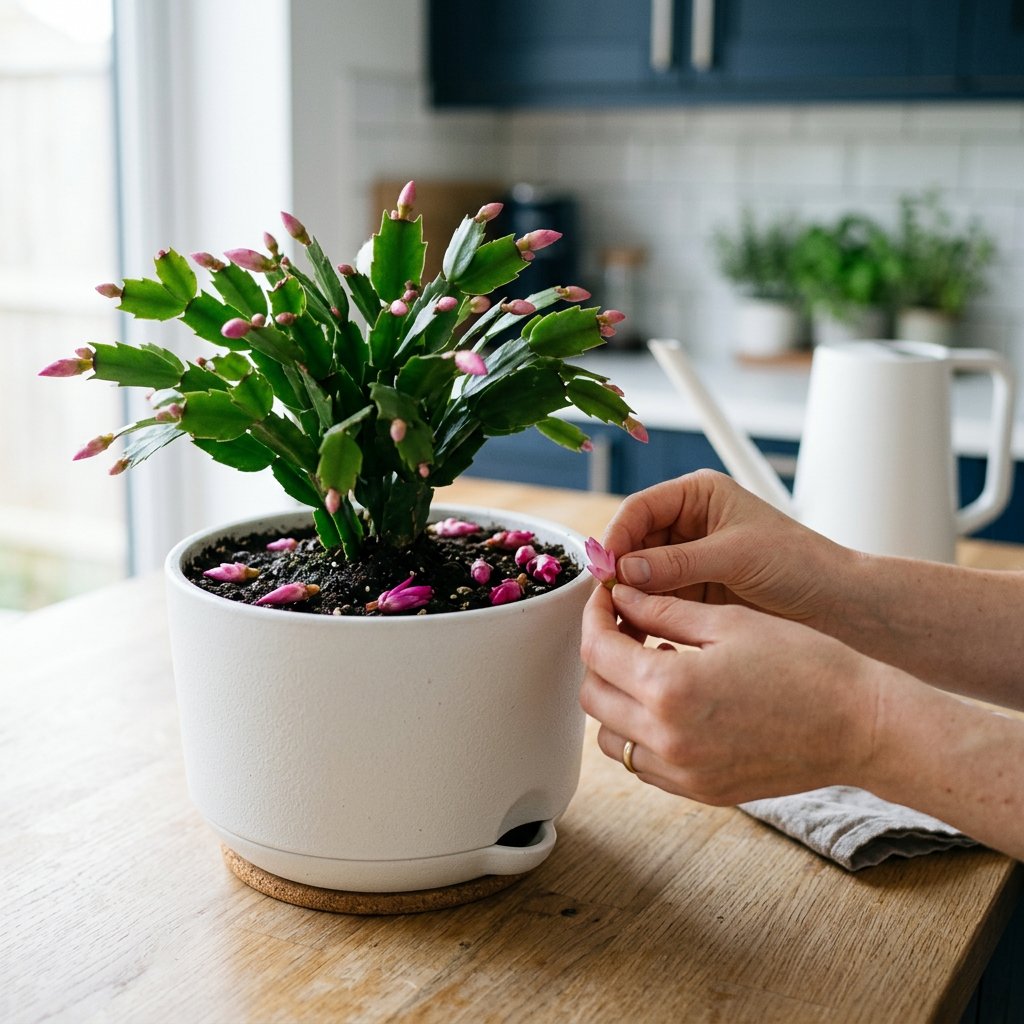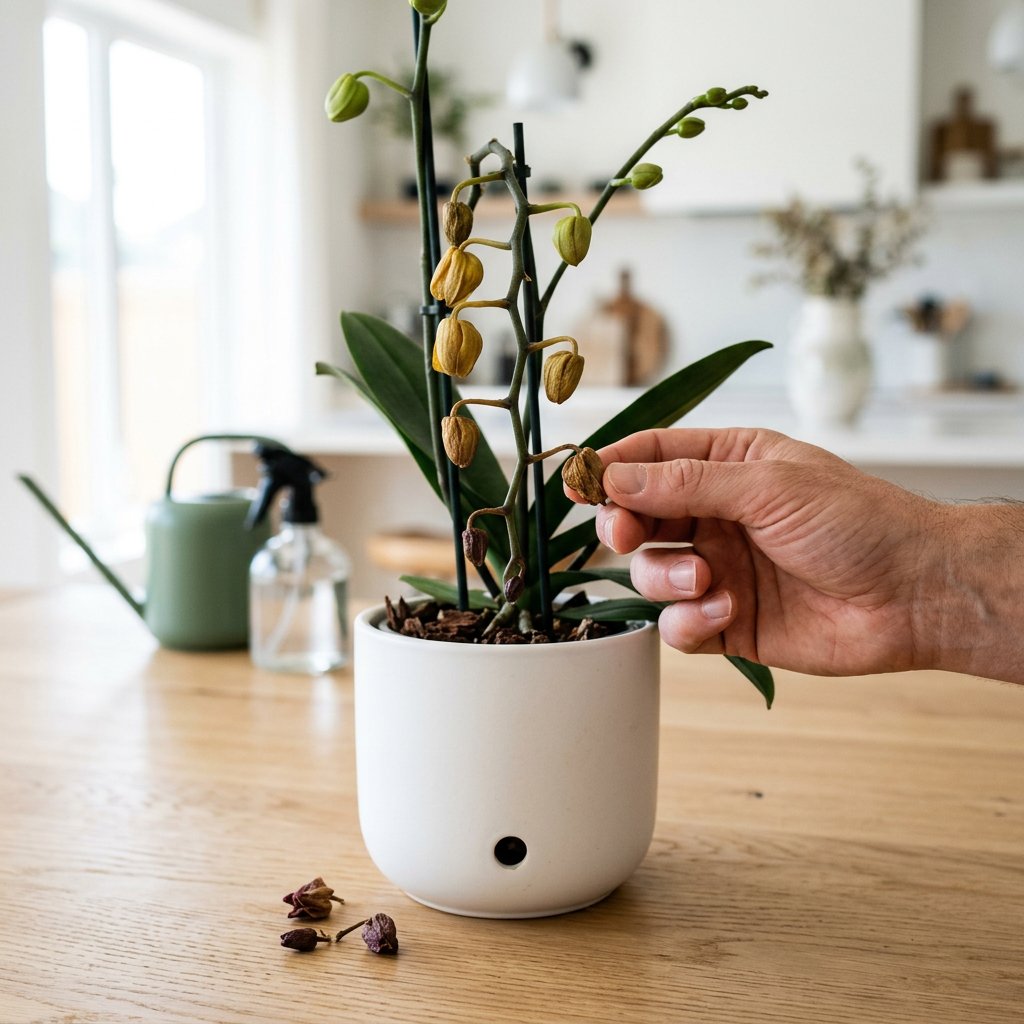
You have waited months for your beautiful orchid to bloom. You watched the green spike grow, celebrated as the tiny buds formed, and eagerly anticipated the gorgeous display of flowers. But just days before they were ready to open, the buds suddenly shriveled, turned yellow, and dropped right off the stem.
Take a deep breath! If this has happened to you, please know that you are not a bad plant parent. This incredibly frustrating, yet common, phenomenon is known in the botanical world as bud blast—which simply means the premature failure and dropping of flower buds due to environmental stress.
Orchids are incredibly communicative plants, and when they drop their buds, they are just letting you know that something in their environment has suddenly shifted. Let’s dive into what causes orchid bud blast and how you can prevent it, so you can enjoy those magnificent blooms next time.
The Problem: Recognizing Bud Blast Symptoms
Bud blast doesn’t happen overnight, though it can certainly feel that way. Before the buds actually fall, your orchid will usually give you a few subtle warning signs.
Watch out for these common symptoms:
- Plump, healthy green buds suddenly turning pale, yellow, or brown.
- Buds taking on a wrinkled, dehydrated, or papery appearance.
- The delicate stem holding the bud drying out and becoming brittle.
- Unopened buds dropping easily at the slightest touch.
If you are ever unsure whether your orchid is experiencing a disease, a pest issue, or simply environmental stress, you can always use the AI-powered plant disease scanner in the Plantiary app to get an accurate diagnosis in seconds!
The Causes: Why Are My Orchid Flowers Dropping?
In nature, orchids grow in very stable tropical environments. When they are developing flowers, they channel an immense amount of energy into those delicate buds. If the plant suddenly feels threatened or stressed, it will undergo a survival mechanism—aborting its flowers to conserve energy and keep the main plant alive.
Here are the primary culprits behind bud blast:
- Temperature Fluctuations: Orchids despise sudden drafts. Being placed too close to a blasting air conditioner, a heating vent, or a drafty window can shock the plant and freeze or cook the delicate buds.
- Watering Mishaps: Both overwatering and underwatering can lead to dropped flowers. Overwatering suffocates the roots, leading to root rot (which means no water can travel up to the buds). Underwatering simply leaves the buds parched.
- Low Humidity: Many commercially sold orchids, like Phalaenopsis (Moth Orchids), are raised in highly humid greenhouses. Moving them into a dry, climate-controlled living room can cause the buds to dry out.
- Ethylene Gas Exposure: Ethylene is a natural, invisible ripening gas emitted by ripening fruits (like bananas, avocados, and apples). If your orchid is sitting near a kitchen fruit bowl, this gas will cause the flowers to age and drop prematurely.
- Chemical Stress: Applying too much fertilizer while the plant is trying to bloom can burn the sensitive roots and shock the plant.
The Solutions: Step-by-Step Treatment & Prevention
The good news is that an orchid that experiences bud blast is rarely a dying orchid! With a few minor tweaks to your care routine, your plant will bounce back and push out a new, healthy flower spike in the future.
Here is how you can stabilize your orchid's environment:
Step 1: Relocate Away from Drafts and Fruit Bowls Take a look at where your orchid is sitting. Move it away from any exterior doors, drafty windows, and HVAC vents. Ensure it is placed in a room with a stable temperature (ideally between 65°F and 80°F) and keep it far away from the kitchen fruit basket to avoid ethylene gas exposure.
Step 2: Perfect Your Watering Routine Check the roots of your orchid. If they are plump and silvery-grey, it is time to water. If they are bright green, hold off! Always water your orchid thoroughly, allowing the excess water to drain completely from the bottom of the pot. Never let your orchid sit in a pool of standing water. Pro tip: You can easily set up customized watering reminders in the Plantiary app so you never miss a beat.
Step 3: Boost Ambient Humidity If the air in your home is dry, gently raise the humidity around your plant. You can do this by placing a small humidifier nearby or setting the orchid's pot on a pebble tray (a shallow dish filled with pebbles and water). Just make sure the bottom of the pot rests on the dry pebbles, not directly in the water.
Step 4: Pause the Fertilizer Stop feeding your orchid while it is actively pushing out buds or blooming. Once all the flowers have eventually dropped naturally and the blooming cycle is over, you can resume a weak, balanced fertilizer routine to help it grow new leaves.
Keep Your Chin Up!
Experiencing bud blast can be deeply disappointing, but remember that plant care is a journey of trial and error. Your orchid aborted its flowers because it is trying to survive and thrive under your care. By adjusting its environment and listening to its needs, you are setting the stage for a spectacular, long-lasting bloom next season!