Let’s be honest—overwatering an orchid is almost a rite of passage for plant parents. You bring home a stunning, blooming plant, want to give it all the love in the world, and suddenly, the leaves are turning yellow and drooping. Take a deep breath! You are not a bad plant parent. Orchids are incredibly resilient, and with a little bit of plant triage, you can bring your beautiful botanical companion back to life.
If you are ever unsure what is wrong with your plant, you can use the AI-powered plant disease scanner in the Plantiary app to get a diagnosis in seconds. But for now, let’s roll up our sleeves and save your overwatered orchid together!
The Problem: Symptoms of an Overwatered Orchid
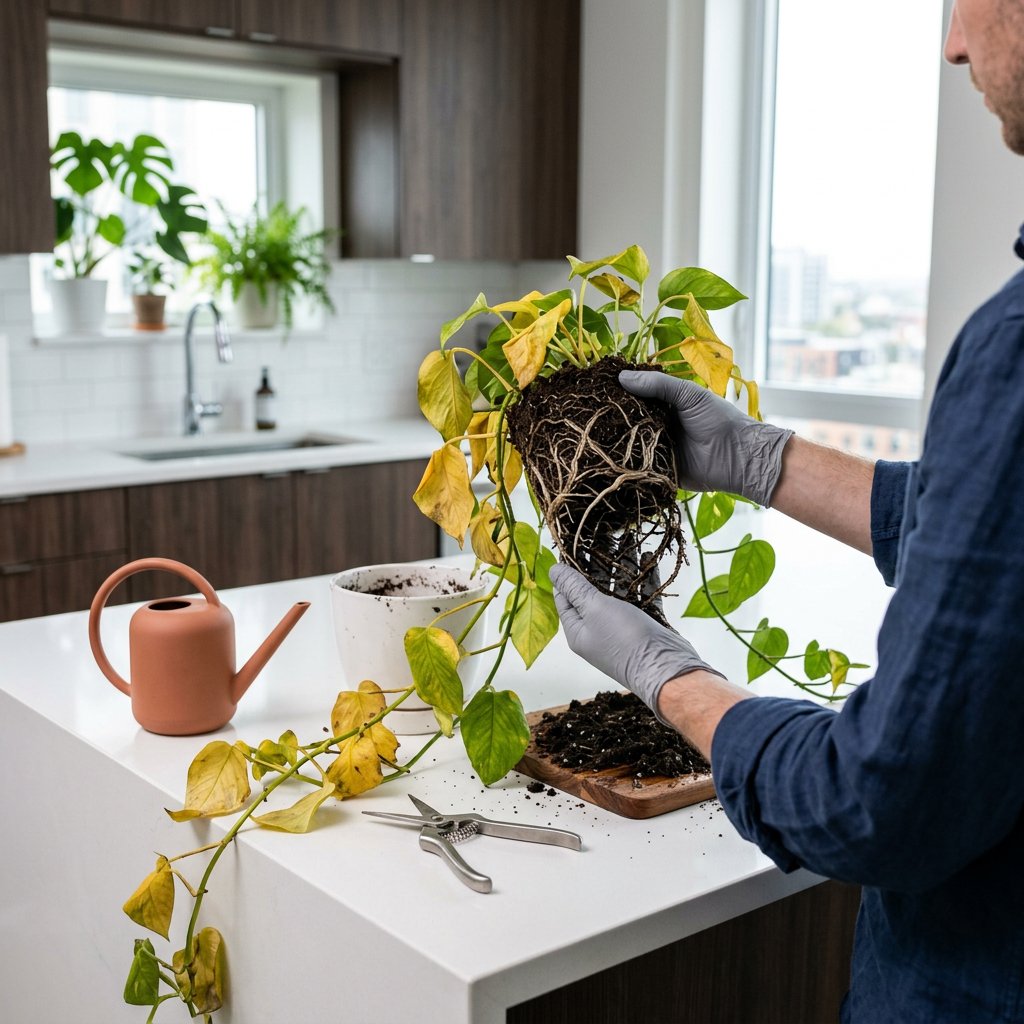
Before we start the rescue mission, we need to confirm the diagnosis. Surprisingly, the symptoms of an overwatered orchid often look exactly like an underwatered one. When an orchid is drowning in water, its roots begin to rot and die. Without functioning roots, the plant can no longer absorb hydration, leading to dehydration.
Keep an eye out for these tell-tale signs:
- Yellowing, wrinkled leaves: The foliage may look leathery, limp, and lose its vibrant green color.
- Mushy or papery roots: Healthy orchid roots are plump, firm, and either silvery-gray or green. Rotted roots will look brown, feel slimy or mushy to the touch, or appear hollow and stringy.
- Bud blast: This is a term used when a plant's unopened flower buds suddenly dry up, turn brown, and drop off before blooming—a common stress response.
- A musty smell: If the potting mix smells like a damp basement, mold and bacterial rot have likely set in.
The Causes: Why Do Orchids Drown So Easily?
To understand why orchids hate sitting in water, it helps to look at how they grow in the wild. Most popular household orchids, like the Phalaenopsis (Moth Orchid), are epiphytes. This means that in their natural tropical habitats, they grow clinging to the bark of trees, not in the ground. Their thick roots are designed to absorb moisture from humid air and passing rain showers, then dry out quickly in the breeze.
When we bring them indoors, overwatering usually happens due to:
- Dense potting soil: Planting an orchid in regular houseplant dirt suffocates the roots. They need high airflow.
- Lack of drainage: Pots without drainage holes allow excess water to pool at the bottom, creating a toxic, swampy environment.
- Watering on a schedule: Watering every Sunday, regardless of whether the plant actually needs it, is a fast track to root rot.
The Solutions: Step-by-Step Orchid Rescue
If your orchid is suffering from soggy roots, simply skipping a watering won't fix the underlying rot. We need to physically remove the decaying material. Here is your step-by-step treatment plan:
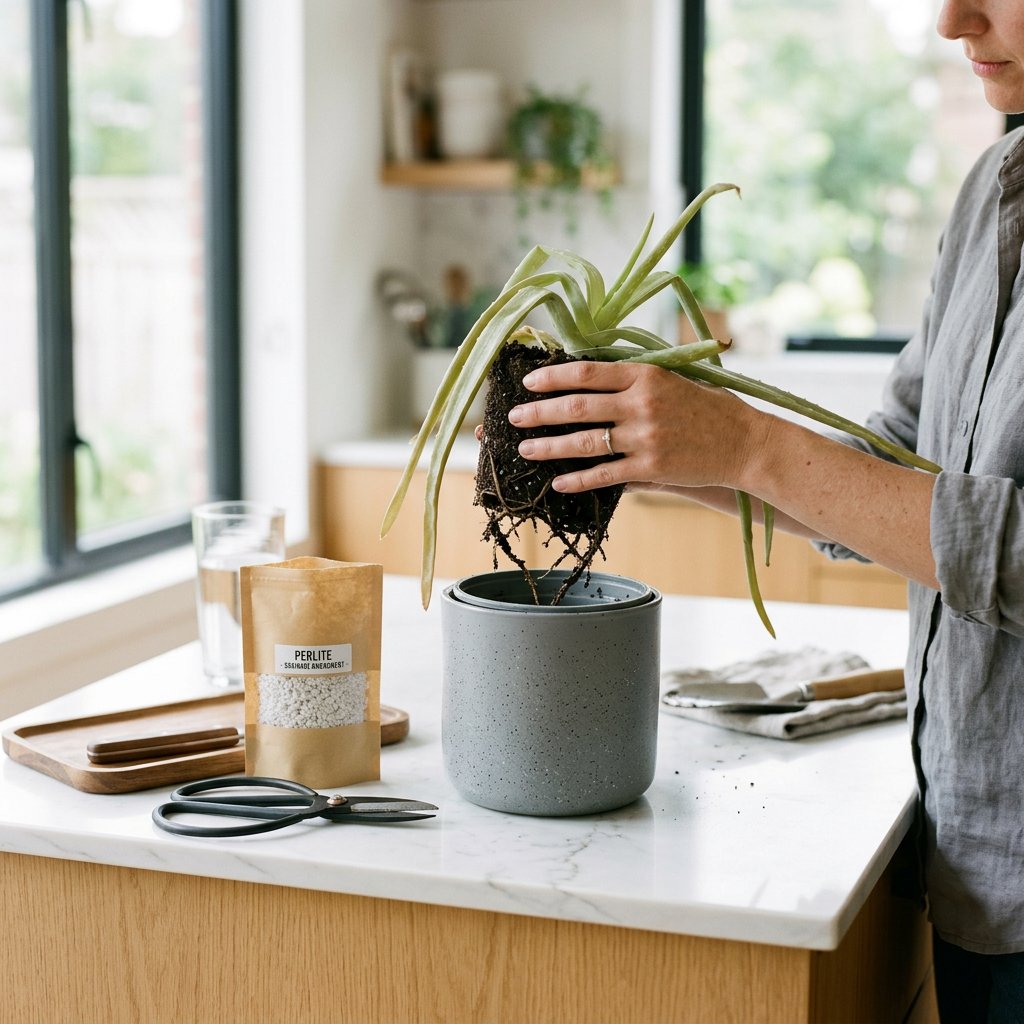
Step 1: Unpot the orchid and assess the damage Gently squeeze the sides of your orchid's plastic nursery pot to loosen the medium, and carefully pull the plant out. Shake off all the old potting material. If pieces of bark are stubbornly stuck to the roots, rinse the root system under lukewarm tap water to get a clear view of what you are working with. Throw the old potting mix away—it is likely harboring decay-causing bacteria.
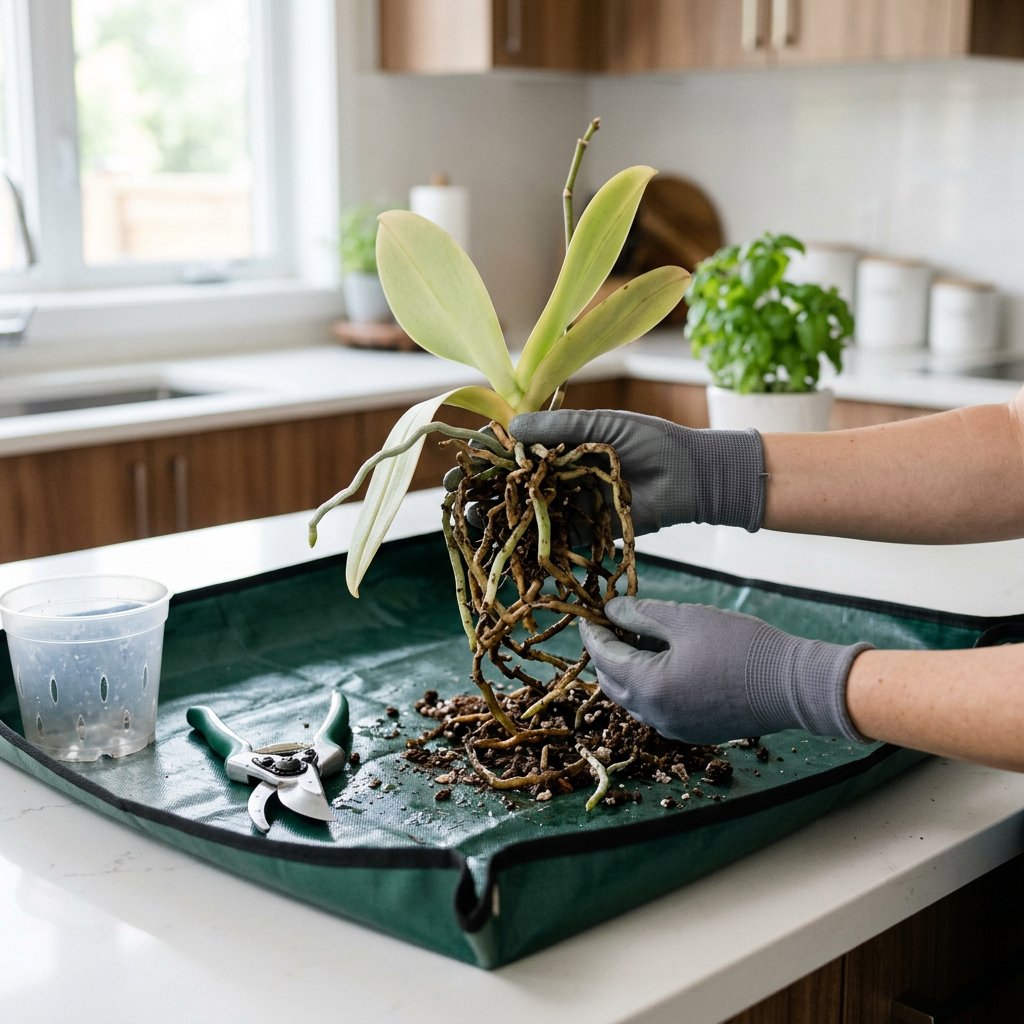
Step 2: Trim away the rot Wipe a pair of sharp scissors or pruning shears with rubbing alcohol to sterilize them. Carefully cut away any roots that are brown, mushy, hollow, or stringy. Be ruthless! It is much better for the plant to have three healthy roots than ten rotting ones. Leave anything that feels firm and plump, even if it is slightly stained from the old bark.
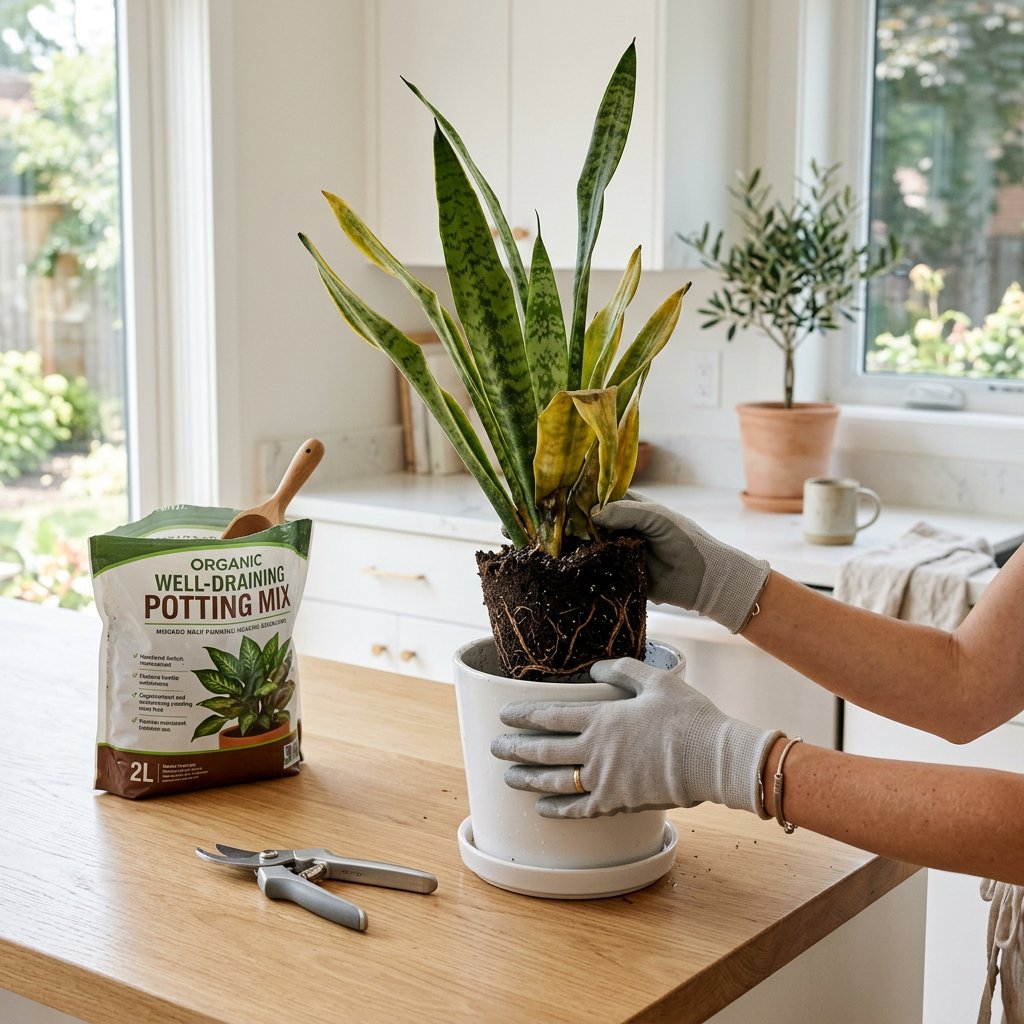
Step 3: Repot in an airy medium Repot your orchid into a clean, well-draining pot (ideally a clear plastic orchid pot with lots of slits for airflow). Use a fresh, chunky orchid mix made specifically for epiphytes—usually a blend of fir bark, perlite, and a little sphagnum moss. Avoid regular potting soil at all costs!
Step 4: Adjust your watering routine Moving forward, ditch the watering schedule. Instead, visually inspect the roots through the clear plastic pot. Only water your orchid when the roots look silvery-gray. If they are bright green, the plant still has plenty of moisture. When it is time to water, take the pot to the sink, flush it thoroughly with room-temperature water, and let it drain completely before putting it back in its decorative cover pot.
Healing takes time, so be patient with your plant as it focuses its energy on growing fresh, healthy roots. By recreating a breathable environment, your orchid will bounce back and reward you with beautiful blooms in the future. Don't forget to track your new watering habits and set smart care reminders using the Plantiary app to keep your recovering orchid thriving!