It happens to the best of us! You brought home a gorgeous, spiky Aloe Vera, eager to give it the best care possible. In our desire to nurture, we sometimes give our houseplants a little too much love in the form of the watering can. If your once-perky succulent is suddenly looking a bit sad, squishy, or yellow, please do not panic or beat yourself up. Overwatering is the single most common issue plant parents face.
The great news is that Aloe Veras are incredibly resilient survivors. With a little bit of swift intervention, you can absolutely bring your green friend back to life. Let’s walk through exactly how to diagnose, treat, and save an overwatered Aloe Vera.
The Problem: Spotting the Signs of an Overwatered Aloe
Before we play plant doctor, we need to confirm the diagnosis. Aloe Veras store water in their thick, fleshy leaves to survive droughts. When they get too much water, those storage cells literally burst. Keep an eye out for these telltale symptoms:
- Mushy or Translucent Leaves: Instead of feeling firm and plump, the leaves feel soft, watery, and might look slightly see-through.
- Drooping or Bending: Heavy, waterlogged leaves will often crease and collapse at the base of the plant.
- Yellowing or Browning: Leaves may lose their vibrant green hue, turning a sickly yellow or pale brown.
- Water Blisters: You might notice tiny bumps or scabs on the leaves. This is called edema—a condition where the roots take up more water than the plant can use, causing the plant's cells to swell and rupture.
- A Foul Smell: If the soil smells like rotting vegetables or a swamp, your plant is likely suffering from root rot.
Not entirely sure what's going on? You can always use the AI-powered plant disease scanner in the Plantiary app. Just snap a quick photo, and the app will analyze the symptoms and give you a diagnosis in seconds!
The Causes: Why Did This Happen?
Overwatering isn't always just about watering too frequently. It is usually a combination of environmental factors that keep the roots suffocated in moisture:
- Watering Too Often: Aloe Veras thrive on neglect. They only need water when their soil is completely bone-dry.
- Poor Drainage: If your pot doesn't have a drainage hole at the bottom, excess water pools around the roots like a bathtub that won't empty.
- The Wrong Soil: Standard potting soil is too heavy and retains too much moisture for succulents. Aloes need coarse, gritty soil that drains rapidly.
The Solutions: Step-by-Step Aloe Rescue Guide
If your Aloe is overwatered, simply stopping the watering won't always save it, especially if rot has set in. Here is how to proactively rescue your plant:
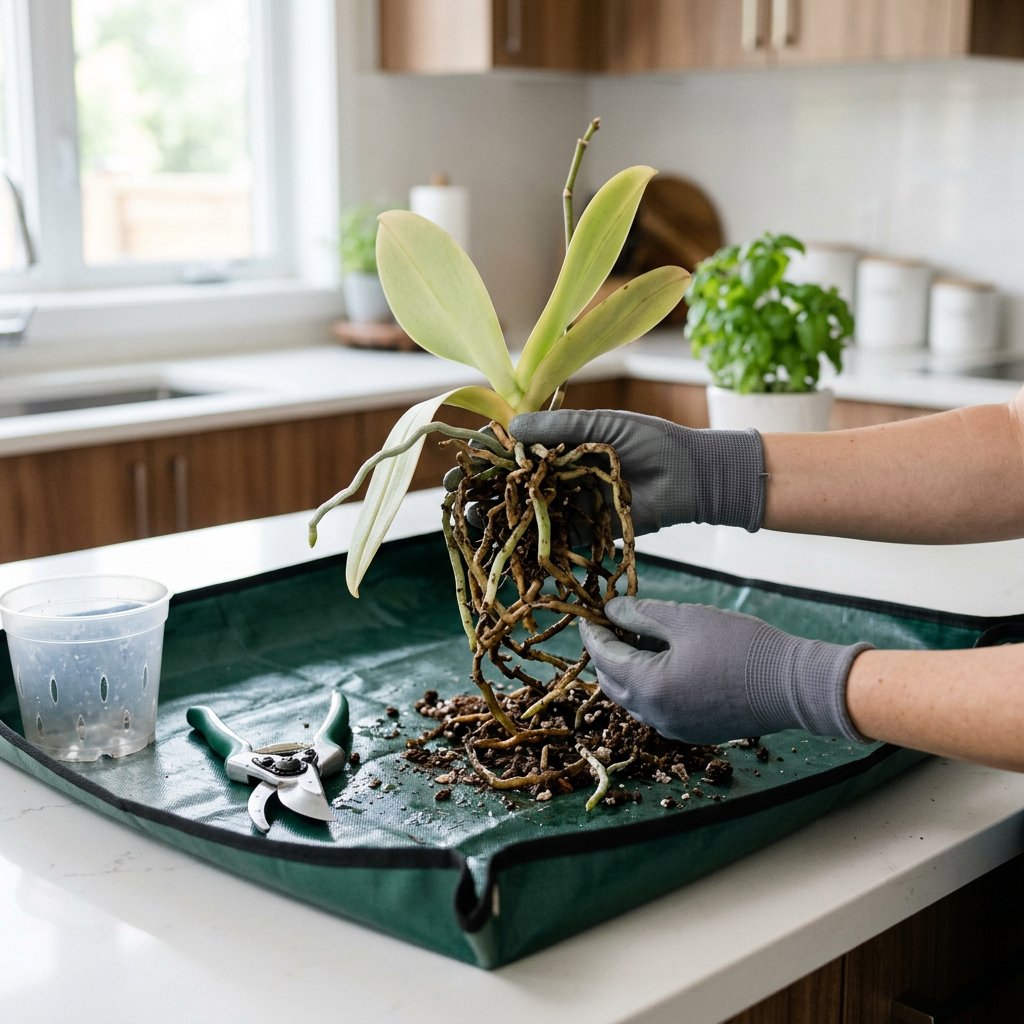
Step 1: Unpot and Inspect the Roots Gently coax your Aloe Vera out of its pot. Brush away the wet, soggy soil so you can clearly see the root system. Healthy roots should be firm and light-colored. If the roots are dark brown, black, mushy, or slimy, your plant has root rot.
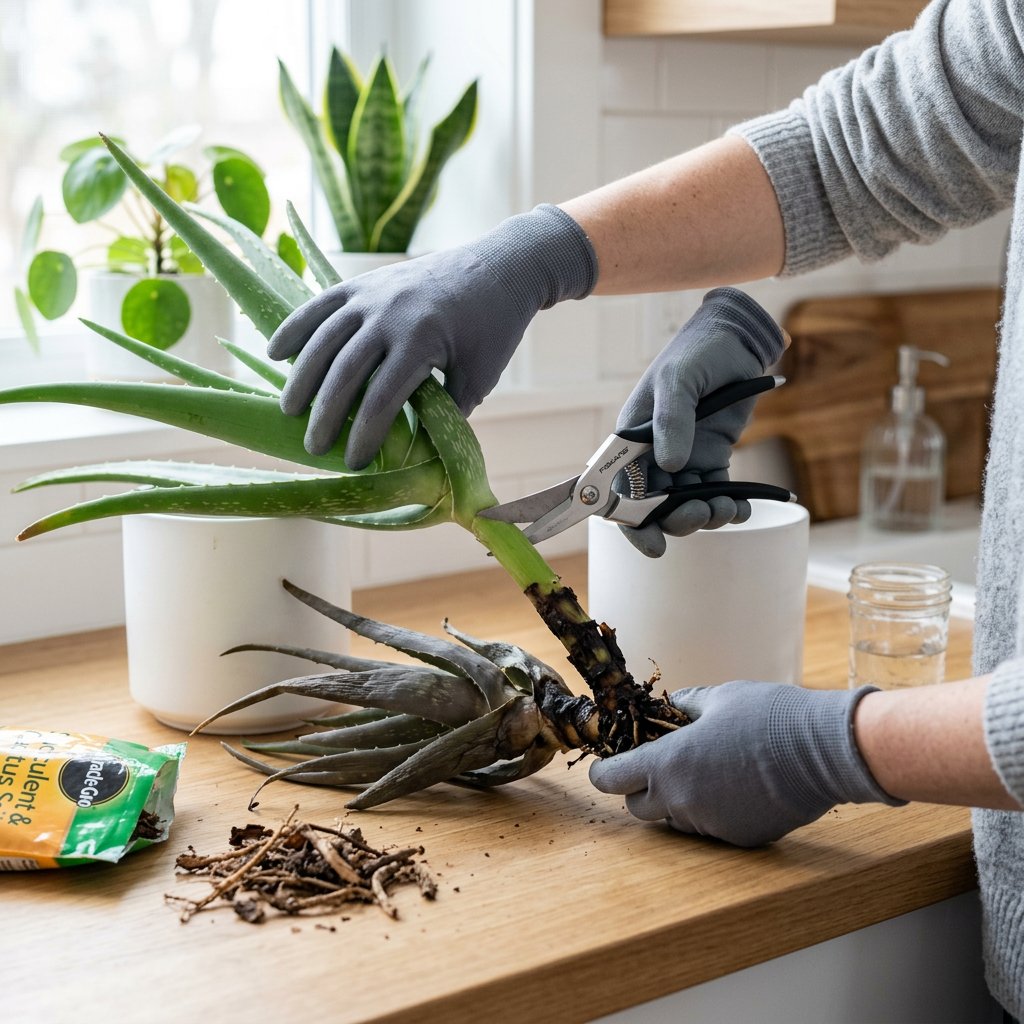
Step 2: Trim the Rot Using a pair of sterilized scissors or pruning shears, carefully cut away any mushy, blackened roots. You should also trim off the deeply squishy or translucent leaves at the base of the plant. Don't worry if you have to remove a lot of the root system; Aloes are great at growing new ones!
Step 3: Let it Callous This is a crucial step! Place your trimmed Aloe Vera on a dry paper towel in a shady, warm spot (out of direct sunlight) for 1 to 3 days. You want the freshly cut root ends to dry out and form a protective scab, known as a callous. This prevents fungus and bacteria from entering the plant when you repot it.
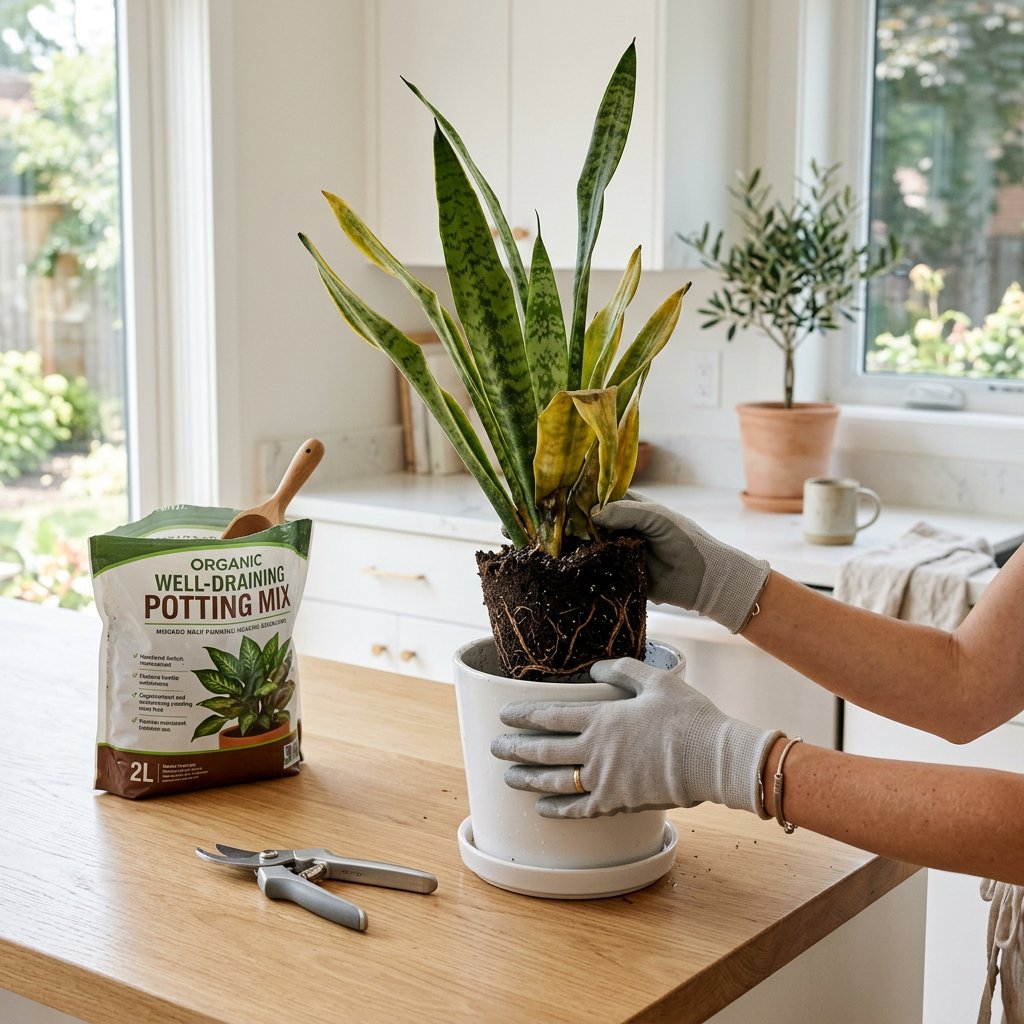
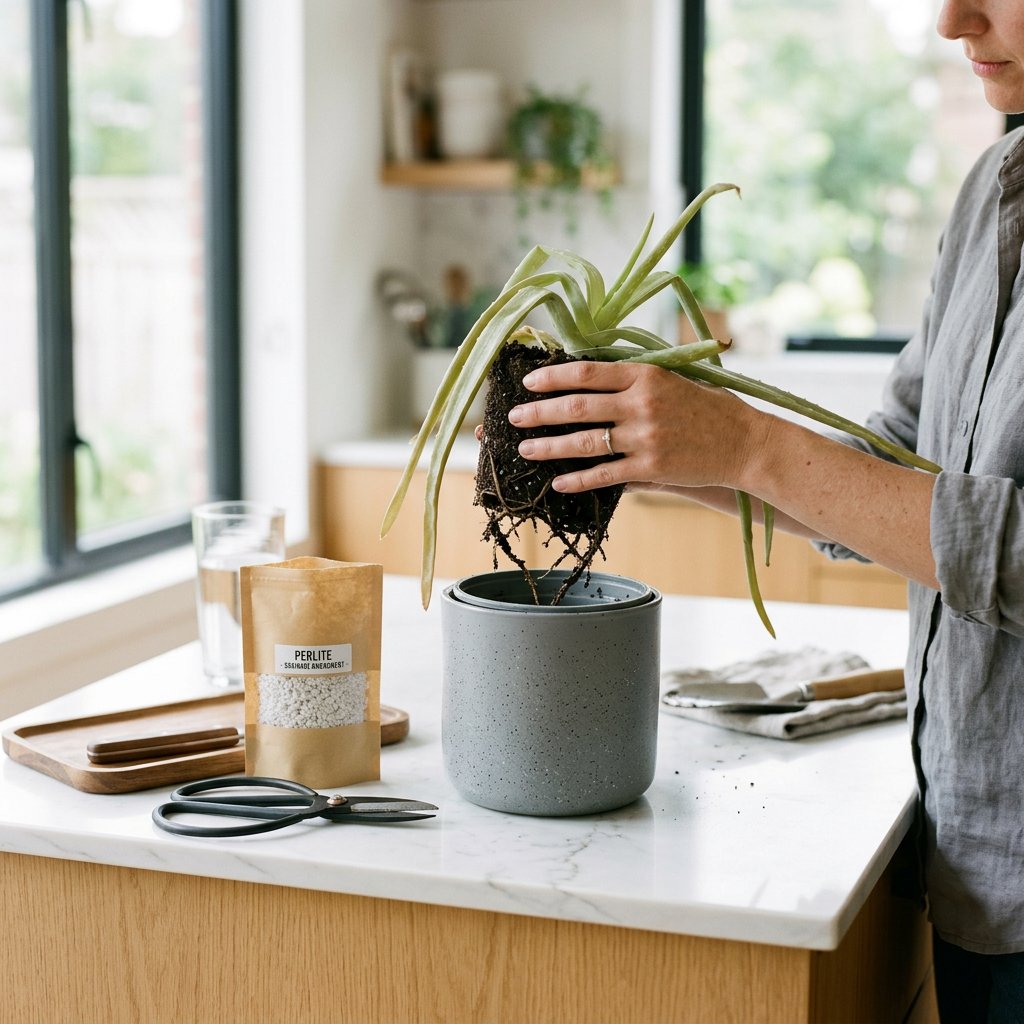
Step 4: Repot in the Right Environment Find a pot with a clear drainage hole at the bottom—terracotta pots are fantastic because their porous clay walls help the soil dry out faster. Fill the pot with a well-draining succulent or cactus mix. If you only have standard potting soil, mix in plenty of perlite or pumice to create a gritty texture. Plant your calloused Aloe in the fresh, dry soil.
Step 5: Hold Off on Watering Do not water your newly potted Aloe Vera immediately! Let it sit in its dry soil for about a week. This gives the plant time to settle in and encourages it to push out new root growth in search of moisture.
Moving Forward
Once your Aloe Vera has recovered, the best way to keep it thriving is to practice the "soak and dry" method. Wait until the soil is 100% dry all the way to the bottom of the pot, and then water it deeply until water runs out the drainage hole.
To take the guesswork completely out of your routine, set up a custom care schedule in your Plantiary app. You will get helpful reminders telling you exactly when it’s time to check your Aloe's soil, ensuring your plant stays perfectly hydrated, happy, and rot-free for years to come!