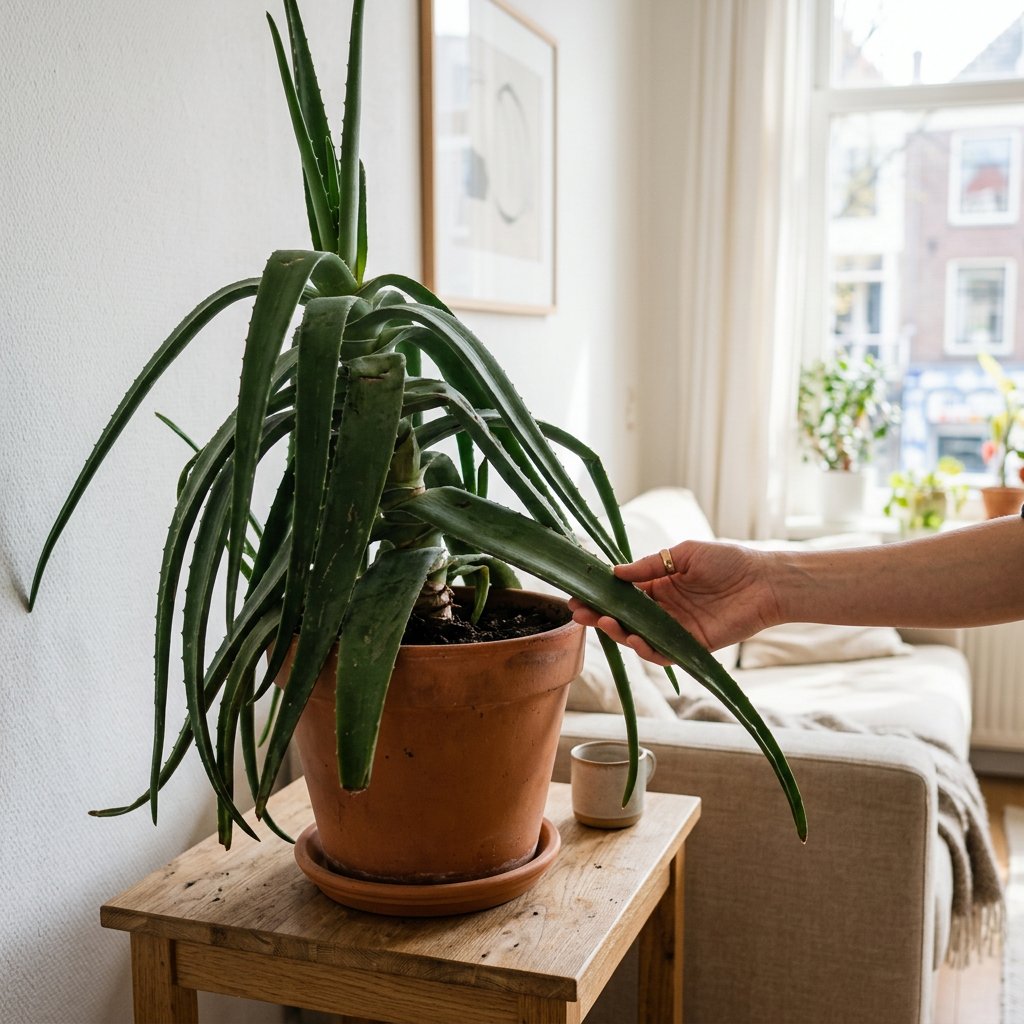
It is incredibly frustrating to watch your beloved Aloe Vera—a plant famous for its toughness and healing properties—suddenly take a turn for the worse. If you have noticed that the base of your Aloe is collapsing, looking discolored, or feeling abnormally squishy, take a deep breath. You are likely dealing with stem rot, and you are certainly not alone! Accidentally loving our succulents a little too much is a rite of passage for every plant parent.
The good news is that if you catch it in time, your plant can often be saved. Let's break down exactly what is happening to your succulent and walk through the proper way to rescue it. And remember, if you are ever unsure what is wrong with your green friends, you can always use the AI-powered plant disease scanner in the Plantiary app to get an accurate diagnosis in seconds.
The Problem: Spotting Aloe Vera Stem Rot
Stem rot moves quickly, so identifying it early is key. Before you can fix the issue, you need to know what you are looking at. Here are the most common symptoms:
- Mushy, Soft Base: The stem near the soil line feels squishy to the touch rather than firm and sturdy.
- Discoloration: The base of the plant turns dark brown, black, or translucent yellow.
- Dropping Leaves: Healthy-looking leaves may suddenly detach from the base with the slightest touch.
- A Foul Odor: If you smell a swampy, rotting scent coming from the soil, rot has already set in.
- Water-Soaked Blisters: You might notice signs of edema—a condition where the plant's cells take in more water than they can handle and eventually burst, leaving raised blisters or mushy spots on the leaves.
As the rot progresses, it causes necrosis, which is simply the botanical term for tissue death. Once the tissue is completely necrotic (dead and black), it cannot be reversed, which means we will need to remove it.
The Causes: Why Is My Aloe Rotting?
To prevent this from happening again, it helps to understand what caused the rot in the first place.
- Overwatering: This is the number one culprit. Aloe Vera plants are desert natives that store water in their fleshy leaves. When you water them too frequently, their roots suffocate.
- Poor Drainage: Using regular potting soil or a pot without drainage holes traps water at the bottom, creating a swampy environment.
- Fungal or Bacterial Pathogens: When a plant sits in soggy soil, opportunistic soil fungi and bacteria attack the suffocating roots, eventually moving up into the stem.
- Lack of Light: Low light slows down a plant's metabolism. If your Aloe isn't getting enough bright light, it won't drink up the water in its soil fast enough, leaving it vulnerable to rot.
The Solutions: Your Step-by-Step Rescue Guide
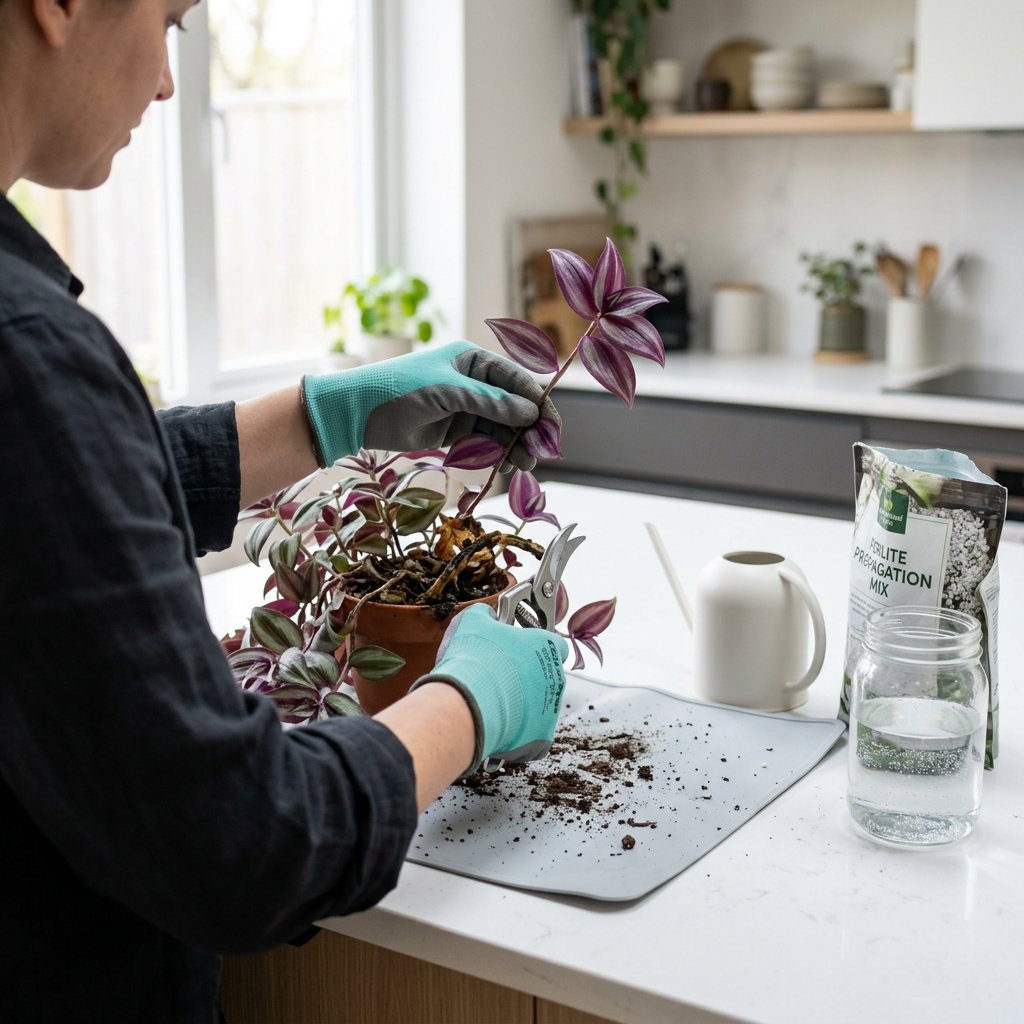
If your Aloe Vera has stem rot, simply letting the soil dry out is no longer enough. We have to perform a little bit of plant surgery. Don't worry—it sounds much scarier than it is! Just follow these scientifically proven steps to propagate and save the healthy top portion of your plant.
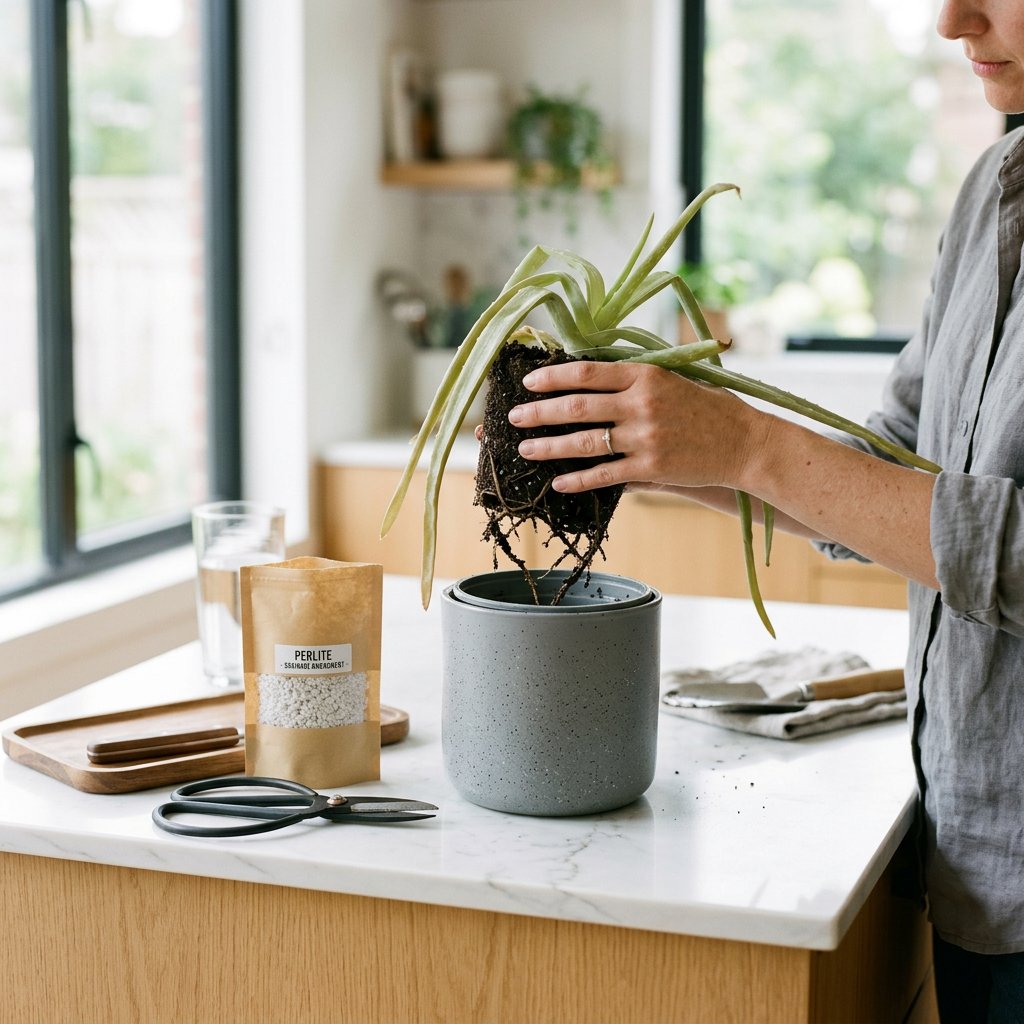
Step 1: Unpot and Inspect Gently remove your Aloe Vera from its pot. Brush away the soggy soil so you can clearly see the root system and the stem. You will likely notice black, mushy, or completely detached roots.
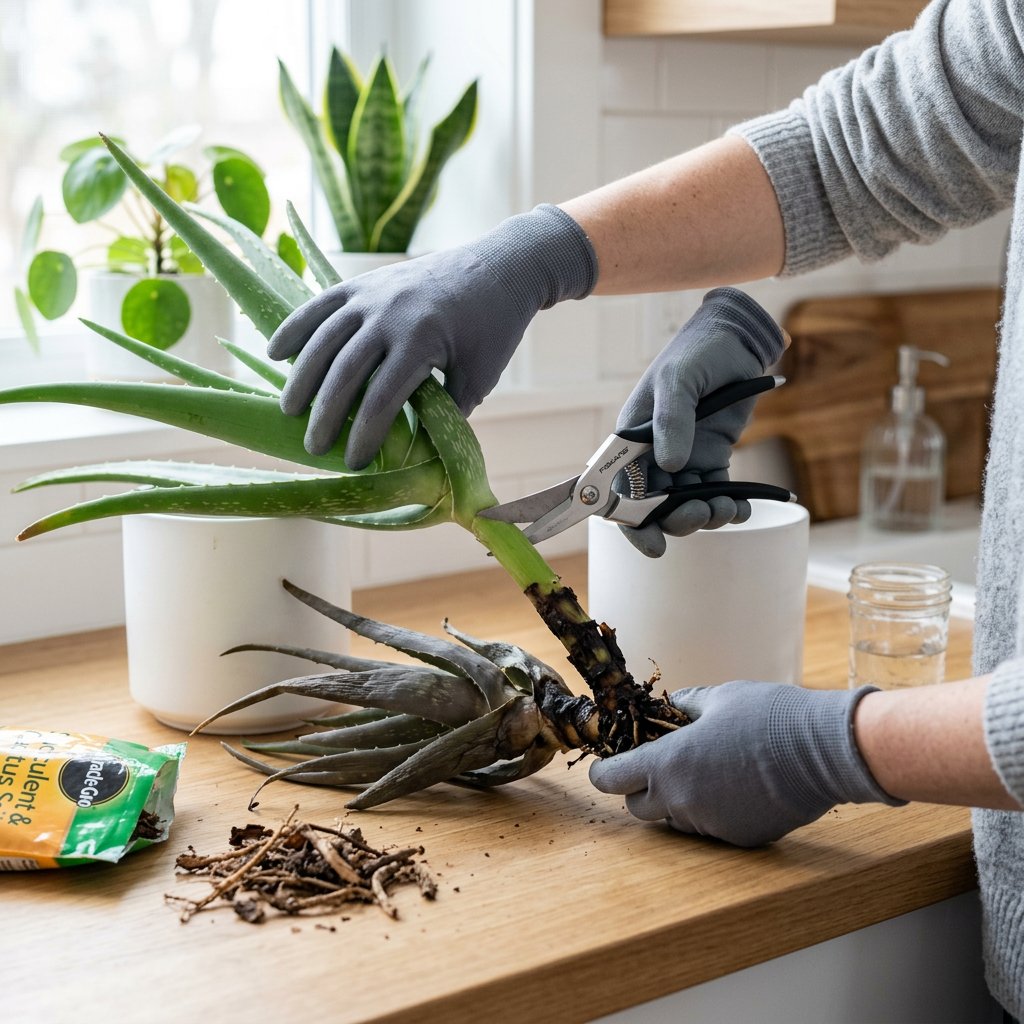
Step 2: Perform the Big Chop Take a sharp knife or pruning shears and wipe the blades with rubbing alcohol. This prevents the spread of bacteria. Cut the stem completely above the rotting, mushy section. Inspect the inside of the cut stem—it should be pale green or white and completely firm. If you see any brown or black spots inside the stem, sterilize your blade and cut an inch higher until you reach 100% healthy tissue.
Step 3: Let it Callus Do not put the plant back into soil right away! Set the healthy top portion of your Aloe on a dry paper towel in a warm, bright room (out of direct sunlight). Leave it there for 3 to 7 days until the cut end forms a callus—a dry, hardened scab over the wound. This protective layer is vital; without it, soil pathogens will immediately infect the fresh cut.
Step 4: Repot in the Right Environment Once the callus has fully formed, plant the Aloe in a clean pot with drainage holes. Use a coarse, well-draining cactus or succulent soil mix. You can even mix in extra perlite or pumice to ensure maximum airflow to the new roots.
Step 5: Hold Off on Watering Planting a rootless succulent into wet soil is a recipe for disaster. Wait at least one to two weeks before watering your newly potted Aloe. This gives the plant time to acclimate and signals it to push out new roots in search of moisture.
Plant parenting is a constant learning experience, and losing a few roots along the way is completely normal. By following this rescue guide, you are giving your Aloe Vera a fantastic second chance at life! To prevent overwatering in the future, don't forget to set up customized care schedules and watering reminders using your Plantiary app. Happy planting!