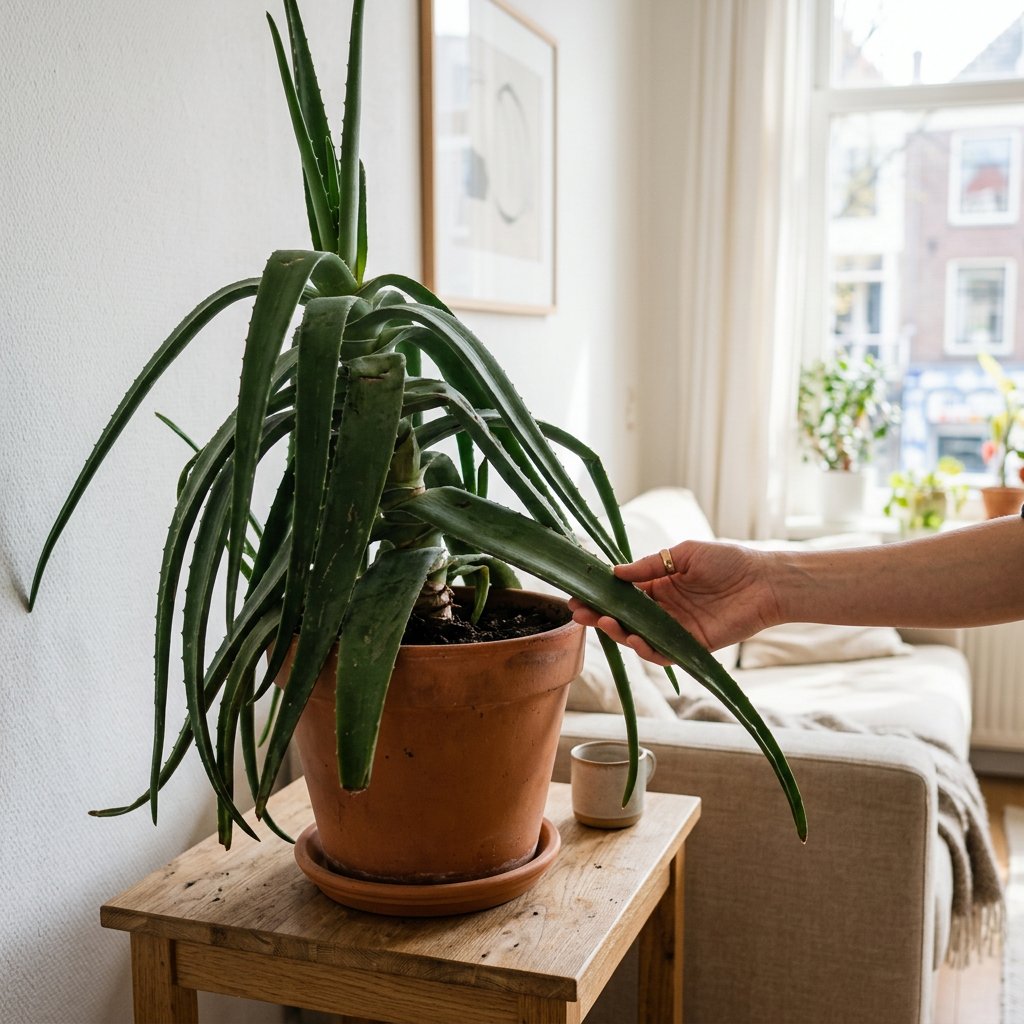
It can be heartbreaking to walk past your usually perky Aloe vera and notice its thick, sculptural leaves suddenly flopping over the edge of the pot. If your beloved succulent is looking a little tired, take a deep breath—you are not a bad plant parent! Drooping Aloe leaves are incredibly common, even for experienced gardeners.
These resilient desert natives are fantastic communicators, and a droopy leaf is just their way of asking for a little tweak in their environment. Let’s explore what your plant is trying to tell you and, most importantly, how to get those leaves pointing toward the sky once again.
The Problem: Spotting the Symptoms
Before you can fix your Aloe, you need to look closely at the type of droop it is experiencing. Are the leaves lying flat but feeling mushy and looking slightly translucent? Are they drooping but feeling thin, brittle, and curling inward? Or perhaps they are stretching out, looking pale at the base, and simply folding under their own weight?
Identifying exactly how your plant looks will guide you to the correct cure. If you are unsure what is wrong with your plant, you can use the AI-powered plant disease scanner in the Plantiary app to get a diagnosis in seconds!
The Causes: Why Are Your Aloe Leaves Drooping?
Most Aloe vera issues boil down to a few common environmental stressors. Here is what might be going on:
- Overwatering (The #1 Culprit): Aloes store water in their fleshy leaves. When they absorb too much water, their plant cells actually burst. This is called edema—a condition where water retention causes swelling, blistering, and eventually mushiness. When the leaves become too heavy and waterlogged, they flop over. If left unchecked, the damp soil will lead to root rot.
- Underwatering: While they are highly drought-tolerant, Aloes aren't completely drought-invincible. If the leaves feel thin, hollow, and are drooping or curling, your plant has depleted its water reserves and is simply thirsty.
- Inadequate Light: Aloes love bright light. If they are kept in a dim room, they will suffer from etiolation. Etiolation is a botanical term for when a plant stretches unnaturally and rapidly to reach for the nearest light source. This makes the leaves weak, pale, and unable to support their own weight, causing them to crease and droop.
- Temperature Shock: Aloes are tropical desert plants that despise the cold. Being placed too close to a drafty window in the winter or an air conditioning vent in the summer can shock the plant, causing the cellular structure of the leaves to weaken and collapse.
The Solutions: Step-by-Step Aloe Rescue
Ready to nurse your succulent back to health? Follow these actionable steps to revive your drooping Aloe:
Step 1: Assess the Soil and Roots If your plant’s leaves are mushy, gently pull the Aloe out of its pot and inspect the roots. Healthy roots are firm and light-colored. If the roots are black, slimy, and smell foul, your plant has root rot. Use sterilized scissors to trim away the rotted roots. Repot the plant in a pot with drainage holes using fresh, well-draining cactus or succulent soil.
Step 2: Adjust Your Watering Routine Aloes thrive on the "soak and dry" method. You should wait until the potting soil is 100% dry all the way to the bottom before watering again. When it is time to water, soak the soil thoroughly until water runs out of the drainage holes, then empty the saucer. To take the guesswork out of this routine, you can set up a smart watering schedule in your Plantiary app to remind you exactly when your Aloe actually needs a drink.
Step 3: Relocate for Better Light If your Aloe is stretching and looking pale, it needs more sun. Move it to a spot that receives bright, indirect sunlight (a south- or west-facing window is usually perfect). Note: If your plant has been in a dark corner for a while, introduce it to brighter light gradually over a week or two so you don't scorch its sensitive leaves.
Step 4: Prune the Damage Unfortunately, once an Aloe leaf is completely mushy, heavily creased at the base, or severely damaged, it will not heal or stand back up. Use clean, sharp pruning shears to cut the unsalvageable leaves off as close to the main stem as possible. Don't worry—pruning actually helps redirect the plant's energy away from dying leaves and into pushing out healthy, upright new growth from the center!
You've Got This!
Houseplants are a learning journey, and encountering a drooping Aloe is a rite of passage. By making a few simple adjustments to your watering habits and lighting, your plant will bounce back stronger than ever. Keep observing, stay patient, and let your Plantiary app help you keep your leafy companions thriving!