Have you noticed your beloved Money Tree (Pachira aquatica) looking a little tired lately? Maybe its once-vibrant canopy is losing its luster, or the soil seems to dry out the exact moment you finish watering it. First of all, take a deep breath—you aren't doing anything wrong! In fact, your plant might just be loving your care so much that it has simply outgrown its home. Repotting can feel intimidating for beginners, but it is a completely normal, rewarding part of the plant parenthood journey. If you ever feel uncertain about what your leafy friend needs, the Plantiary app is always in your pocket to help you diagnose issues, set care schedules, and track your plant's growth. Today, let's walk through everything you need to know about rescuing and repotting a root-bound Money Tree.
The Problem: Signs Your Money Tree is Root-Bound
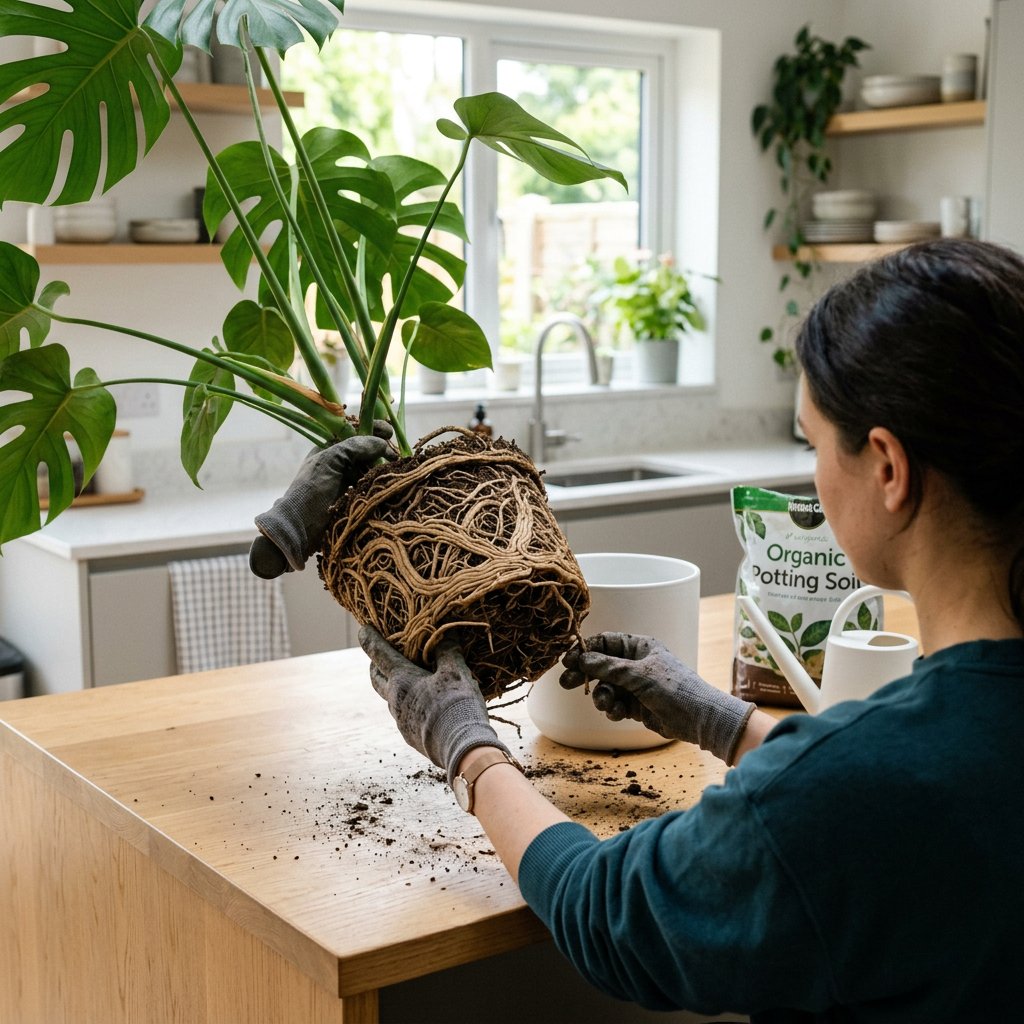
What exactly does it mean to be root-bound? This condition occurs when a plant's root system has completely filled the inside of its container, leaving little to no room for potting soil. The roots begin to tightly circle the bottom and sides of the pot, desperately searching for space, moisture, and nutrients.
Here are the telltale symptoms that your Money Tree is feeling the squeeze:
- Roots escaping: You can physically see thick roots poking out of the bottom drainage holes or breaking the surface of the topsoil.
- Water runs right through: When you water your plant, the liquid immediately rushes out the bottom into the saucer. This happens because there is far more root than soil left to absorb and hold the moisture.
- Stunted growth: Your plant has stopped putting out new, bright green leaves, even during its active growing seasons (spring and summer).
- Yellowing leaves: Also known botanically as chlorosis, this yellowing happens because the cramped, suffocated roots can no longer absorb enough vital nutrients or water to sustain the foliage.
The Causes: How Did We Get Here?
If your Money Tree is heavily root-bound, please do not feel guilty. Honestly, it is a sign of success!
- Healthy Growth: You have provided excellent light, proper watering, and a loving environment, causing your plant to grow vigorously. Roots expanding means your plant is alive and kicking!
- Time: Most Money Trees are fast growers and need to be repotted every two to three years. If it has been a while since you upgraded its pot, nature simply took its course.
- Nursery Pots: Very often, plants bought from garden centers are already slightly root-bound in their thin plastic nursery pots. They usually need a larger, more permanent home shortly after purchase.
The Solution: Step-by-Step Guide to Repotting
Repotting your Money Tree is incredibly straightforward when you have the right tools and a gentle touch. Here is how to give your plant the breathing room it deserves.
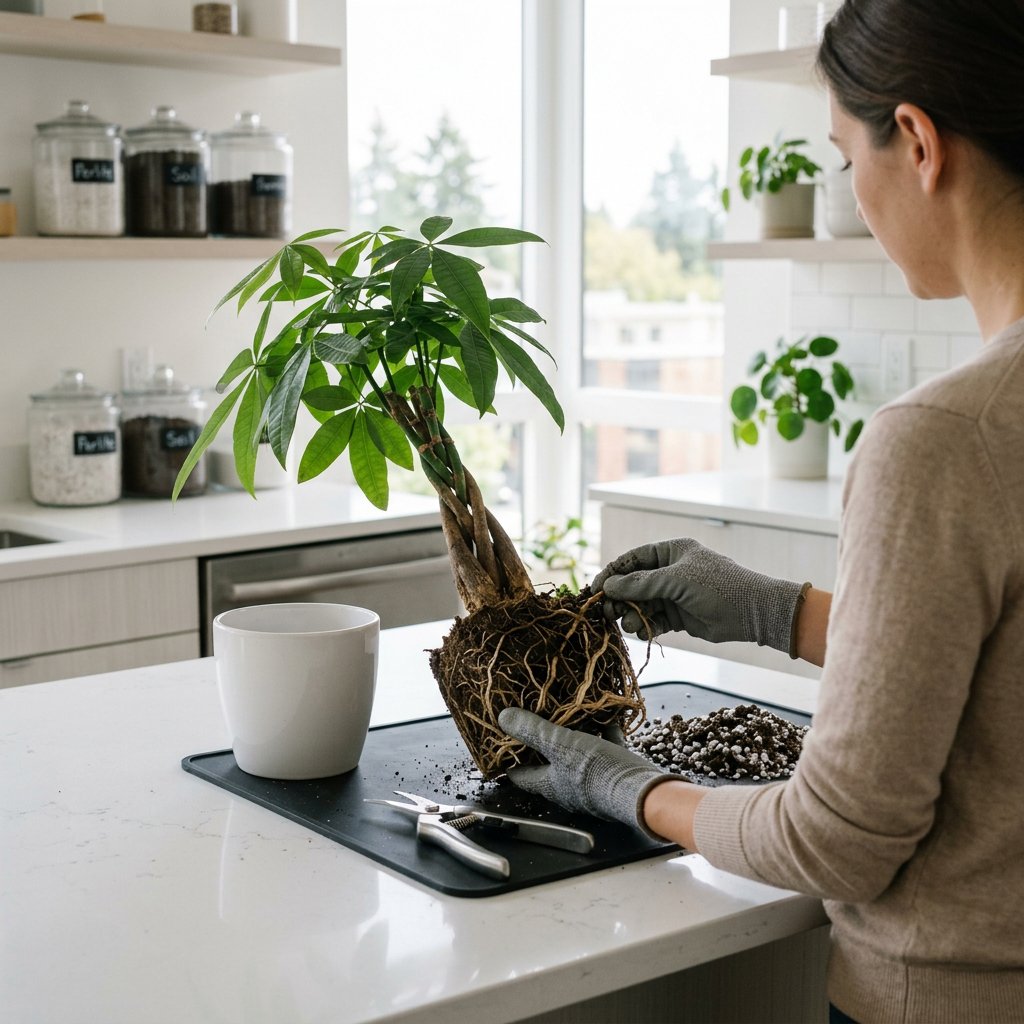
Step 1: Gather your supplies Choose a new pot that is only 1 to 2 inches wider in diameter than the current one. Going too big too fast can cause the excess soil to stay wet for too long, which risks root rot. Make sure the new pot has plenty of drainage holes. You will also need a well-draining potting mix (a standard indoor plant soil with a handful of added perlite works beautifully) and a pair of sterilized pruning shears.
Step 2: Gently remove the plant Turn the pot sideways and gently coax the Money Tree out. If it is stuck, carefully squeeze the sides of the plastic nursery pot or tap the bottom to loosen it. Never yank the plant by its delicate braided trunk, as this can cause severe damage.
Step 3: Loosen and inspect the root ball Using your fingers, gently tease the roots apart to break up the tight, circling pattern. If you spot any mushy, dark, or foul-smelling roots, snip them off with your sterilized shears. Unwinding the healthy roots encourages them to branch outward into the fresh soil rather than continuing to grow in a circle.
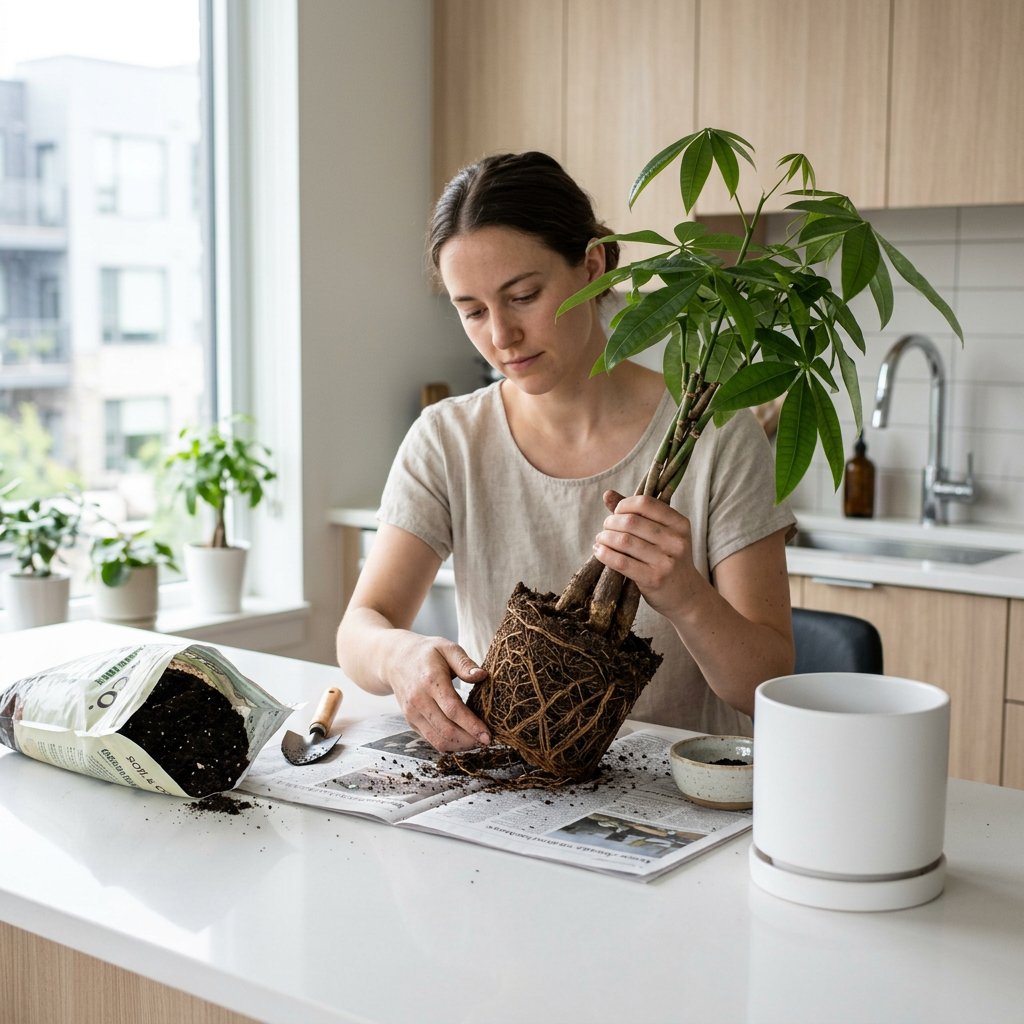
Step 4: Position your plant in its new home Add a base layer of fresh potting mix to the bottom of the new container. Place your Money Tree in the center, ensuring that the base of the trunk sits at the exact same depth it did in the old pot. Planting it too deep can lead to moisture building up against the trunk, causing stem rot.
Step 5: Fill, water, and settle Fill the gaps around the roots with fresh soil, pressing down very lightly to remove large air pockets without compacting the dirt. Give the plant a thorough watering until excess water flows freely out of the drainage holes.
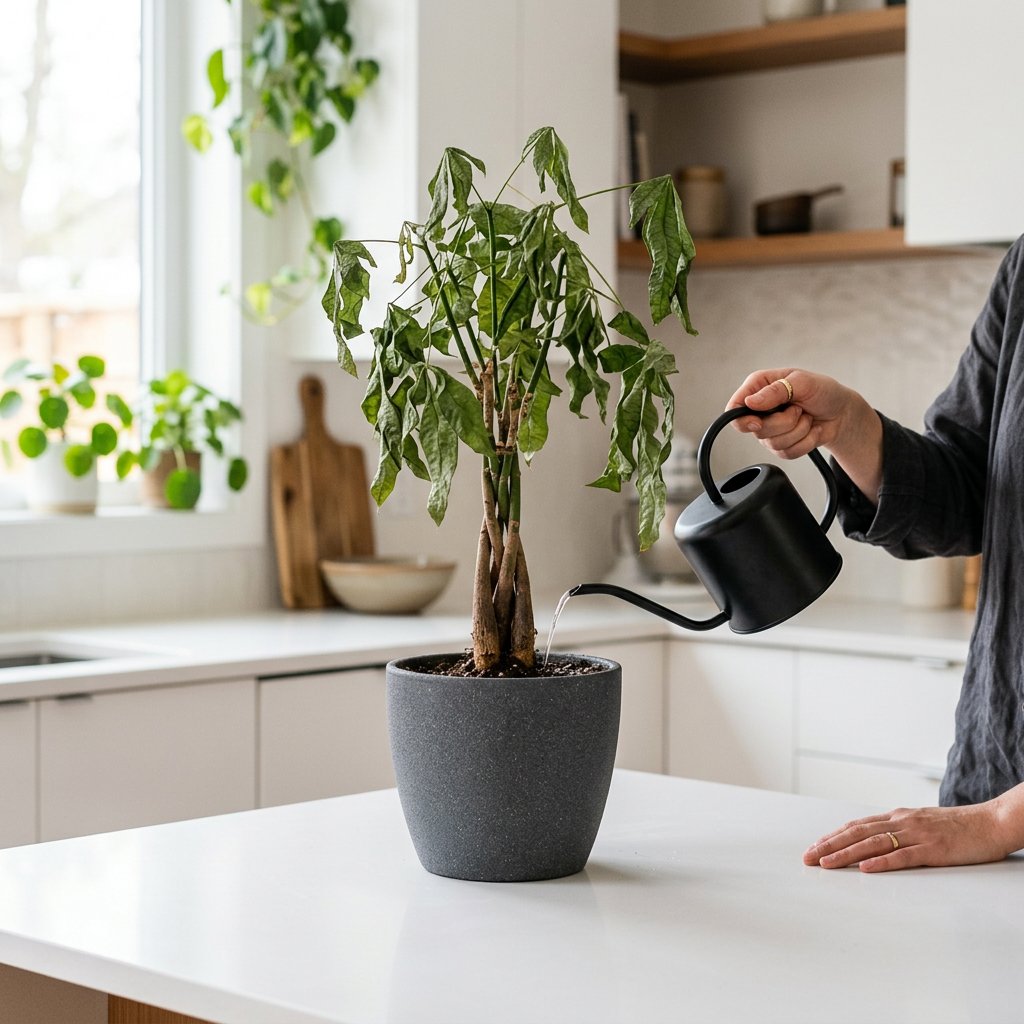
A Quick Note on Transplant Shock
After repotting, your Money Tree might experience a mild case of transplant shock. You might notice a bit of drooping foliage or even a lost leaf or two. Please don't panic! This is just your plant’s natural way of adjusting to its new environment. Keep it out of harsh, direct sunlight for a few days, avoid adding any fertilizer for at least a month, and maintain your regular watering routine.
Root-bound plants are incredibly resilient, and with a little extra space, your Money Tree will bounce back beautifully. If you are ever unsure whether a drooping leaf is due to transplant shock, overwatering, or a pest, you can use the AI-powered plant disease scanner in the Plantiary app to get a professional diagnosis in seconds. Happy repotting, and enjoy watching your Money Tree thrive in its roomy new home!