There’s nothing quite as satisfying as watching a Monstera deliciosa unfurl a massive, perfectly fenestrated (split) leaf. But what happens when your once-thriving jungle giant suddenly stops growing, looks a little sad, or starts yellowing at the edges? Don't panic, and definitely don't blame yourself! It is incredibly common for these vigorous growers to outgrow their homes. In fact, a Monstera bursting out of its pot just means you’ve been doing a fantastic job caring for it. Today, we’re going to tackle how to confidently repot a root-bound Monstera so it can stretch its roots and get back to producing those iconic tropical leaves.
The Problem: Is Your Monstera Root-Bound?
Before we grab the potting soil, let’s confirm what’s going on. Being "root-bound" simply means your plant's root system has grown so large that it has taken up all the available space in the pot, leaving very little soil to hold water and nutrients.
Look out for these common symptoms:
- Roots escaping: You see thick, noodle-like roots poking out of the bottom drainage holes or circling the top of the soil.
- Water runs right through: When you water your plant, the water immediately pours out the bottom. This happens because the dense root ball has displaced the soil that would normally absorb moisture.
- Stunted growth: New leaves are smaller than older ones, lack their signature splits, or the plant has stopped growing altogether.
- Frequent thirst: Your plant looks droopy and needs watering much more often than it used to.
If your Monstera is showing yellow leaves and you aren't sure if it's root-bound or suffering from a nutrient deficiency or pest issue, you can use the AI-powered plant disease scanner in the Plantiary app to get a quick, accurate diagnosis!
The Causes: Why Do Monsteras Get Root-Bound?
Monsteras are hemiepiphytic—meaning in nature, they start on the ground and climb up trees, growing massive, sprawling root systems to anchor themselves. In our homes, we confine these wild roots to a small container. Because they are fast, vigorous growers by nature, it is completely normal for a happy Monstera to run out of room every one to two years. It's not a failure on your part; it’s simply a sign of a healthy, active plant that is ready for its next chapter.
The Solution: Step-by-Step Repotting Guide
Repotting might feel intimidating, especially when dealing with a large, heavy plant, but it is a very straightforward process. Grab a tarp or head outside, and let’s give your plant a fresh start.
Step 1: Choose the right pot Select a container that is only 2 inches (about 5 cm) larger in diameter than the current pot. Sizing up too drastically can cause the excess soil to stay wet for too long, which invites root rot. Ensure your new pot has plenty of drainage holes!
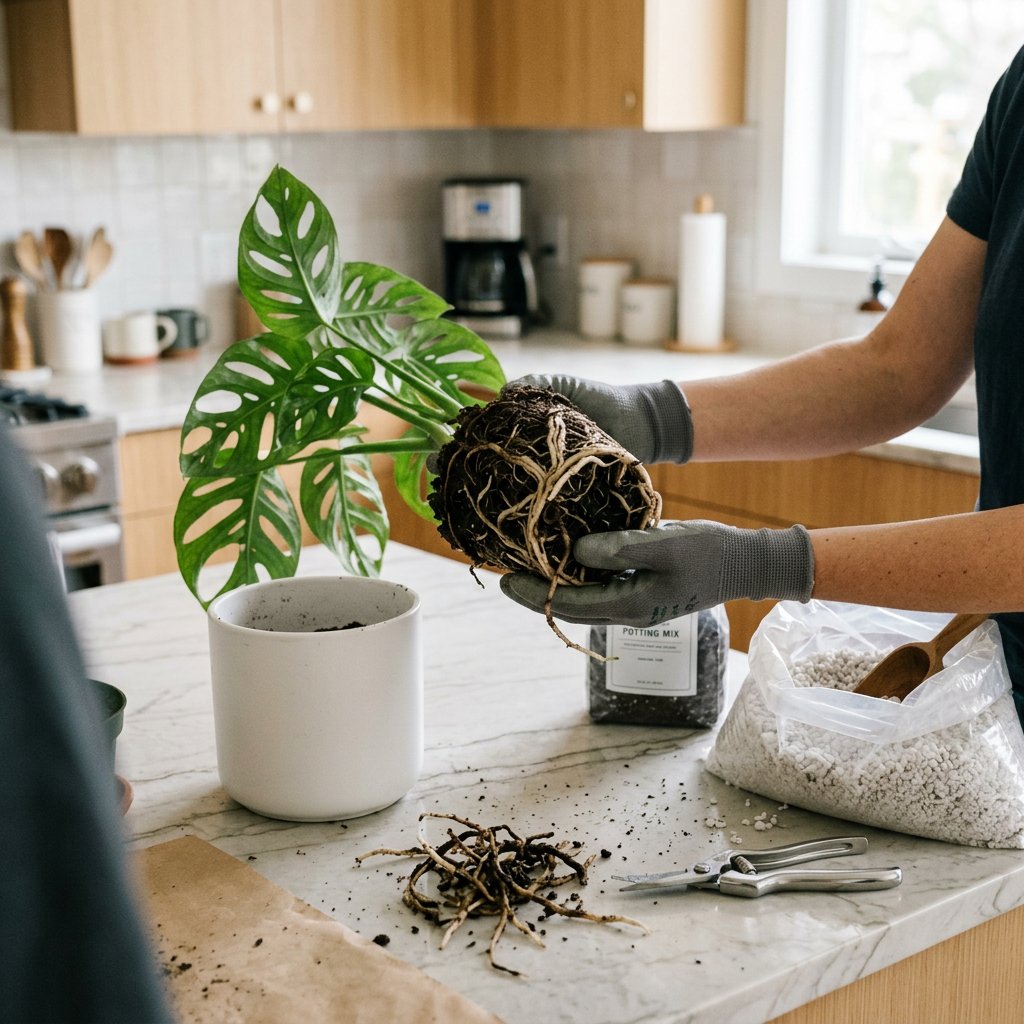
Step 2: Prepare a chunky soil mix Monsteras despise heavy, waterlogged soil. They need a well-draining, airy mix. Combine standard indoor potting soil with generous handfuls of perlite (white volcanic glass that improves soil aeration) and chunky orchid bark. This loose texture mimics their natural tropical environment.
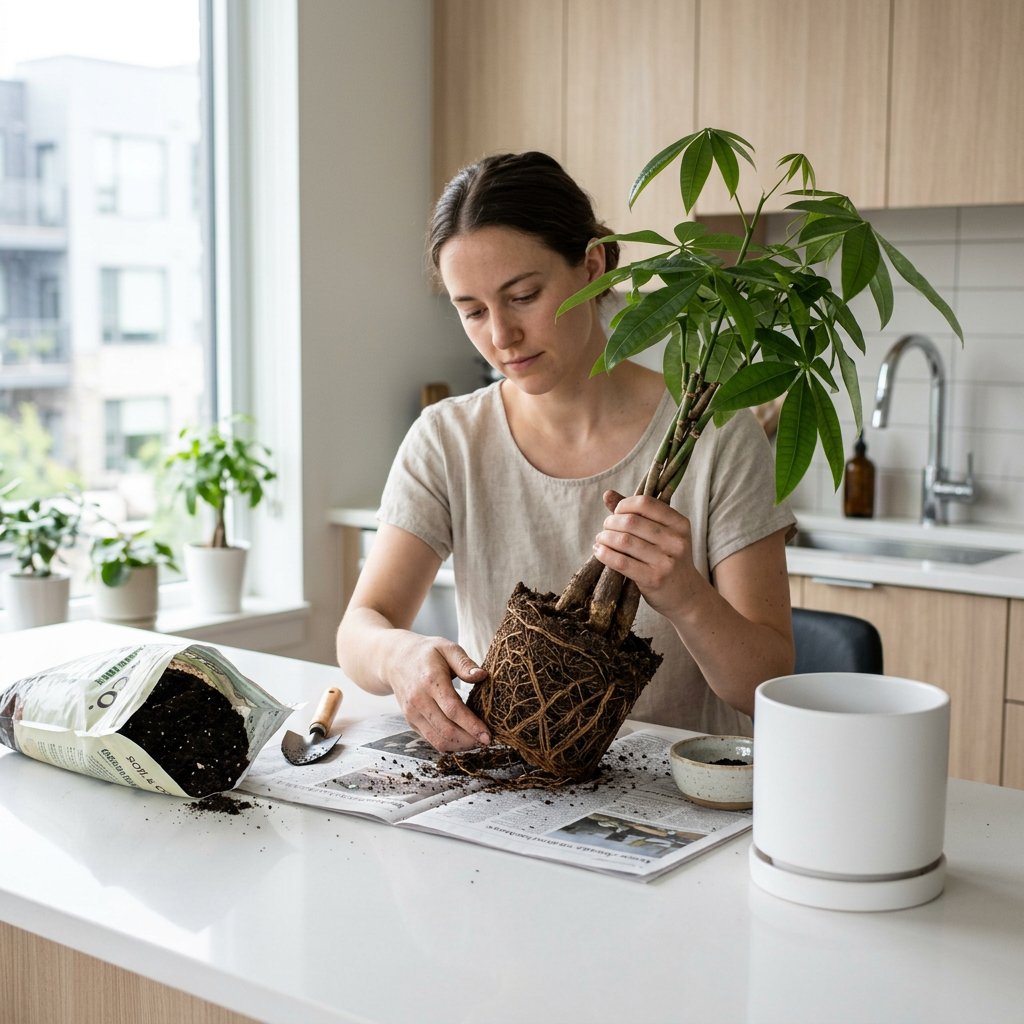
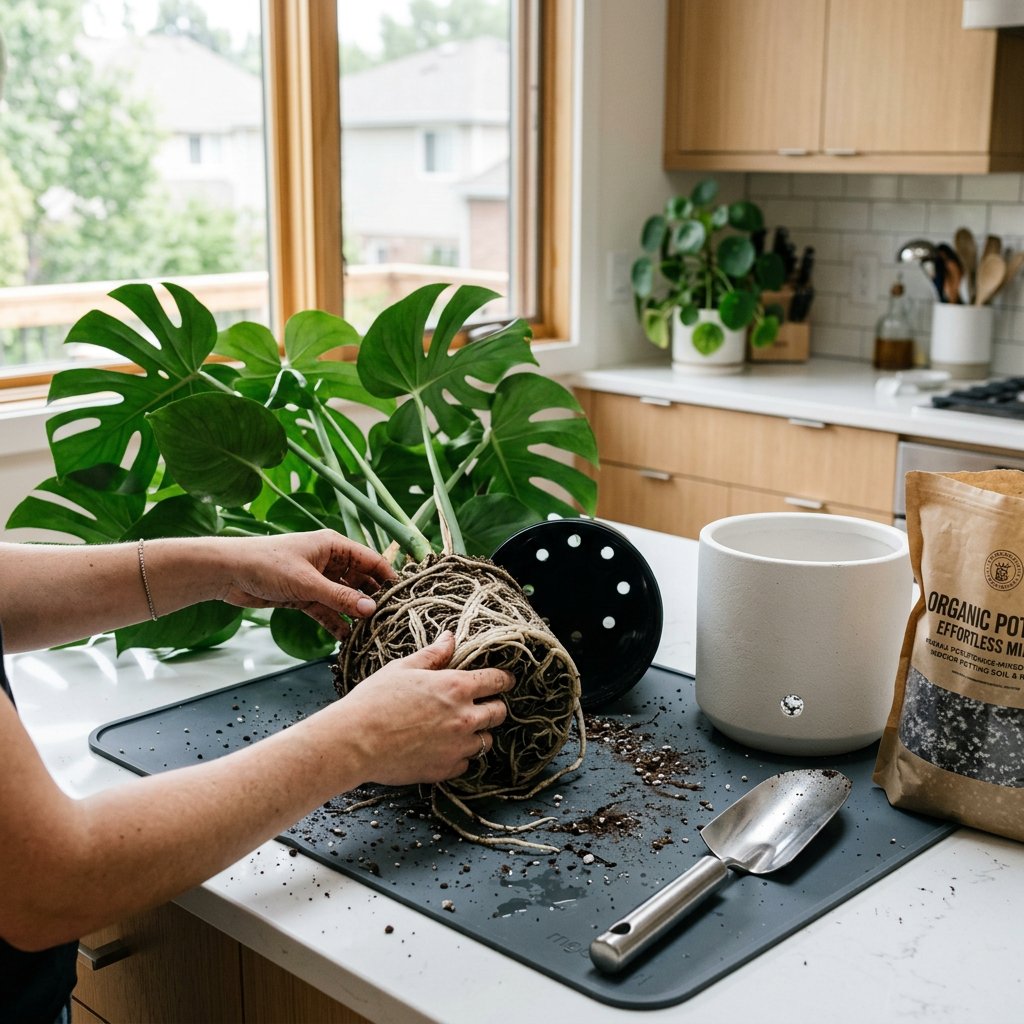
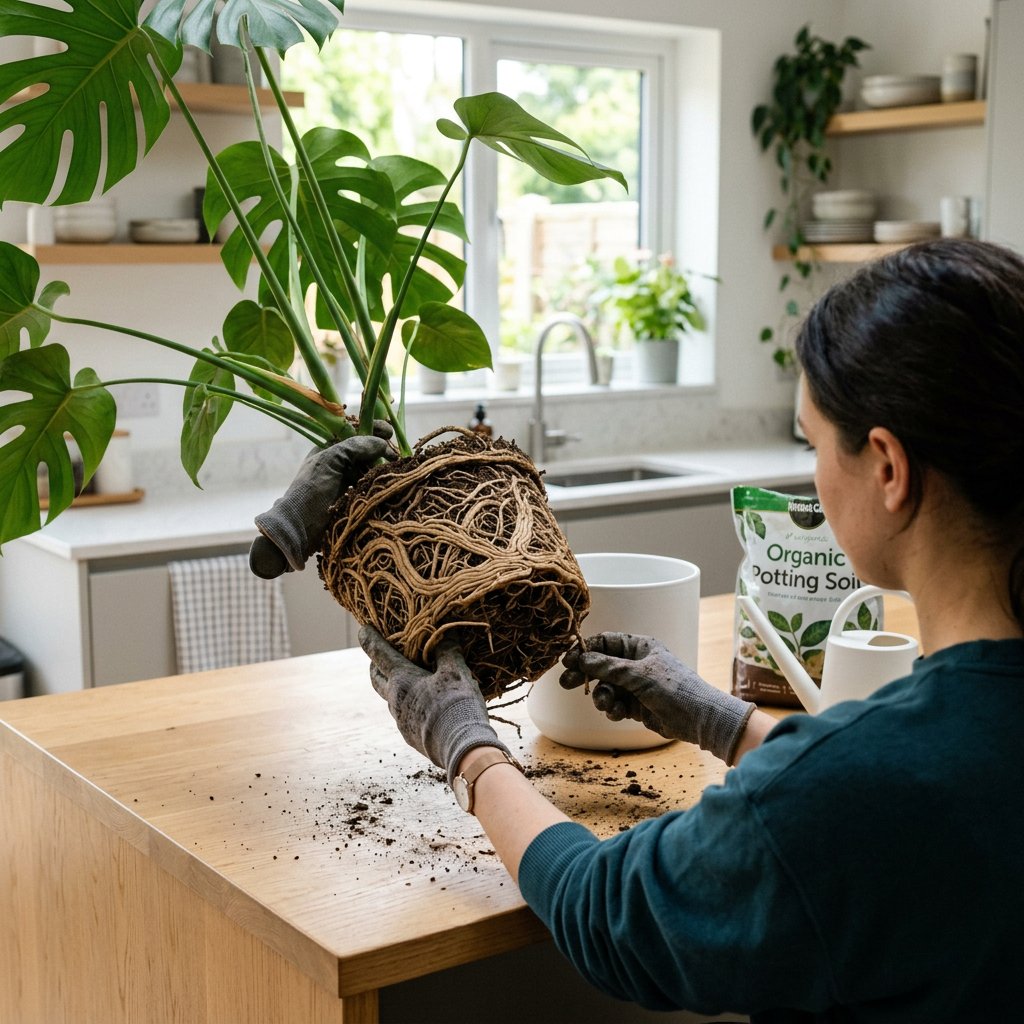
Step 3: Gently unpot and inspect the roots Tip your Monstera on its side and gently squeeze or tap the sides of the pot to slide the plant out. Avoid yanking it by the delicate stems. Once out, examine the roots. If they are tightly coiled in the shape of the pot, use your fingers to gently massage and loosen the bottom of the root ball. This encourages the roots to grow outward into the new soil rather than continuing to circle inward.
Step 4: Position and pot up Add a layer of your fresh soil mix to the bottom of the new pot. Place your Monstera in the center, making sure it sits at the same depth it did in the old pot. Fill in the gaps around the sides with your soil mix, pressing down lightly. Don't pack the soil too densely—the roots need to breathe! (Tip: This is the perfect time to insert a moss pole or support stake if your plant is getting top-heavy.)
Step 5: Water thoroughly and let it recover Give your freshly repotted Monstera a good drink of water until it flows out of the drainage holes. This helps settle the new soil and removes hidden air pockets. Place it back in its usual spot with bright, indirect light.
Post-Repotting Care
It is completely normal if your Monstera looks a tiny bit droopy or tired for a few days after repotting. This is known as transplant shock. Be patient, hold off on fertilizing for about four weeks to avoid burning the newly disturbed roots, and let it adjust to its roomy new home.
To make sure you stay on track with your newly repotted giant's hydration needs, don't forget to update your watering schedule and pot size in the Plantiary app. You've got this, plant parent—happy growing!