Have you ever noticed your favorite houseplant looking a little tired, no matter how much love, light, or water you give it? Please don't worry or feel discouraged—you aren't doing anything wrong! Plant parenting is a beautiful learning journey, and even the most experienced botanists run into mysterious plant slumps.
Often, the issue isn't happening above the soil, but is hidden right beneath it. Your leafy friend might simply be "root bound." If you are ever unsure what is wrong with your plant, you can use the AI-powered plant disease scanner in the Plantiary app to get a diagnosis in seconds. However, if you suspect your plant has simply outgrown its home, let’s dive into exactly what it means to be root bound and how you can easily give your plant a fresh start.
The Problem: Recognizing the Symptoms
A plant becomes root bound (also known as pot bound) when its root system completely fills the container, leaving no room for further growth. Instead of spreading outward to absorb nutrients and water, the roots begin to spiral around the inside of the pot, tangling into a dense, matted web.
Because the roots take up almost all the space, there is very little soil left to hold onto water or provide essential nutrients. Here are the most common signs that your plant is crying out for a larger pot:
- Roots are escaping: You might see thick roots poking out of the bottom drainage holes or creeping over the top surface of the soil.
- Water rushes right through: When you water the plant, the liquid immediately pours out the bottom. This happens because the dense root ball has displaced the soil, leaving nothing to retain the moisture.
- Stunted growth: Spring and summer are passing by, but your plant hasn't pushed out a single new leaf.
- Yellowing or wilting leaves: You may notice chlorosis (a botanical term for the yellowing of plant leaves), which happens because the root system can no longer absorb enough nutrients or water to support the foliage.
- A misshapen pot: If your plant is in a plastic nursery pot, the pressure from the growing roots might cause the container to bulge or crack.
The Causes: Why Does This Happen?
If your plant is root bound, take a moment to pat yourself on the back! It actually means you have done a wonderful job keeping it alive and growing. Plants become root bound simply because they are thriving and have outgrown their current environment.
In nature, a plant's roots have endless earth to explore. In our living rooms, they are confined to pots. Fast-growing species, like Spider Plants or Monsteras, can fill a container in just a few months. When we forget to check on their subterranean progress and skip repotting, those roots have nowhere to go but around in circles.
The Solutions: Step-by-Step Treatment
Rescuing a root bound plant is incredibly satisfying and entirely within your capabilities. Follow these scientifically sound steps to safely untangle the mess and promote vigorous new growth.
Step 1: Hydrate Before You Operate
Water your plant thoroughly one to two days before you plan to repot it. Well-hydrated roots are much more flexible and less prone to snapping than dry, brittle ones.
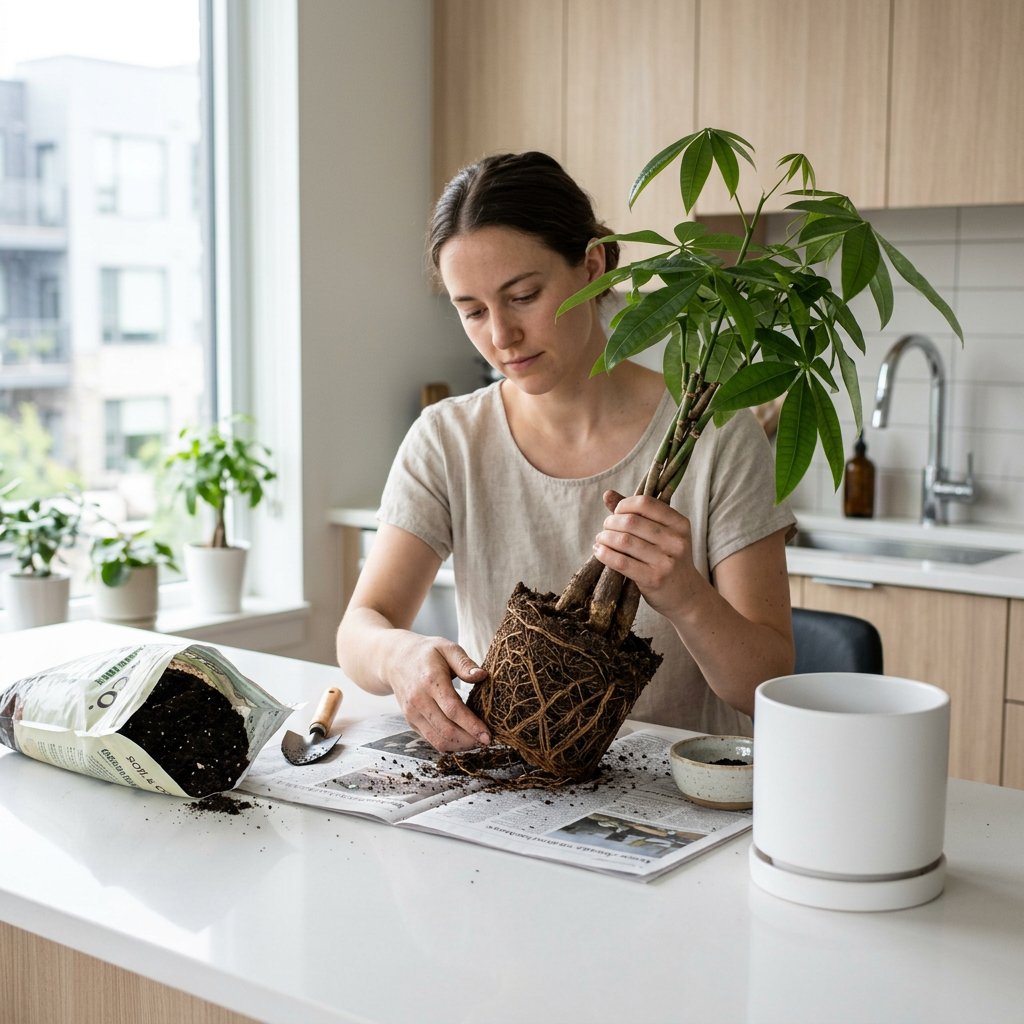
Step 2: Gently Unpot the Plant
Turn the pot sideways and gently coax the plant out. Never pull a plant by its delicate stems! If it is stubbornly stuck, gently squeeze or massage the sides of the plastic pot to loosen the root ball. If it's in a rigid ceramic pot, run a dull butter knife around the inner edge to free it.
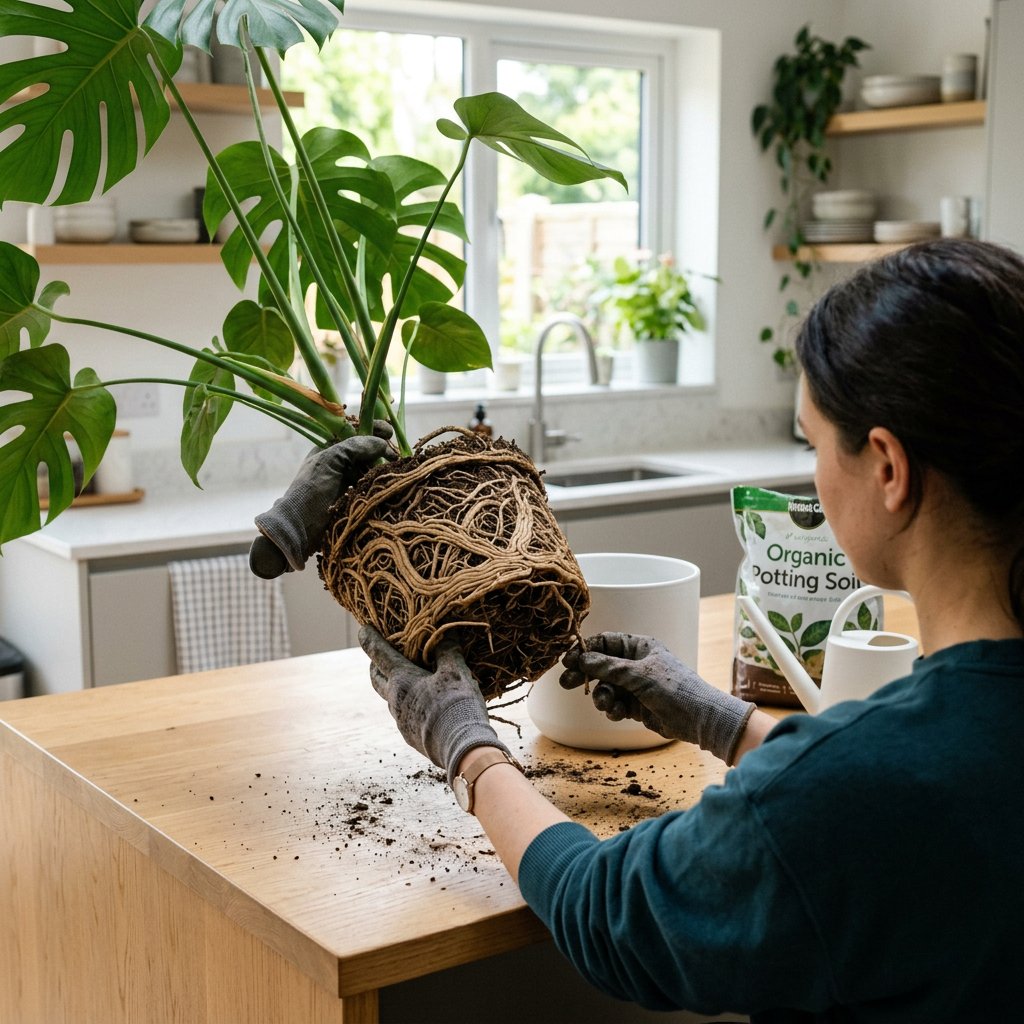
Step 3: Tease and Prune the Roots
This is the most crucial step! If you just place a tightly spiraled root ball into a new pot, the roots will continue to grow in a circle (a harmful process called girdling) and eventually choke the plant.
- Using your fingers, gently tease the roots apart, loosening the tight bottom and sides of the root ball.
- If the roots are too dense to untangle by hand, use clean, sterilized pruning shears to make three or four vertical slits along the bottom half of the root ball. This forces the roots to branch out into the new soil.
- Snip away any roots that are black, mushy, or completely dried out. Healthy roots should feel firm.
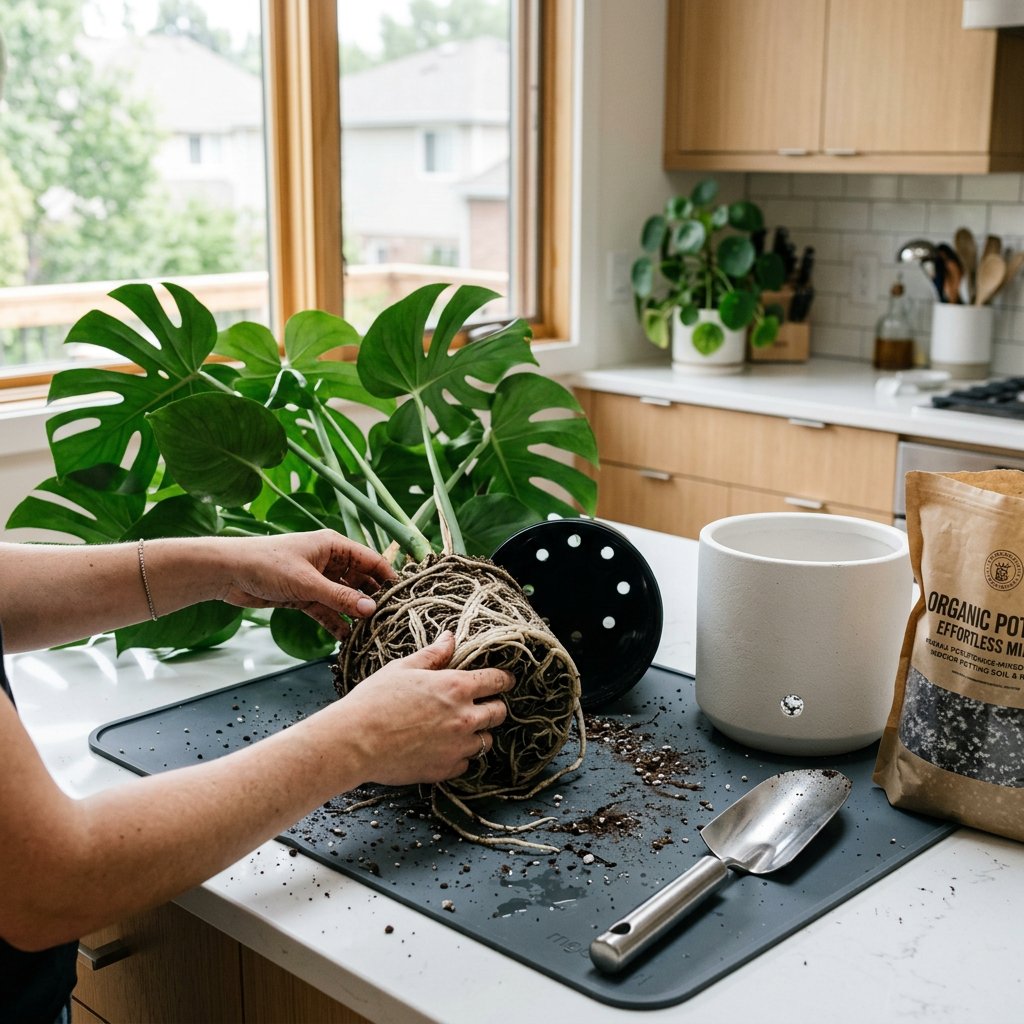
Step 4: Choose the Perfect New Home
Select a new pot that is only 1 to 2 inches larger in diameter than the old one. Putting a plant in a pot that is too large means the excess soil will hold onto too much water, leading to root rot. Ensure the new pot has adequate drainage holes!
Step 5: Repot with Fresh Soil
Add a layer of fresh, well-draining indoor potting mix to the bottom of the new pot. Place your plant inside, making sure the top of the root ball sits about an inch below the rim of the pot. Fill in the sides with fresh soil, pressing down lightly to remove large air pockets.
Step 6: Water and Monitor
Give your newly potted plant a good drink of water to help it settle. Keep in mind that plants can experience a mild case of "transplant shock" after their roots are disturbed. It might look slightly droopy for a week or two—this is perfectly normal! Keep it out of harsh, direct sunlight while it recovers.
To make sure you never miss a watering or repotting milestone again, you can log your plant's fresh start in the Plantiary app and set up customized care reminders. With a little extra breathing room, your plant will reward you with beautiful, vibrant new growth in no time!