There is nothing quite as heartbreaking as watching your magnificent Monstera deliciosa lose its vibrant, fenestrated leaves to a mysterious ailment. If your usually resilient jungle giant is suddenly looking sad, droopy, and yellow, you might be dealing with the dreaded houseplant boogeyman: root rot. But take a deep breath! Plant parenting is a journey full of trial and error, and dealing with sick plants is practically a rite of passage. You are not a bad plant parent, and with a little bit of plant pathology and some TLC, your Monstera can absolutely bounce back.
Here is exactly how to identify, understand, and fix Monstera root rot before it is too late.
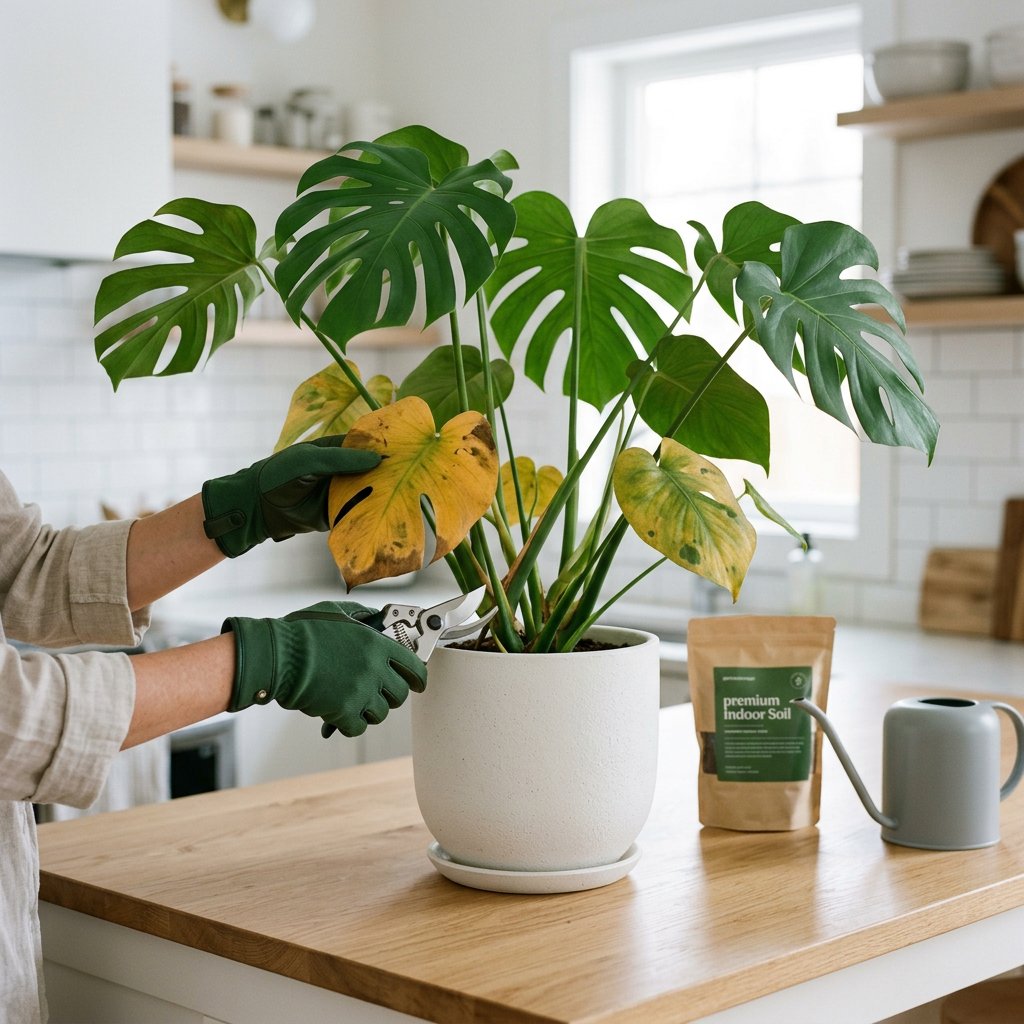
The Problem: Spotting the Symptoms of Monstera Root Rot
Because root rot happens beneath the surface of the soil, it often goes unnoticed until the plant starts showing distress signals above ground. Here are the most common symptoms to look out for:
- Yellowing Leaves (Chlorosis): Chlorosis is the loss of green pigment in leaves. If your Monstera’s lower leaves are turning a sickly, uniform yellow, the roots are likely suffocating and failing to absorb nutrients.
- Wilting Despite Wet Soil: This is the ultimate paradox. Your plant looks thirsty and wilted, but when you touch the soil, it is soaking wet. This happens because the rotted roots are completely dead and cannot drink up the water you are giving them.
- A Foul, Swampy Odor: Healthy soil smells earthy and fresh. If you put your nose near the soil and detect a rotting, sulfur-like, or swampy smell, fungal or bacterial rot has set in.
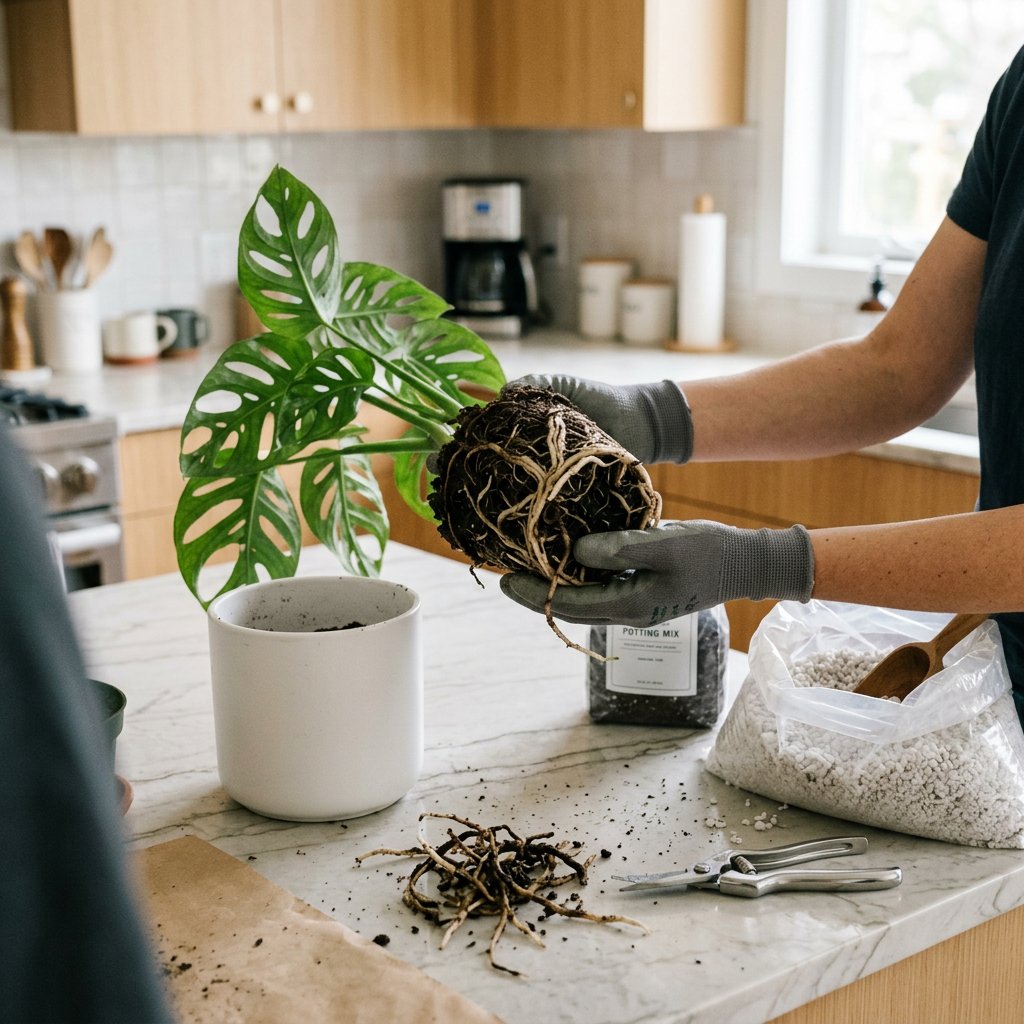
- Black, Mushy Roots: The definitive sign of root rot. Healthy Monstera roots are firm, thick, and typically white or light tan. Rotted roots are dark brown or black, slimy, and will easily turn to mush or snap off when you gently pull them.
Pro Tip: If you are noticing yellow leaves or dark spots but aren't quite sure of the culprit, you can use the AI-powered plant disease scanner in the Plantiary app. Just snap a quick photo, and the app will help you get an accurate diagnosis in seconds!
The Causes: Why Does Root Rot Happen?
Root rot is essentially a fungal or bacterial infection that thrives in anaerobic (oxygen-starved) environments. Monsteras are epiphytes in the wild, meaning they grow up trees and their roots are accustomed to plenty of airflow. When we bring them indoors, root rot is usually triggered by:
- Overwatering: Loving your plant a little too much and watering it before the soil has had a chance to dry out.
- Poor Drainage: Planting your Monstera in a decorative pot without drainage holes allows water to pool at the bottom, creating a toxic swamp.
- Dense Soil: Using a standard, heavy potting soil that holds onto moisture for too long and compacts around the roots, choking out oxygen.
The Solutions: Step-by-Step Treatment to Save Your Monstera
If you have confirmed root rot, it is time to perform a little bit of plant surgery. Do not panic—just follow these scientifically proven steps to nurse your plant back to health.
Step 1: Unpot and Inspect the Roots Gently pull your Monstera out of its pot. Take it outside or to a sink and carefully massage the root ball to loosen the old, soggy soil. Rinse the roots under room-temperature water so you can clearly see what you are working with.
Step 2: Prune the Rot Before you begin, wipe your pruning shears with rubbing alcohol to sterilize them. Carefully cut away all the black, mushy, and smelly roots. You must be ruthless here! Even if you have to remove a large portion of the root system, leave only the firm, healthy roots behind. Leaving any rot can cause the infection to spread.
Step 3: Disinfect the Remaining Roots To kill off any lingering fungal spores or bacteria, treat the healthy roots. You can spray them with a copper-based plant fungicide or use a mild hydrogen peroxide bath (mix one part 3% hydrogen peroxide with two parts water and soak the roots for 15 minutes).
Step 4: Repot in Fresh, Airy Soil Never reuse the old, infected soil! Your Monstera needs a chunky, well-draining "aroid mix" to promote airflow. You can easily make this by mixing equal parts high-quality potting soil, orchid bark, and perlite. Ensure your new pot is clean and has large drainage holes at the bottom.
Step 5: Adjust Your Watering Routine Once repotted, give your Monstera a light watering. Moving forward, always allow the top two to three inches of soil to dry out completely before watering again.
A Quick Note on Aftercare
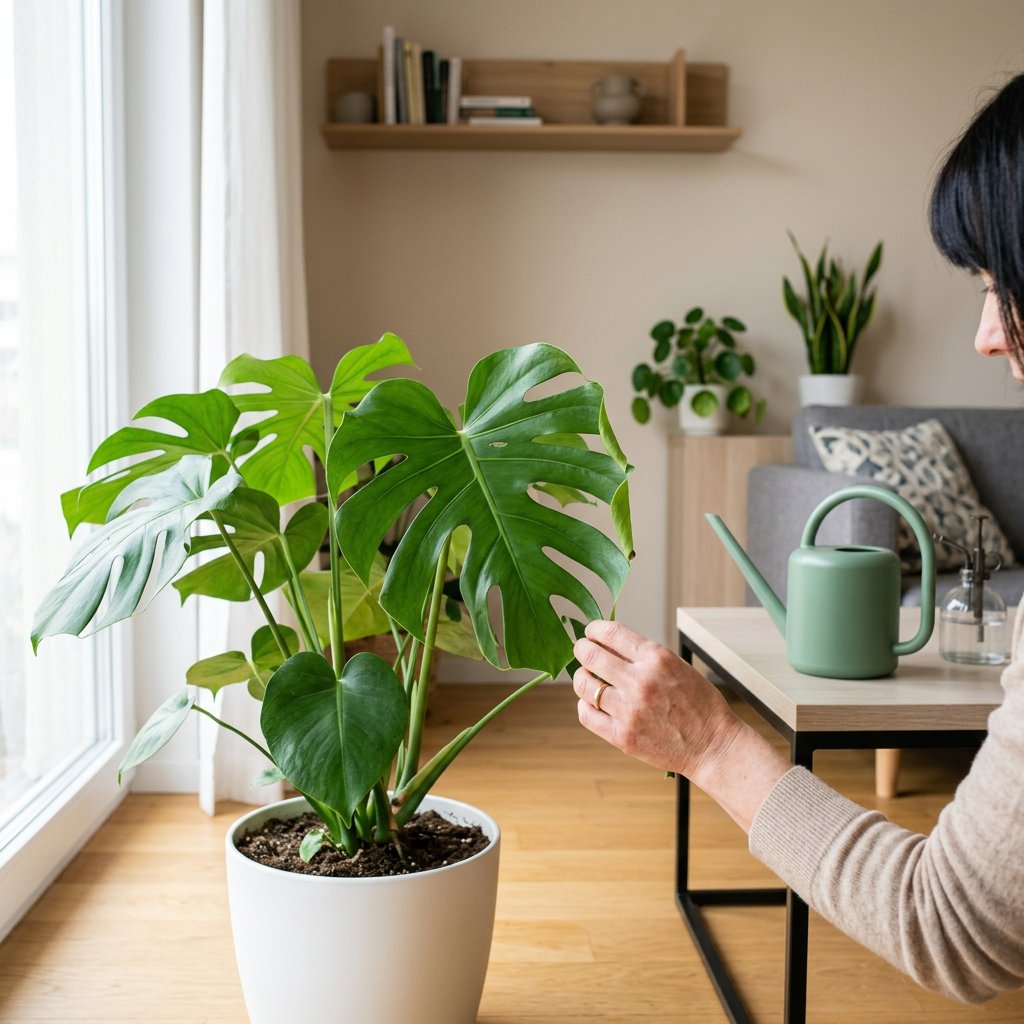
After this surgical procedure, your Monstera will likely experience transplant shock. It might look a little sad or lose another leaf while it focuses its energy on regrowing a healthy root system. Keep it in a warm spot with bright, indirect light, and hold off on using any fertilizer for at least a month so you don't burn the fragile new roots.
To prevent root rot from ever returning, consider setting up a custom care schedule using the watering tracker in the Plantiary app. It will remind you exactly when it's time to check on your Monstera, ensuring your jungle giant stays happy, healthy, and thriving for years to come!