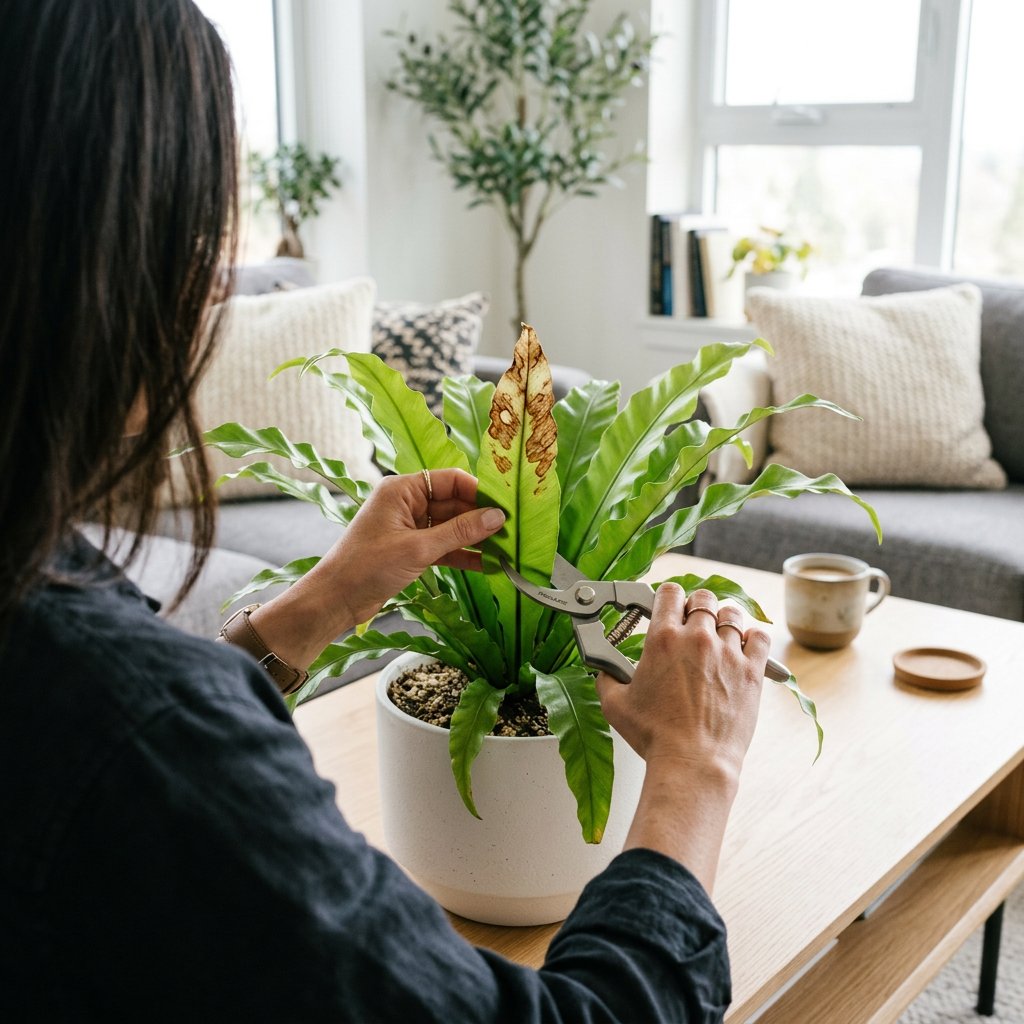
There is nothing quite like the lush, vibrant green fronds of a Bird’s Nest Fern (Asplenium nidus) unfurling from its cozy center. But when those pristine leaves suddenly develop unsightly brown spots, it can feel like a punch to the gut. If you have just noticed browning on your beloved fern, take a deep breath! Plant parenting is a journey full of learning curves, and spotting these issues simply means you are paying close attention. Brown spots are a very common issue for ferns, and with a few gentle tweaks to your care routine, your plant can bounce back beautifully.
The Problem: Reading the Symptoms
Before we dive into the fixes, it helps to understand what your fern is trying to tell you. Not all brown spots are created equal. Grab your plant and take a closer look at the blemishes:
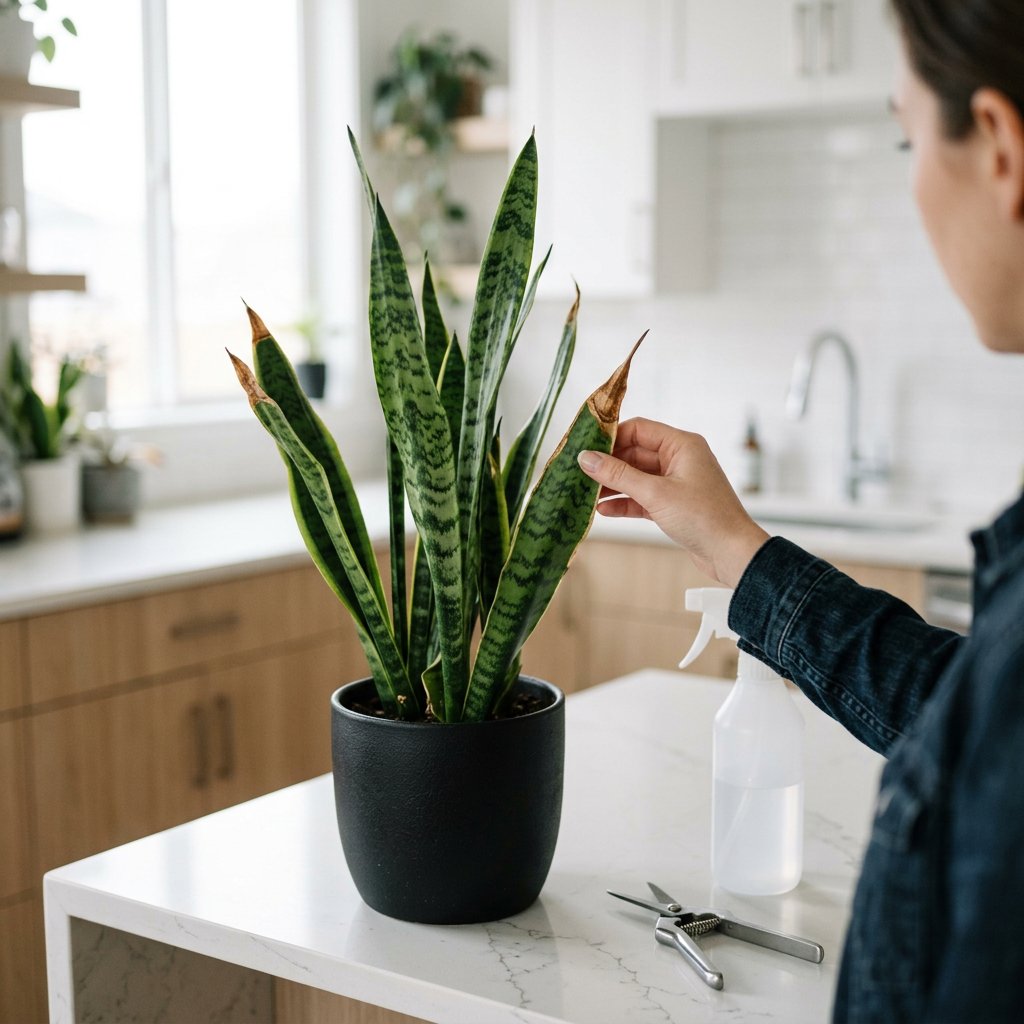
- Crispy, dry brown edges or tips: This usually points to environmental stress, like a lack of moisture in the air.
- Dark, mushy brown patches: Often surrounded by a yellow halo (a condition known as chlorosis, which simply means a loss of green chlorophyll), these spots usually indicate a fungal or bacterial infection.
- Neat, fuzzy brown lines on the underside of the leaf: Stop right there! These are not a disease. These are spores, the natural way your fern reproduces. If you see these symmetrical, fuzzy stripes, your plant is perfectly healthy and happy!
The Causes: Why is My Bird's Nest Fern Browning?
To cure the spots, we need to find the root cause. Here are the most common culprits behind brown spots on a Bird’s Nest Fern:
1. Water in the "Nest" (Crown Rot)
The most unique feature of this plant is its central rosette—the "nest" where new fronds emerge. In nature, this shape catches falling leaves and organic matter. However, indoors, if you water your fern from above and water pools in this center, it creates a breeding ground for bacteria and fungi. This quickly leads to crown rot (the decay of the plant’s central growing point) and fungal leaf spots.
2. Low Humidity
Ferns are tropical plants that thrive in jungle-like moisture. When the air in your home is too dry—especially during winter when indoor heaters are running—the delicate fronds will lose moisture faster than the roots can absorb it, leading to dry, crispy brown spots and crispy tips.
3. Overwatering and Poor Drainage
While ferns love slightly moist soil, they despise sitting in a puddle. Soil that stays soggy prevents the roots from breathing, leading to root rot. When roots die, they cannot transport water to the leaves, paradoxically causing the fronds to dry out, brown, and die.
4. Sunburn
Bird's Nest Ferns naturally grow under the canopy of larger trees, receiving dappled sunlight. If you place your fern in direct, harsh sunlight, the UV rays will scorch the leaves, leaving faded, bleached, or crispy brown sunburn spots.
The Solutions: Step-by-Step Treatment
Ready to nurse your fern back to health? Follow these steps to stop the brown spots in their tracks and encourage fresh, green growth.
Step 1: Get a Quick Diagnosis
If you are unsure what is wrong with your plant or can't tell if a spot is fungal or just dry, you can use the AI-powered plant disease scanner in the Plantiary app to get a diagnosis in seconds! It’s like having a botanist in your pocket, taking the guesswork out of plant care.
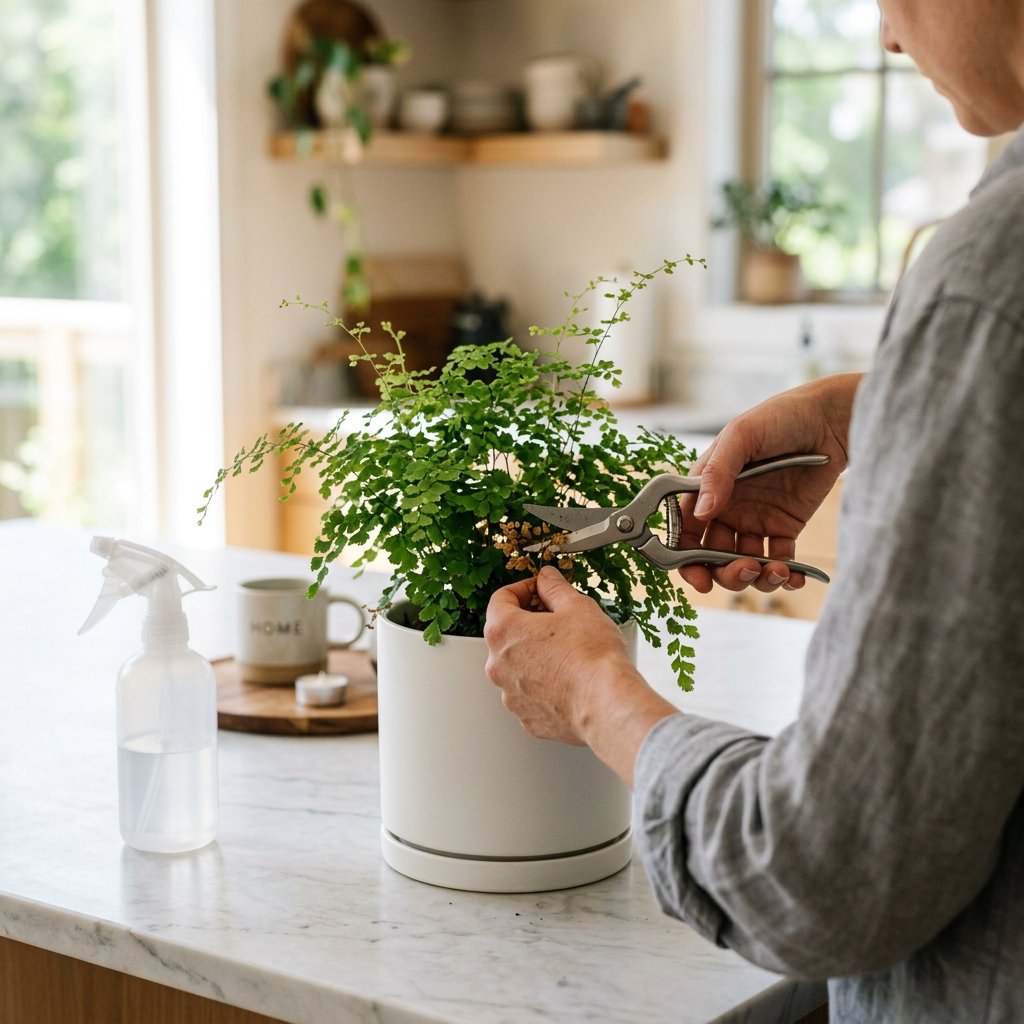
Step 2: Prune the Severely Damaged Leaves
Leaves that are heavily spotted or mushy will not turn green again. Using clean, sterilized scissors, carefully snip off the worst-affected fronds at the base. This stops any potential fungal infections from spreading and redirects the plant's energy into growing healthy new leaves.
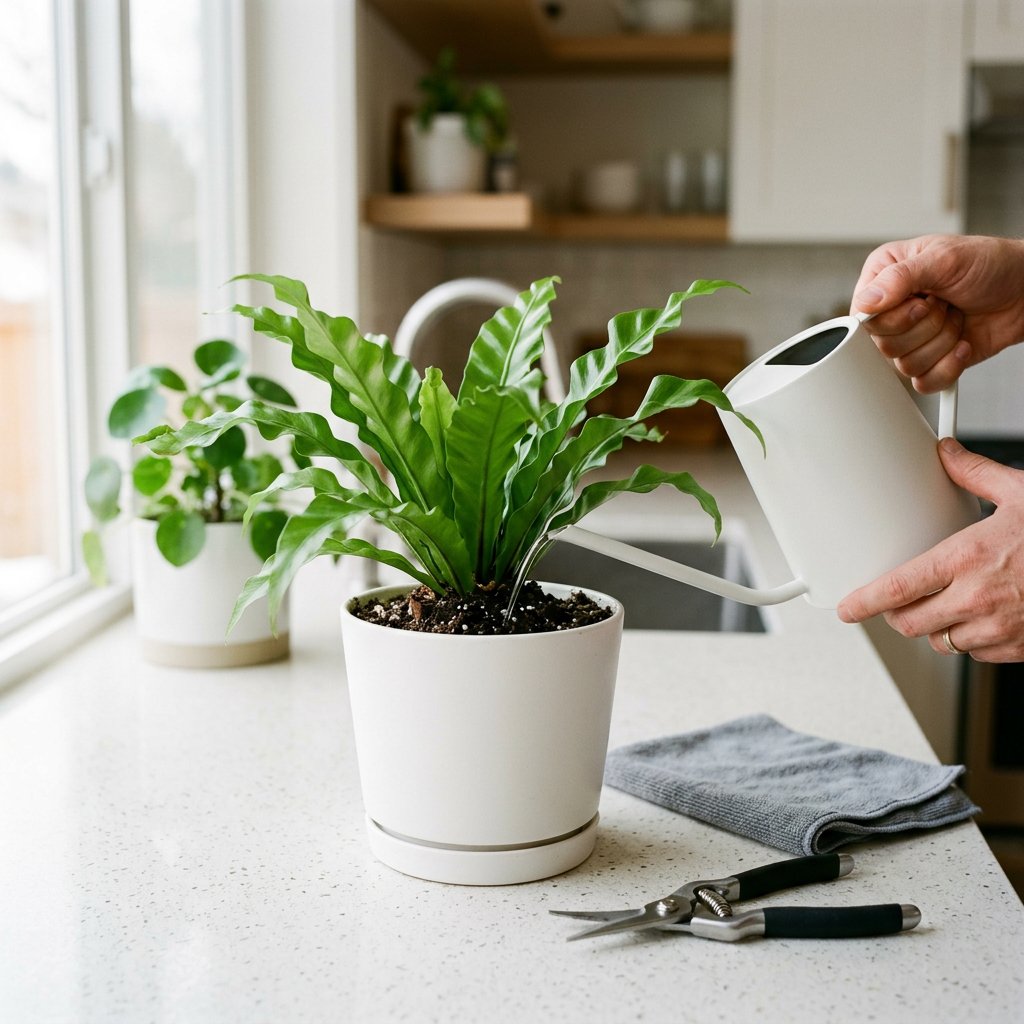
Step 3: Change Your Watering Technique
Never water a Bird's Nest Fern from the top down. Instead, water the soil directly around the base of the plant, keeping the central rosette completely dry. Even better, try bottom watering: place the fern's nursery pot in a bowl of water for 20 minutes and let the soil soak up moisture from the drainage holes. Always let the top inch of soil dry out before watering again.
Step 4: Boost the Humidity
Treat your fern to a spa day! Increase the humidity around your plant to at least 50-60%. You can do this by:
- Running a small humidifier near the plant.
- Placing the fern's pot on a pebble tray filled with water (ensure the bottom of the pot sits on the pebbles, not directly in the water).
- Moving the fern to a naturally humid room, like a bright bathroom.
Step 5: Adjust the Lighting
If you suspect sunburn, gently relocate your fern. Find a spot that receives bright, indirect light—think of an East-facing window or a few feet away from a South-facing window protected by a sheer curtain.
Remember, seeing brown spots on your Bird's Nest Fern does not mean you are a bad plant parent. Plants are living things, and they react to their environments. By adjusting your watering habits and boosting humidity, you will soon see a beautiful, bright green "nest" of new fronds emerging!