There is nothing quite as heartbreaking as bringing home a lush, delicate Maidenhair Fern (Adiantum), only to watch its beautiful green leaves turn into a crispy, brown mess a week later. If you are currently staring at a crunchy plant, take a deep breath—you are absolutely not a bad plant parent! Maidenhair Ferns are notoriously dramatic, and almost everyone has struggled with them at some point.
The good news is that ferns are incredibly resilient. With a few tweaks to your care routine and the help of the Plantiary app to keep you on track, you can coax your fern back to its fluffy, vibrant self.
The Problem: Spotting the Symptoms
Before we jump into the fix, let's look at what your plant is actually experiencing. When a Maidenhair Fern is in distress, it doesn't just wilt; it undergoes what looks like rapid drying. You might notice:
- Browning edges: The delicate leaflets start turning brown and brittle at the tips.
- Shriveling stems: Entire fronds (the botanical term for fern leaves) curl inward, lose their bright green color, and dry up entirely.
- Leaf drop: A gentle shake of the pot results in a shower of tiny, crispy leaves all over your floor.
The Causes: Why Is My Maidenhair Fern Crispy?
Maidenhair Ferns naturally grow on damp, shaded forest floors or tucked into the crevices of waterfalls. When we bring them into our relatively dry human homes, they often experience a bit of culture shock. Here are the main culprits behind the crunch:
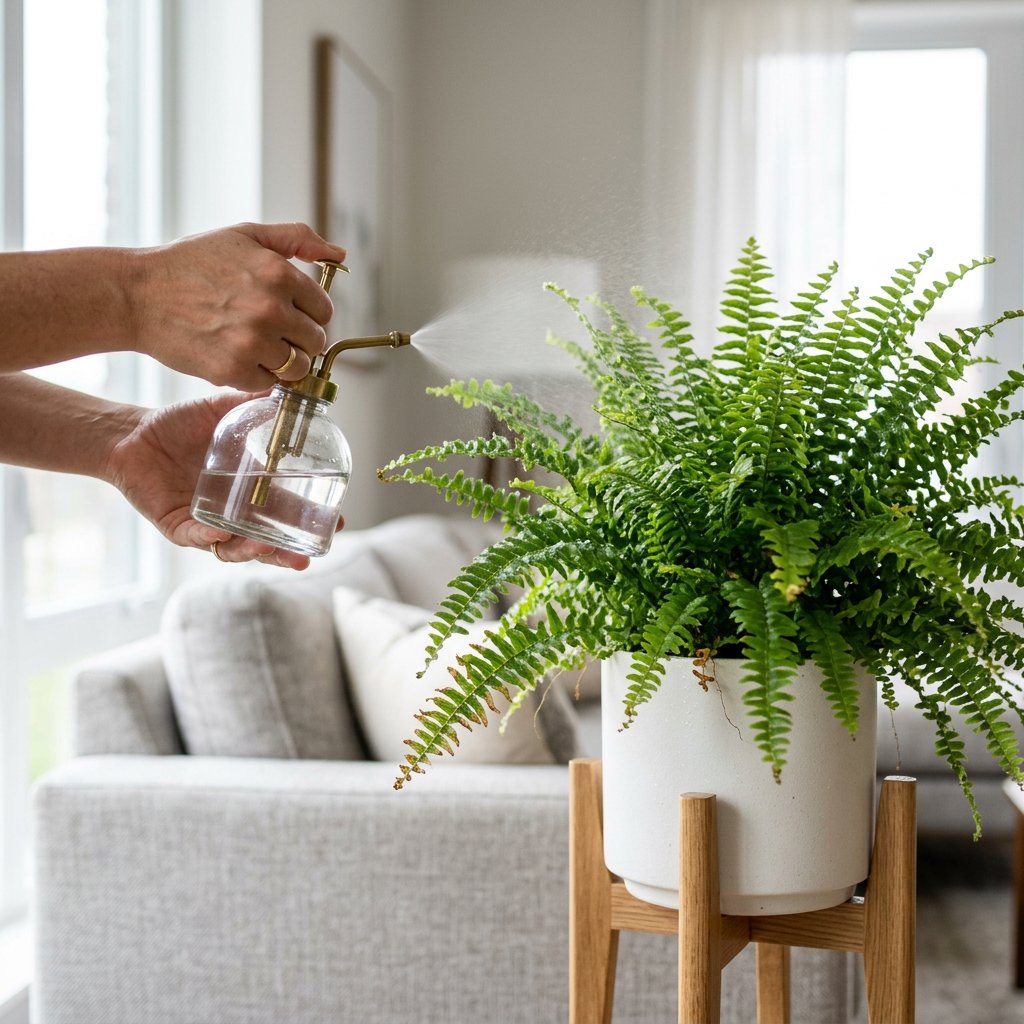
- Low Humidity: This is the number one cause of crispy fern leaves. Central heating and air conditioning strip moisture from the indoor air, causing the fern to lose water through its leaves faster than it can absorb it.
- Underwatering: Maidenhair Ferns have incredibly fine, shallow root systems. If the potting mix dries out completely, the roots undergo desiccation (extreme, damaging dryness), causing the fronds above to die back rapidly.
- Direct Sunlight: In nature, these plants live in dappled, gentle shade. Placing them in direct, hot sunlight will literally scorch their fragile leaves, leading to irreversible crisping.
- Drafts and Temperature Swings: Sudden blasts of cold air from a drafty window or hot, dry heat from a radiator will instantly stress the plant.
The Solutions: Step-by-Step Revival Guide
Don't throw your fern in the compost bin just yet! Even if all the leaves appear dead, the root system or rhizome (the horizontal underground plant stem) might still be very much alive. Follow these steps to rehabilitate your plant:
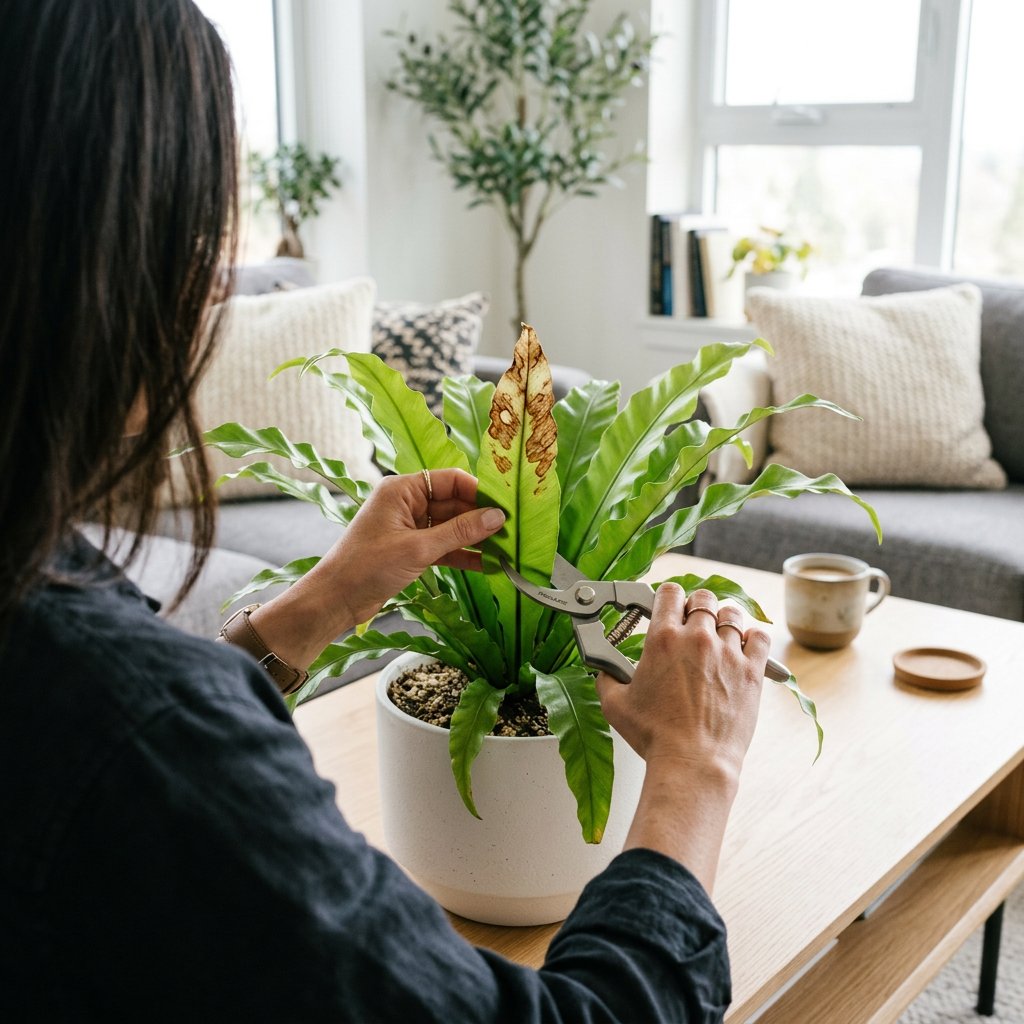
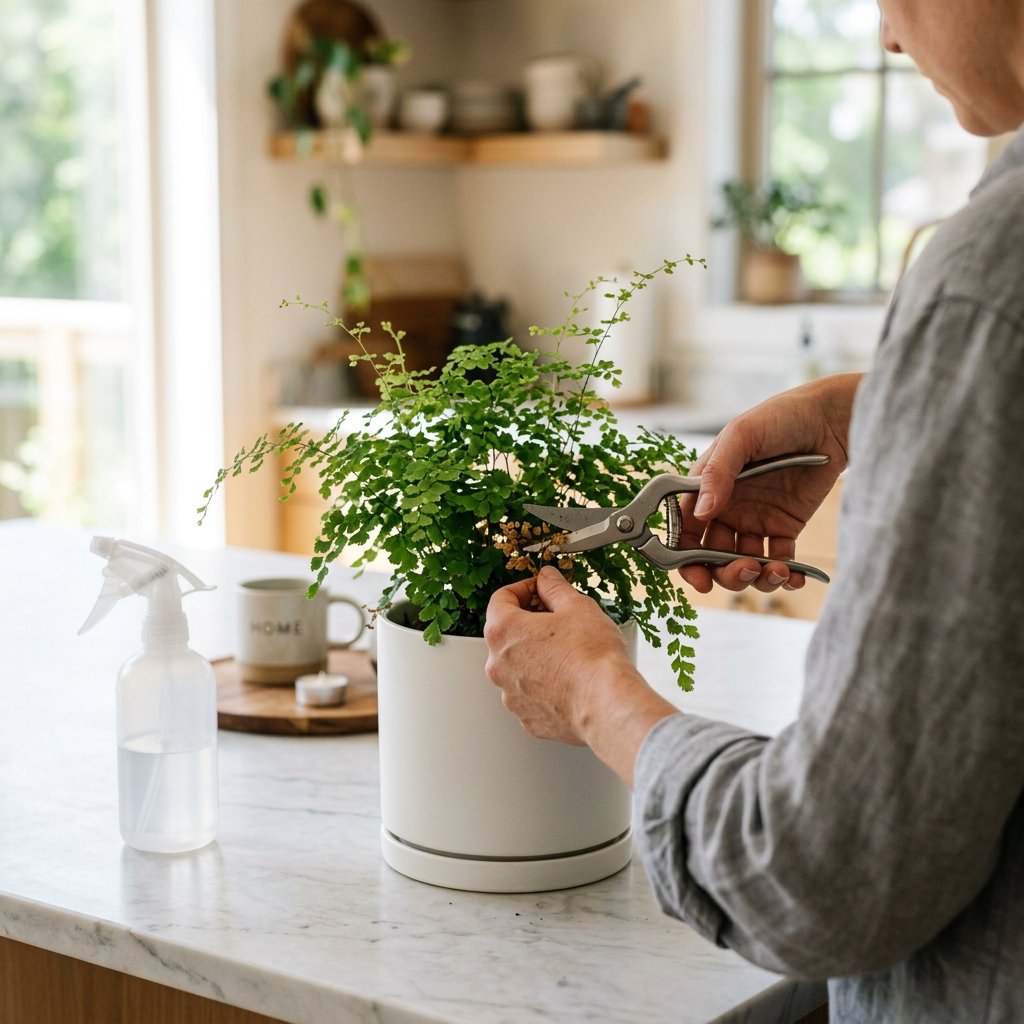
Step 1: Prune the dead fronds Crispy brown leaves will never turn green again, so it is best to remove them so the plant can direct its energy toward new growth. Using clean, sharp scissors, snip off the completely dead stems right at the soil line. If the whole plant is crispy, cut it all the way back. It feels drastic, but it is the best way to trigger a fresh start!
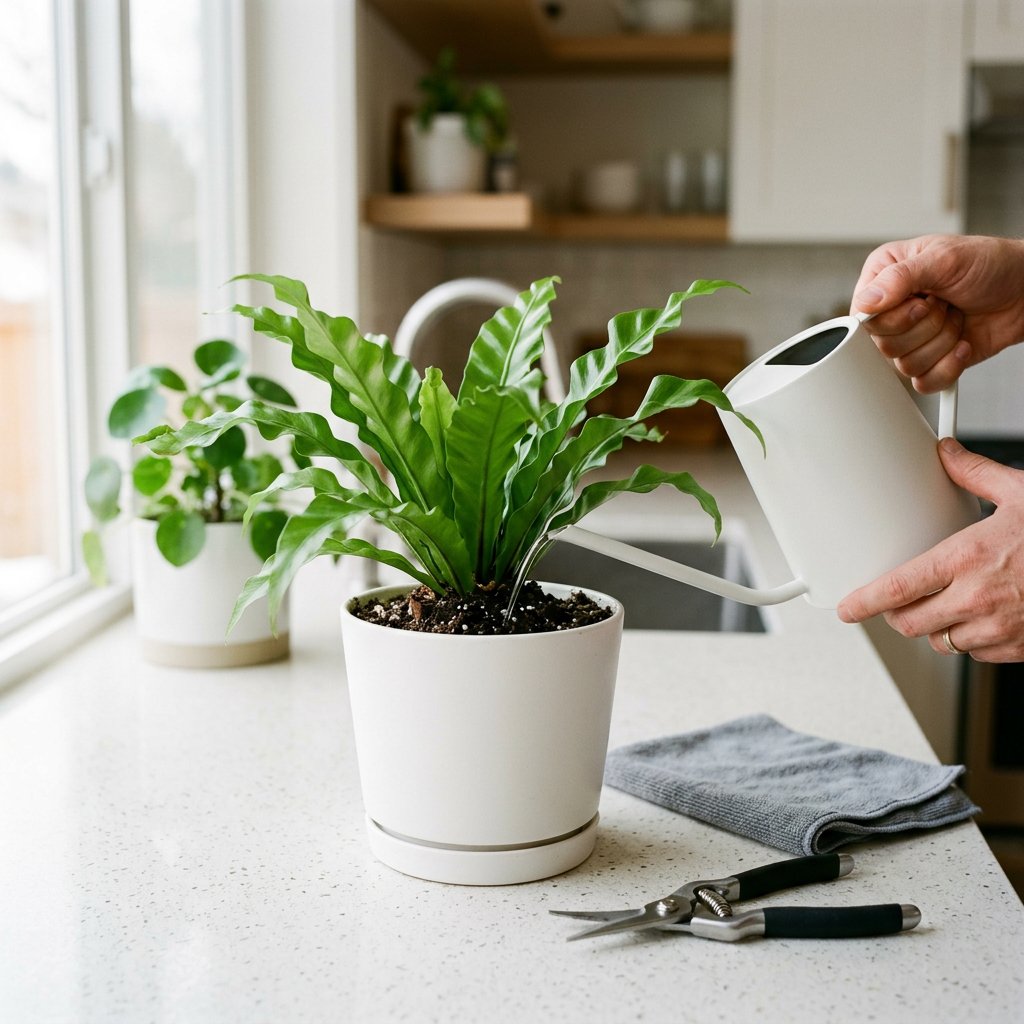
Step 2: Rehydrate the roots If the soil is bone dry, a simple pour of water from the top won't be enough because the soil might have become hydrophobic (meaning it actively repels water). Instead, you need to bottom-water your fern. Place the nursery pot in a bowl of room-temperature water for 20 to 30 minutes, allowing the soil to soak up moisture from the bottom like a sponge. Moving forward, keep the soil consistently lightly moist, but never soggy.
Step 3: Boost the ambient humidity Your fern needs a humid environment to thrive. You can easily achieve this by placing a small humidifier nearby, moving the plant to a naturally humid room like a bathroom with a window, or placing the pot on a pebble tray filled with water. Just make sure the bottom of the pot sits on top of the dry pebbles, not directly in the water itself, to prevent root rot.
Step 4: Relocate for perfect lighting Move your fern to a spot with bright, indirect light. A North or East-facing window is usually perfect. Keep it far away from drafty doors, air conditioning units, and heating vents.
If you are unsure if your lighting is right, you can use the light meter feature in the Plantiary app to measure the exact brightness in your room and find the absolute perfect spot for your fern!
Patience Pays Off
Reviving a Maidenhair Fern requires a little patience. After cutting it back and fixing its environment, you should start to see adorable, tiny green fiddleheads (new fern fronds curled up tightly like a scroll) emerging from the soil within a few weeks.
Don't beat yourself up over a few crispy leaves. Gardening is a learning process, and every mistake simply makes you a more experienced plant parent. To avoid future watering mishaps and keep your humidity in check, simply set a custom watering and misting schedule in your Plantiary app, and let us remember the chores for you!