Have you ever brought home a stunning, vibrant bromeliad, enjoyed its exotic bloom for months, only to panic as the flower turns brown and the whole plant starts looking a little sad? If you are currently staring at a declining bromeliad and wondering where you went wrong, take a deep breath. It happens to the best of us, and there is absolutely no need to feel guilty!
Plant parenthood is full of surprises, and in the case of bromeliads, this seemingly tragic event is actually a beautiful, completely natural part of the plant’s life cycle. Let’s explore exactly what is happening to your plant and how you can turn this "loss" into a brand-new generation of houseplants.
The Problem: Symptoms of a Fading Bromeliad
When a bromeliad begins to reach the end of its life cycle, it will show a few very distinct signs. You might notice:
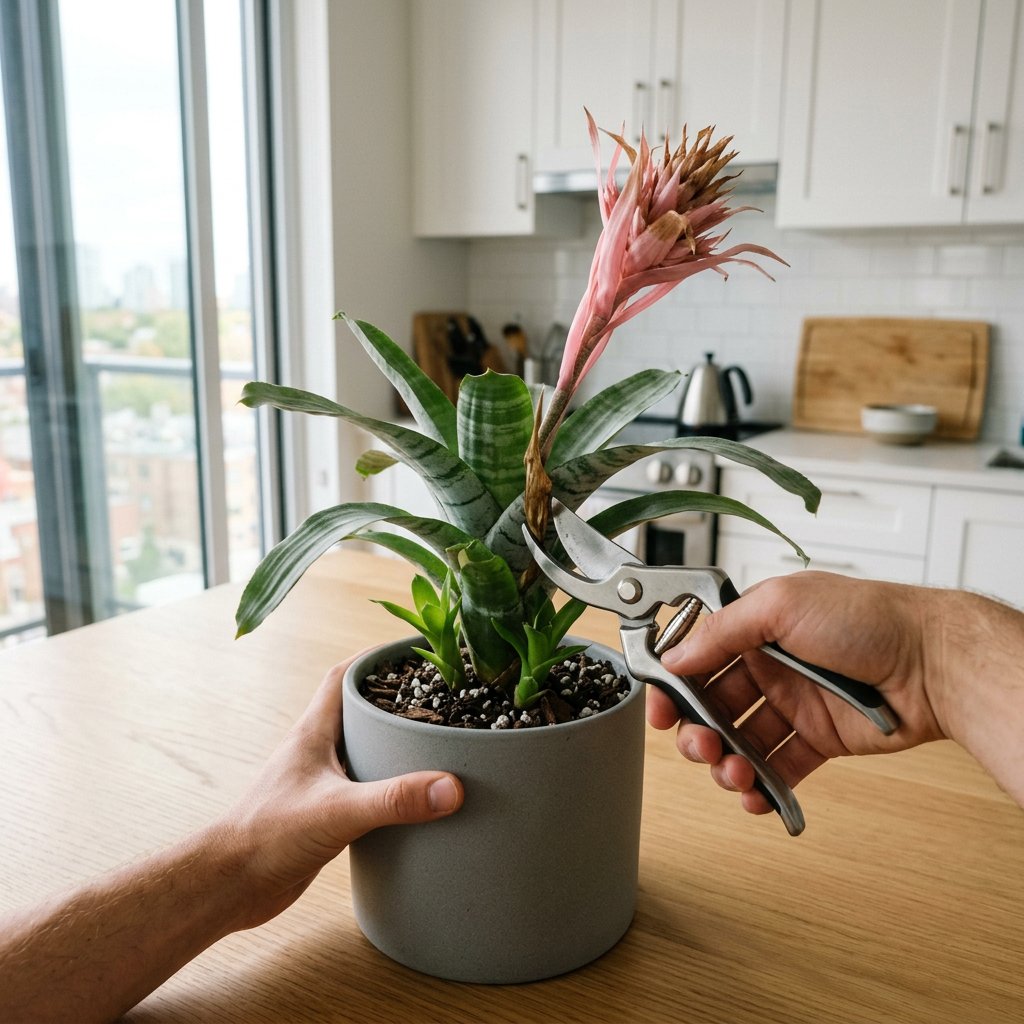
- A dying flower stalk: The brightly colored spike in the center (scientifically known as the inflorescence) begins to dry up, lose its vibrant color, and turn brown or crispy.
- Fading foliage: The beautiful green leaves of the main plant may start to droop, yellow, or turn brown at the tips.
- General loss of vigor: The plant stops growing and generally looks tired, no matter how perfectly you water it.
If you are unsure whether your plant is experiencing a natural decline or suffering from a pest or watering issue, you can always use the AI-powered plant disease scanner in the Plantiary app to get a quick, accurate diagnosis in seconds!
The Causes: Why is Your Bromeliad Dying?
Here is the secret to understanding your bromeliad: they are monocarpic plants. Monocarpic simply means that the plant will flower only once in its entire lifetime, and after it finishes blooming, it naturally begins to die.
The mother plant pours absolutely all of her stored energy into creating that spectacular flower to reproduce. Once the bloom is spent, her job is done. The decline of your bromeliad is not a result of bad lighting, improper watering, or poor care on your part. It is simply nature taking its course!
However, the story doesn't end there. Before the mother plant fully fades away—a process called senescence (natural aging)—she uses her remaining energy to produce baby plants around her base, affectionately known as "pups."
The Solutions: Step-by-Step Guide to Saving Your Bromeliad
Instead of throwing the plant away, you can harvest these pups to multiply your plant collection! Here is exactly how to care for your bromeliad through this transition and successfully raise its babies.
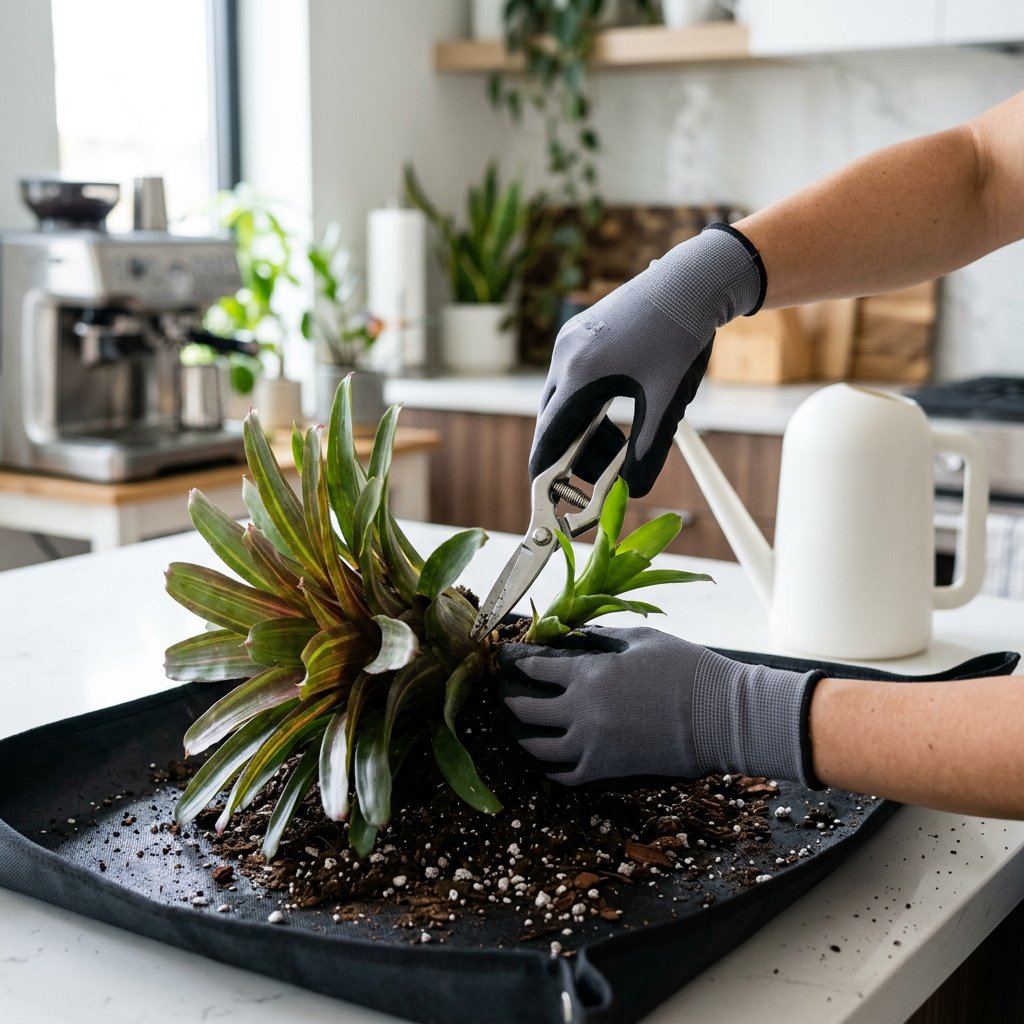
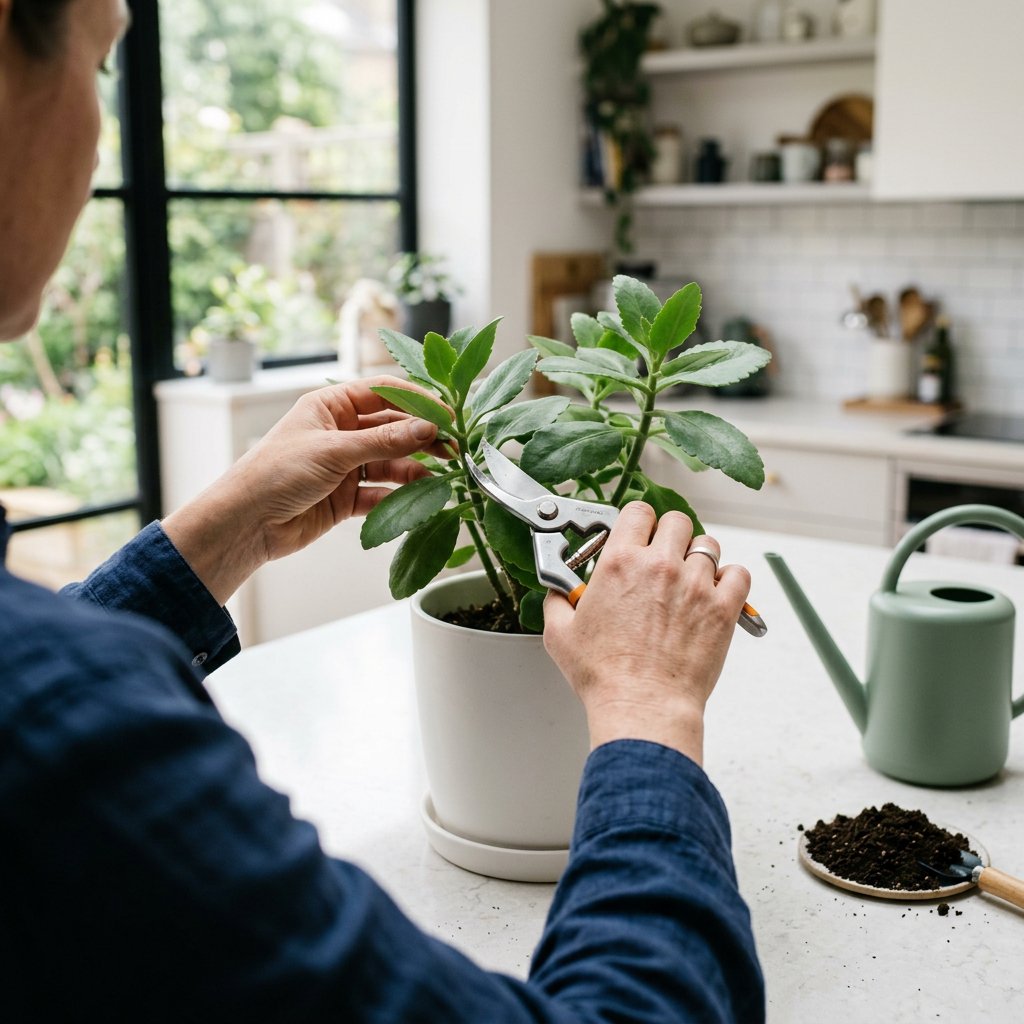
Step 1: Prune the spent flower
Once the colorful flower stalk becomes fully brown and unsightly, it’s time to remove it. Using a clean, sterilized pair of pruning shears, cut the stalk down as close to the central cup as possible. This stops the mother plant from wasting energy on a dead flower and redirects her focus into growing healthy pups.
Step 2: Continue your normal care routine
Do not abandon the mother plant just yet! Continue to provide her with bright, indirect light. Keep watering her normally by pouring water into the central "tank" (the cup formed by her leaves) and keeping the soil lightly moist. If you struggle to remember when to water, you can easily set up a customized watering schedule in the Plantiary app.
Step 3: Wait patiently for the pups to grow
Over the next few weeks or months, you will see small replicas of the mother plant emerging near the soil line. Do not remove them immediately! Pups need time to develop their own root systems. A good rule of thumb is to wait until the pups are at least one-third to one-half the size of the mother plant before you intervene.
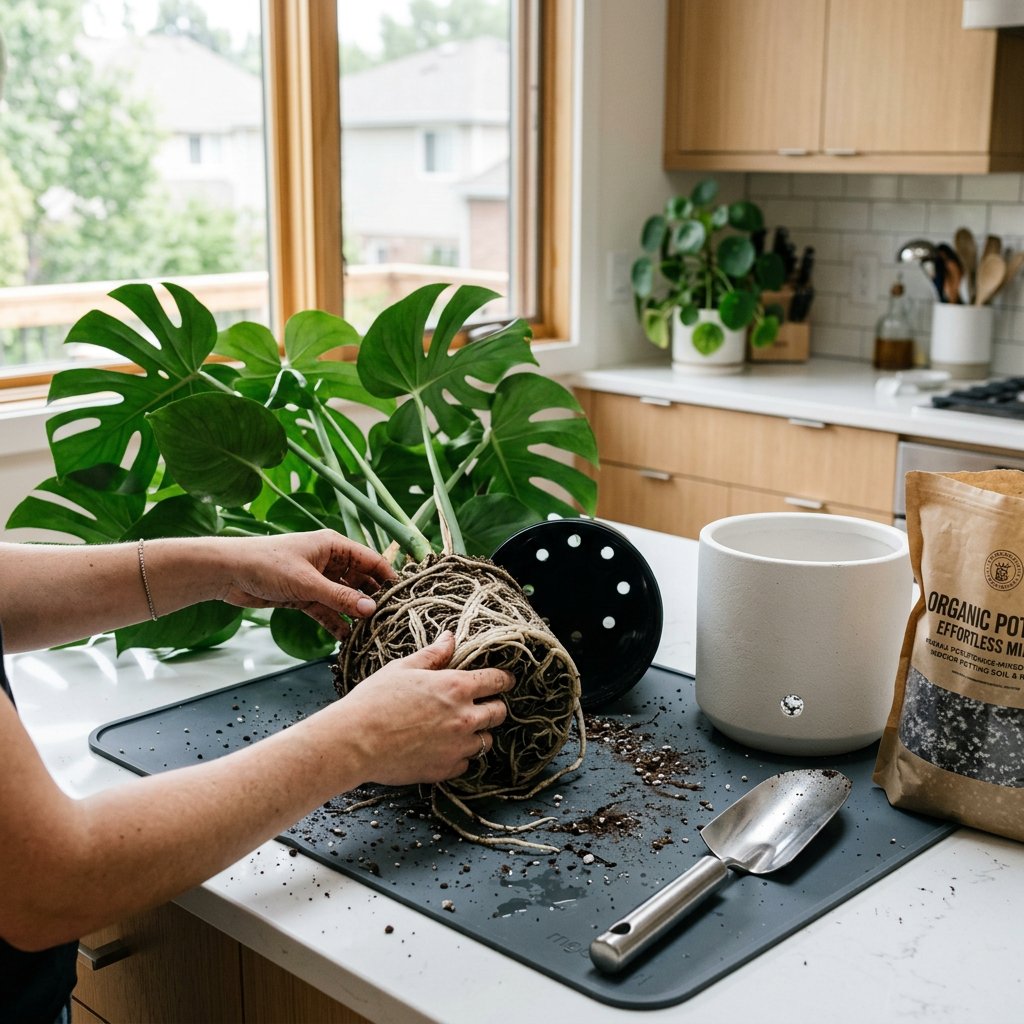
Step 4: Separate the pups safely
Once the pups are large enough, gently remove the entire plant from its pot. Using a sharp, sterilized knife, carefully cut the pup away from the mother plant. Try to cut as close to the mother as possible to ensure the pup retains whatever small roots it has already developed.
Step 5: Pot your new plants
Plant each harvested pup in its own small pot. Bromeliads are epiphytes (plants that naturally grow on trees rather than in soil), so they need excellent drainage. Use a specialized orchid mix, or a blend of potting soil, pine bark, and perlite. Water the central tank of the new pup, keep the soil slightly moist, and place it in a warm spot with bright, indirect light.
Eventually, the original mother plant will turn completely brown and dry out, at which point you can gently compost her, knowing she did a fantastic job. By understanding your plant's natural life cycle, you’ve not only saved your bromeliad's legacy, but you've also expanded your indoor jungle!