Seeing a little green shoot popping up from the base of your favorite bromeliad is one of the most rewarding moments for any plant parent. But if you are suddenly feeling anxious about what to do next—and terrified of accidentally hurting your plant—take a deep breath! It is completely normal to feel nervous about cutting into your beloved tropical houseplant. Plant propagation can seem intimidating, but separating bromeliad offshoots (affectionately known as "pups") is actually a natural, safe, and incredibly exciting process.
The Problem: Why is My Mother Plant Fading?
You might have noticed that as your new little pup grows, the original bromeliad (the mother plant) is starting to look a little sad. Its vibrant flower may be turning brown, and the leaves might be drooping or losing their color.
Please do not feel guilty, and do not panic! You haven't done anything wrong. This decline is not a sign of bad plant parenting; it is actually a beautiful, entirely normal part of the plant’s biological journey.
The Cause: The Monocarpic Life Cycle
Bromeliads are monocarpic plants. In botany, this simply means that the plant will only bloom once in its lifetime. After that stunning, vibrant flower in the center finally fades, the mother plant slowly begins to die back.
However, before she goes, she channels all her remaining energy into survival by producing babies at her base. These pups are exact clones of the mother. By separating them, you are continuing the life cycle of your plant and expanding your indoor jungle for free!
How to Tell When Your Pup is Ready
Timing is everything. If you separate the pup too early, it might not have the strength to survive on its own. Look for these key indicators before making a cut:
- Size: The pup should be at least one-third to one-half the size of the mother plant.
- Root Development: Gently brush away a little bit of the topsoil near the pup. If you see tiny, firm roots starting to form at its base, it is ready to go.
- Form: The pup should have the recognizable shape of a mature bromeliad, including a small central "cup" or rosette of leaves.
Tip: If you are unsure whether your mother plant is naturally declining or suffering from an actual issue like root rot, you can use the AI-powered plant disease scanner in the Plantiary app to get a quick, accurate diagnosis in seconds!
The Solution: Step-by-Step Safe Separation
Ready to help your new plant baby leave the nest? Follow these scientifically backed, safe steps to separate your bromeliad pup.
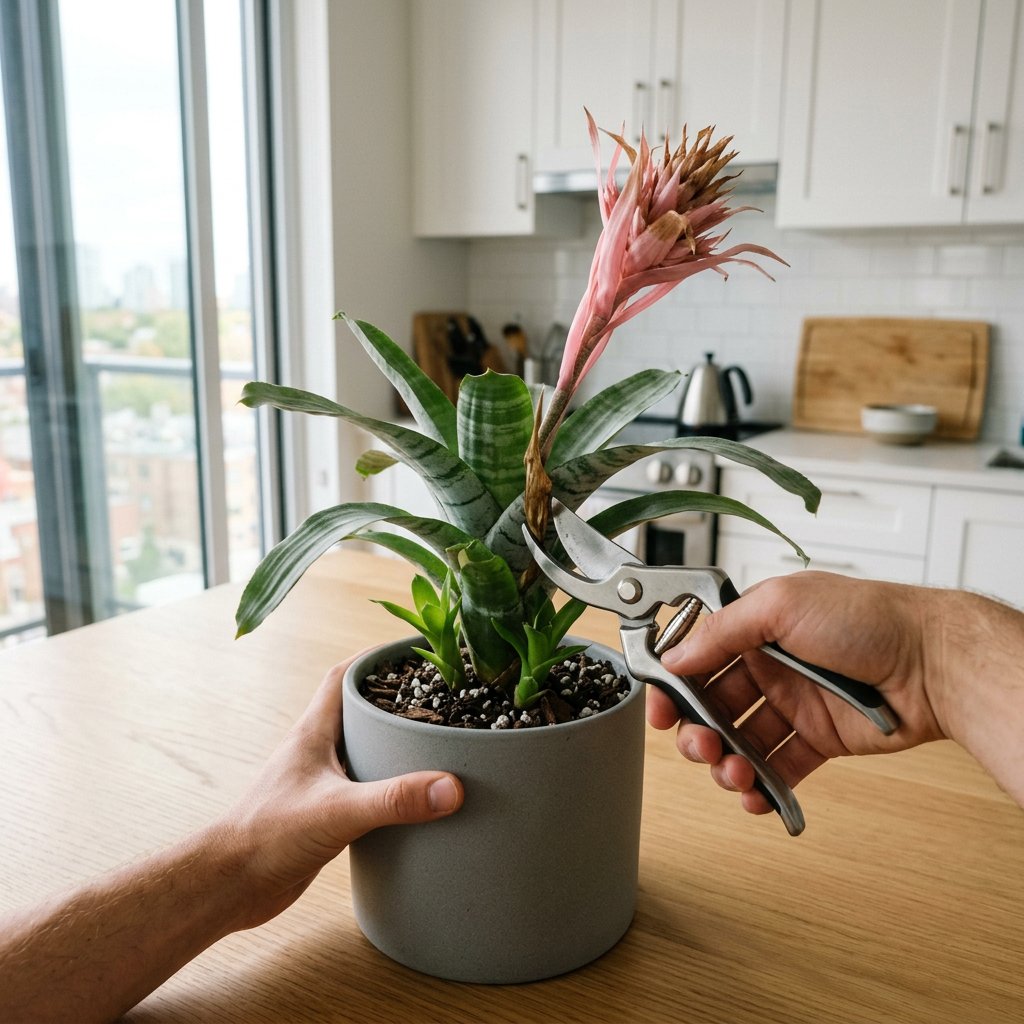
Step 1: Gather and Sterilize Your Tools You will need a sharp knife or a pair of bypass pruning shears. Before doing anything, wipe the blade down with rubbing alcohol. Sterilizing your tools prevents the spread of harmful bacteria or fungi to your newly cut plant.
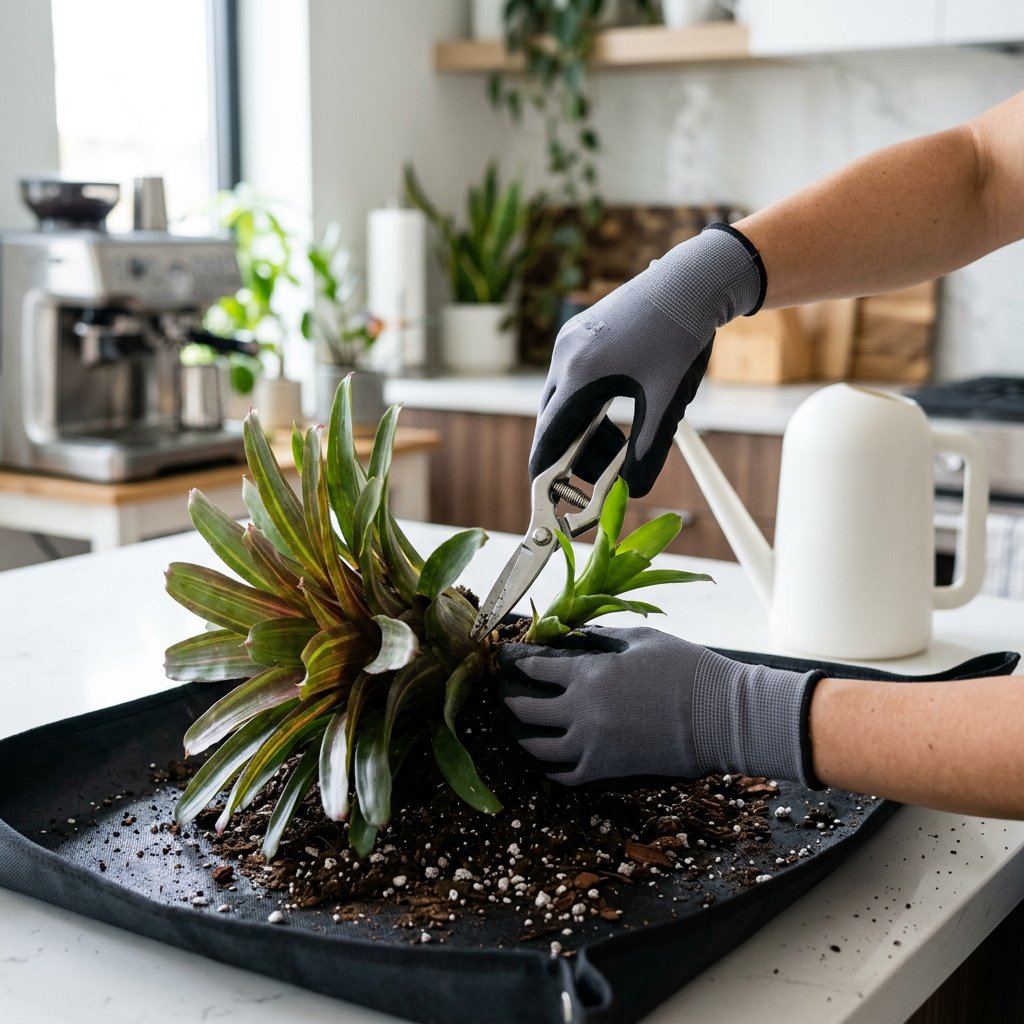
Step 2: Expose the Base Gently pull the mother plant out of its pot, or carefully dig away the soil around the base of the pup. You need a clear view of where the pup attaches to the mother plant so you know exactly where to make your cut.
Step 3: Make a Clean Cut Hold the pup gently but firmly. Using your sterilized knife, cut the pup away from the mother plant as close to the mother's stem as possible. Your goal is to keep any tiny roots that have grown on the pup entirely intact.
Step 4: Let it Callous (Optional but Recommended) If the cut area is very wet or fleshy, lay the pup on a paper towel in a shaded spot for a few hours. This allows the wound to dry out and form a protective "callous," which dramatically lowers the risk of rot when planted in damp soil.
Step 5: Pot the New Pup Many bromeliads are epiphytes, which means in the wild, they grow attached to trees rather than deep in the dirt. Because of this, they need a very chunky, well-draining potting mix. Combine equal parts orchid bark, perlite, and standard potting soil. Plant the pup just deep enough so that it stands upright. Do not bury it too deep, or the leaves will rot.
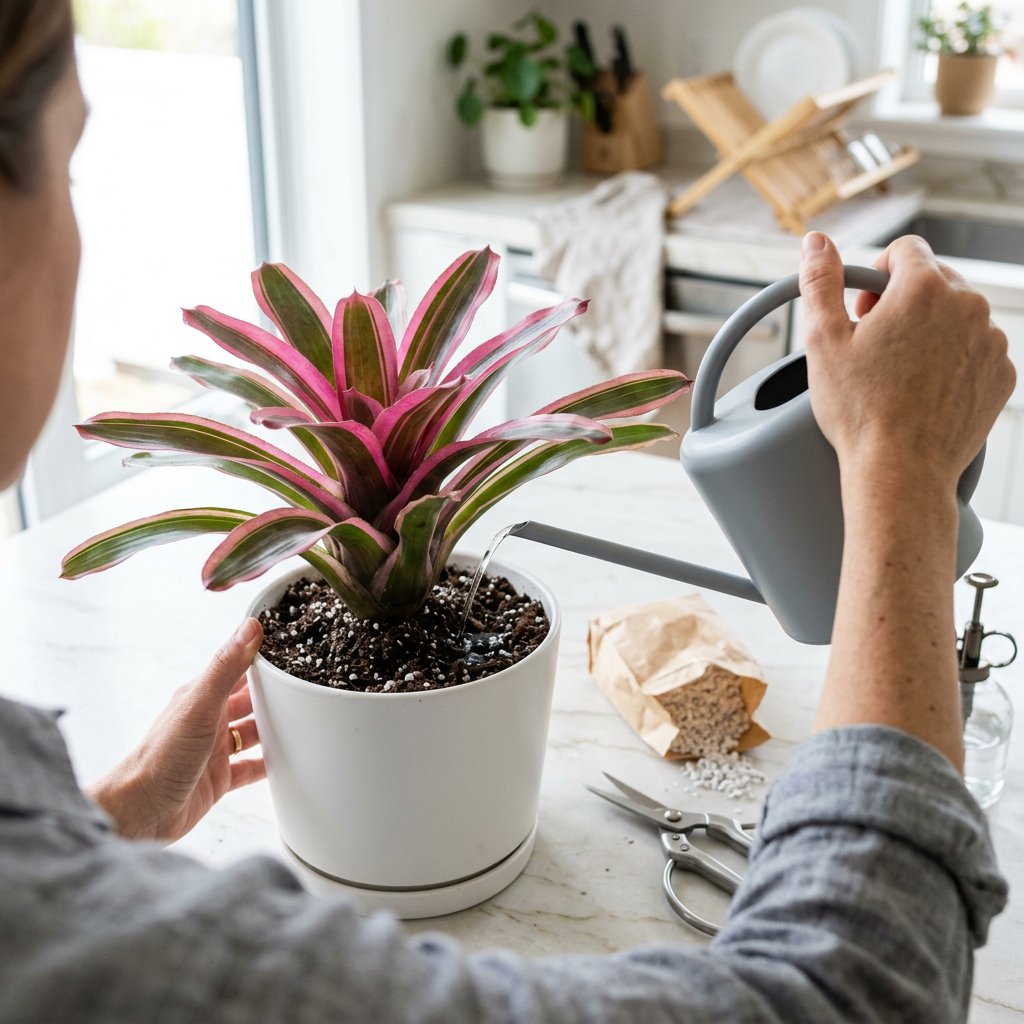
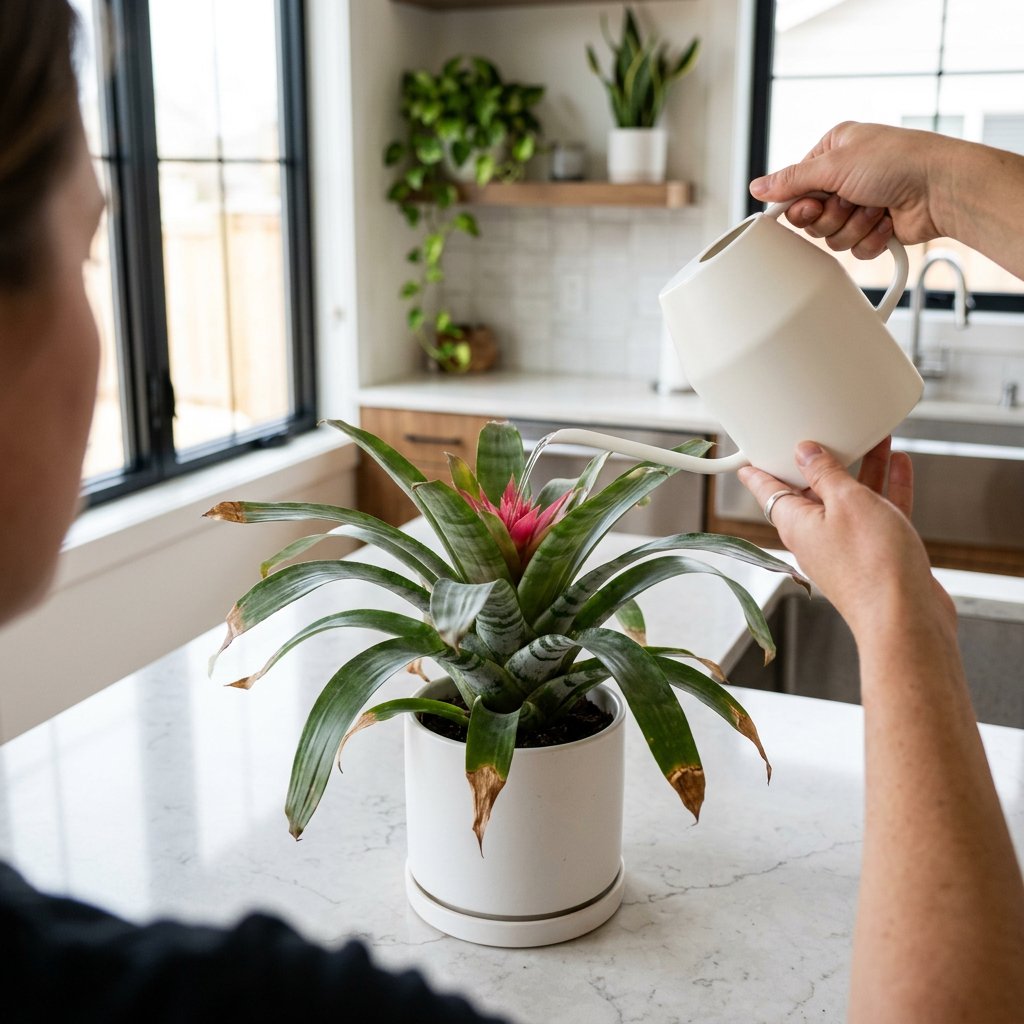
Step 6: Gentle Aftercare Place your newly potted pup in bright, indirect light. Instead of heavy watering in the soil, pour a little bit of water directly into the central cup of the leaves (the plant's natural water tank). Keep the soil only slightly moist, never soggy.
To make sure you don't forget to care for your new arrival, add the new pup to your Plantiary app. You can easily set up customized watering and misting reminders to ensure it grows up just as beautiful and vibrant as its mother!
Plant care is a learning experience, and propagating your first bromeliad is a massive milestone. Trust the process, follow these simple steps, and enjoy the beautiful new life you've just cultivated!