Have you ever brought home a stunning, vibrant bromeliad, only to watch its center turn mushy and sad a few weeks later? If so, take a deep breath—you are absolutely not alone! Many plant parents struggle with bromeliads initially because their care requirements are vastly different from your average houseplant. The culprit behind that collapsing, mushy center is usually crown rot. While it can be heartbreaking to lose a plant, understanding how these tropical beauties function will help you prevent this issue entirely.
Let's dive into what crown rot is, why it happens, and how you can keep your bromeliads thriving for years to come.
How to Spot Crown Rot (The Symptoms)
Crown rot is a fungal or bacterial infection that attacks the base or center "cup" of the plant. When pathogens thrive in overly wet conditions, they break down the plant’s cellular structure, causing the tissue to decay.
If your bromeliad is suffering from crown rot, you might notice the following symptoms:
- Loose center leaves: The newest leaves in the middle of the plant will pull out effortlessly with a gentle tug.
- Mushy, blackened base: The base of those pulled leaves will look dark brown or black, feeling slimy to the touch.
- A foul odor: Rotting plant tissue often emits a noticeable, swampy smell.
- Yellowing or browning: The outer leaves may begin to turn yellow, mimicking signs of overwatering.
If you are looking at your bromeliad right now and wondering if it is sick, don't panic. You can use the AI-powered plant disease scanner in the Plantiary app to snap a photo and get a diagnosis in seconds!
Why Does Crown Rot Happen? (The Causes)
To understand the cause, we have to look at how bromeliads live in the wild. Most bromeliads are epiphytes—meaning they naturally grow on the branches of trees rather than in the ground. They have shallow root systems designed primarily to anchor them to bark, while they absorb water and nutrients through their leaves, specifically in the central "tank" or "cup."
When we bring them indoors, crown rot usually occurs due to a combination of:
- Stagnant water: Leaving the same water sitting in the plant's central tank for weeks creates a breeding ground for bacteria and fungi.
- Soggy soil: Watering a bromeliad's potting soil the way you would water a typical houseplant drowns their delicate, shallow roots.
- Poor airflow: Without a gentle breeze to evaporate excess moisture, water gets trapped deep within the leaves.
- Low light and cool temperatures: In lower light, plants absorb water much slower, meaning moisture lingers for too long.
How to Prevent Crown Rot (Step-by-Step Solutions)
The good news is that preventing crown rot is incredibly simple once you adjust your watering habits. Follow these steps to keep your bromeliad perfectly hydrated and rot-free.
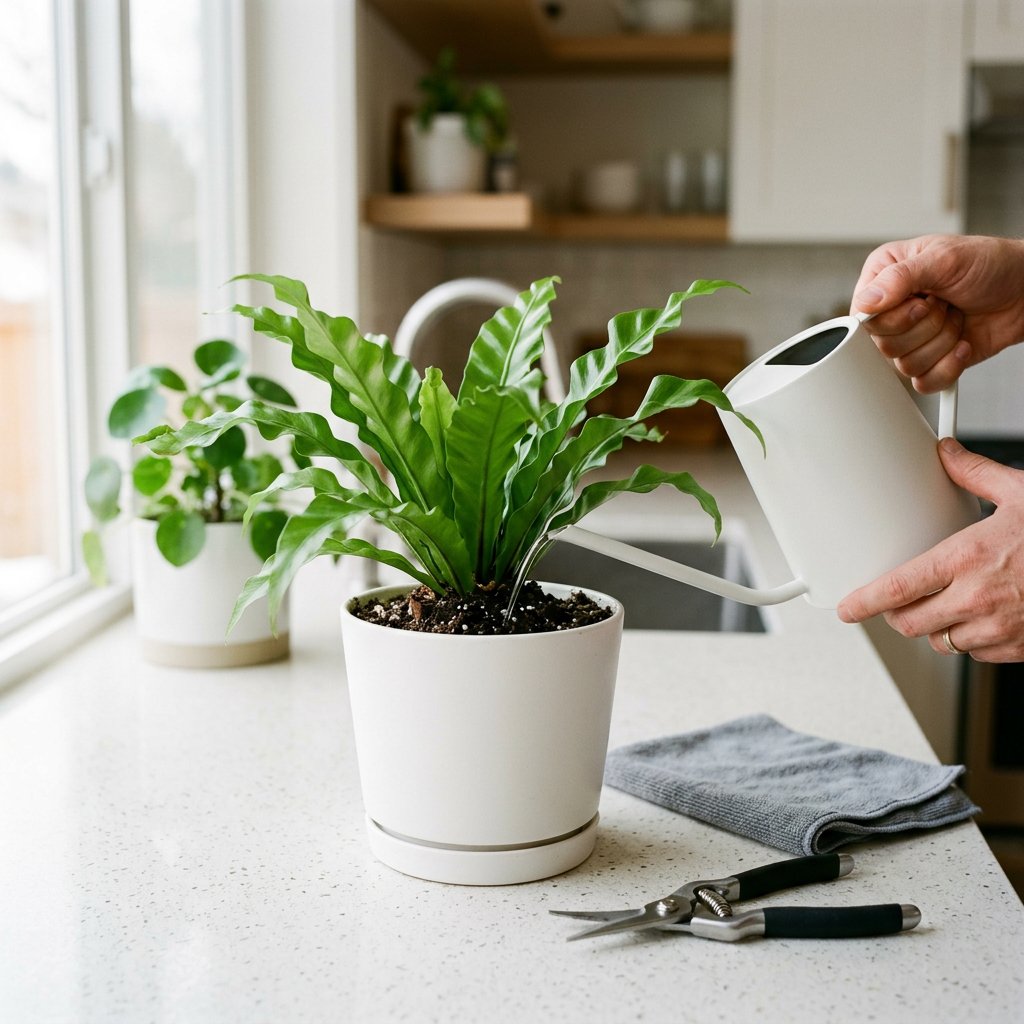
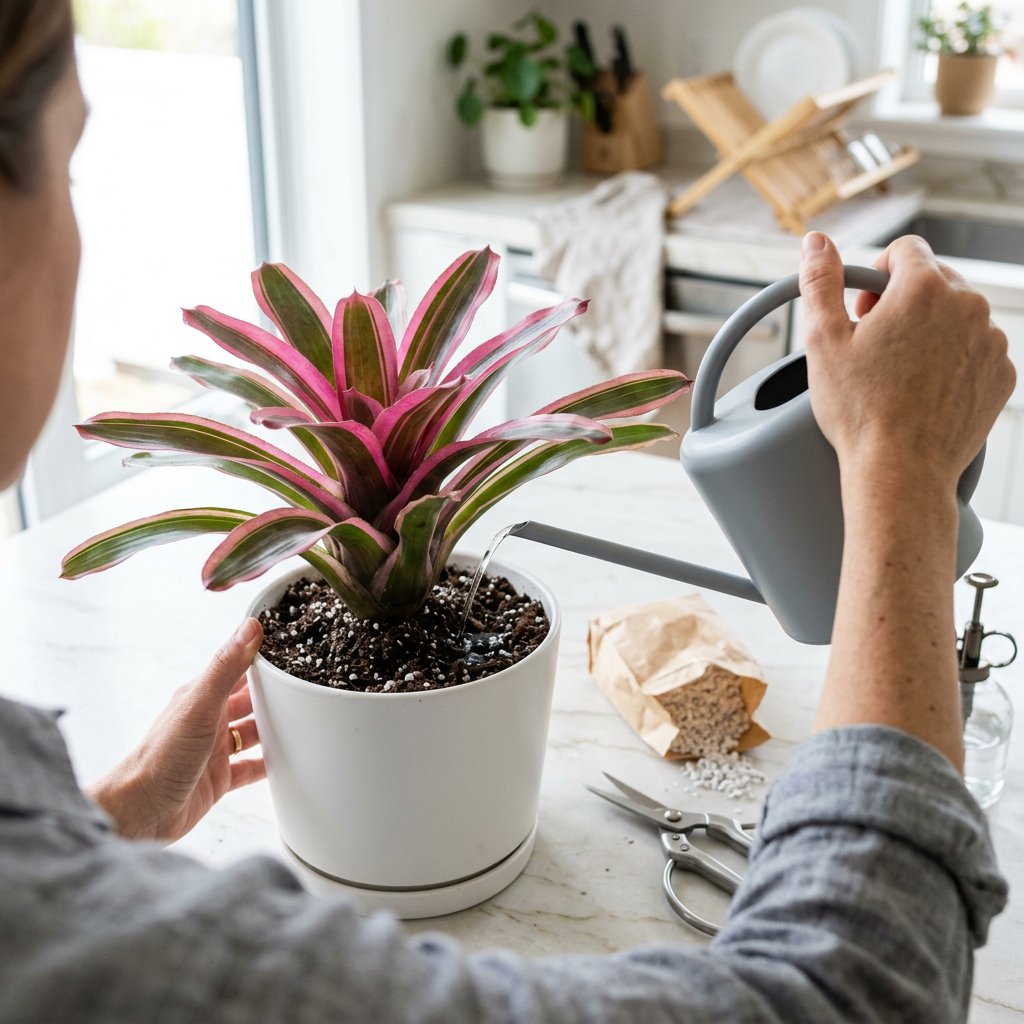
Step 1: Master the "Flush" Watering Technique Instead of pouring water into the soil, fill the central cup (the tank) of your bromeliad with room-temperature filtered water. However, you must never let the water sit there indefinitely! Every 7 to 10 days, gently tip the plant upside down over your sink to empty the old water, and then refill it with fresh water. This flushes out buildup and prevents bacteria from taking hold.
Pro Tip: You can easily set a custom care reminder in your Plantiary app to notify you when it is time to flush your bromeliad's tank!
Step 2: Keep the Soil Barely Moist Bromeliads rely on their central tank for hydration, so their soil should only be watered sparingly. Wait until the top few inches of the potting mix are completely dry before giving the soil a very light drink. If in doubt, skip watering the soil entirely.
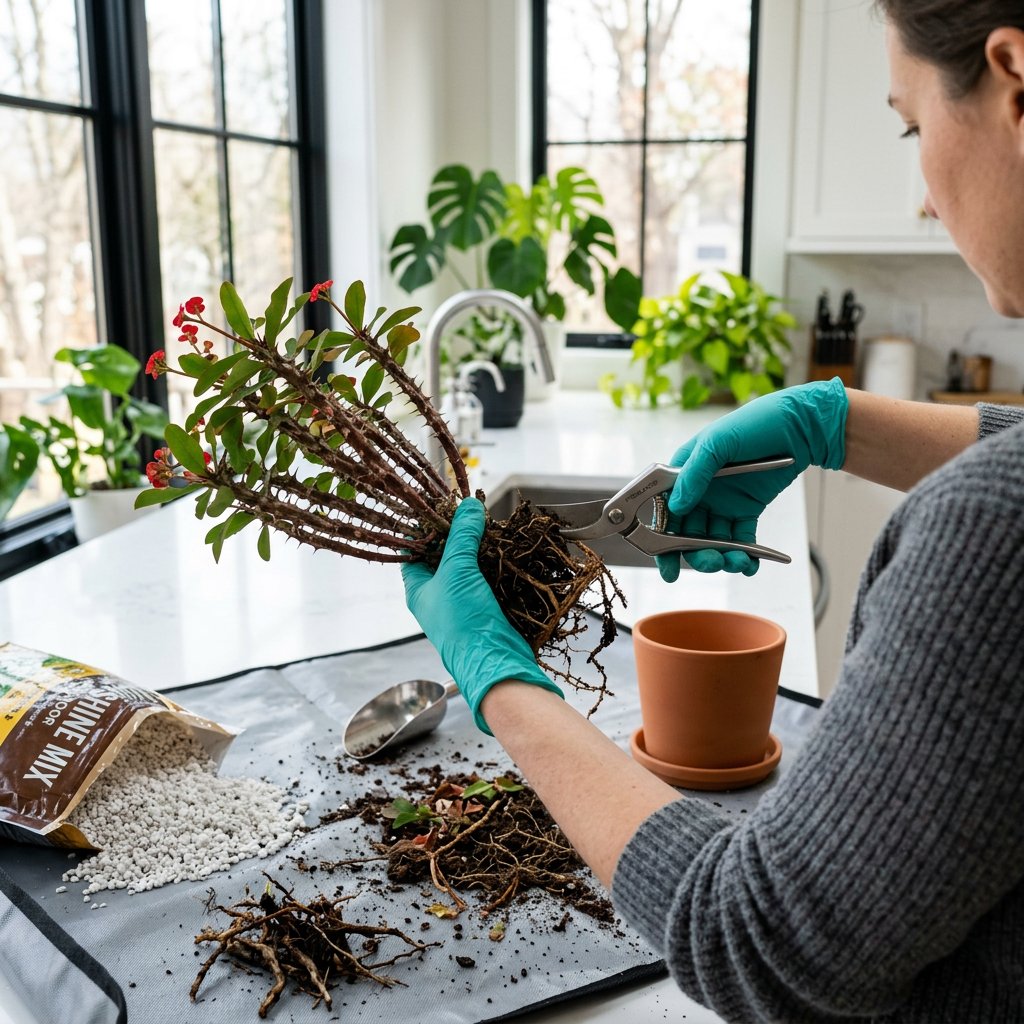
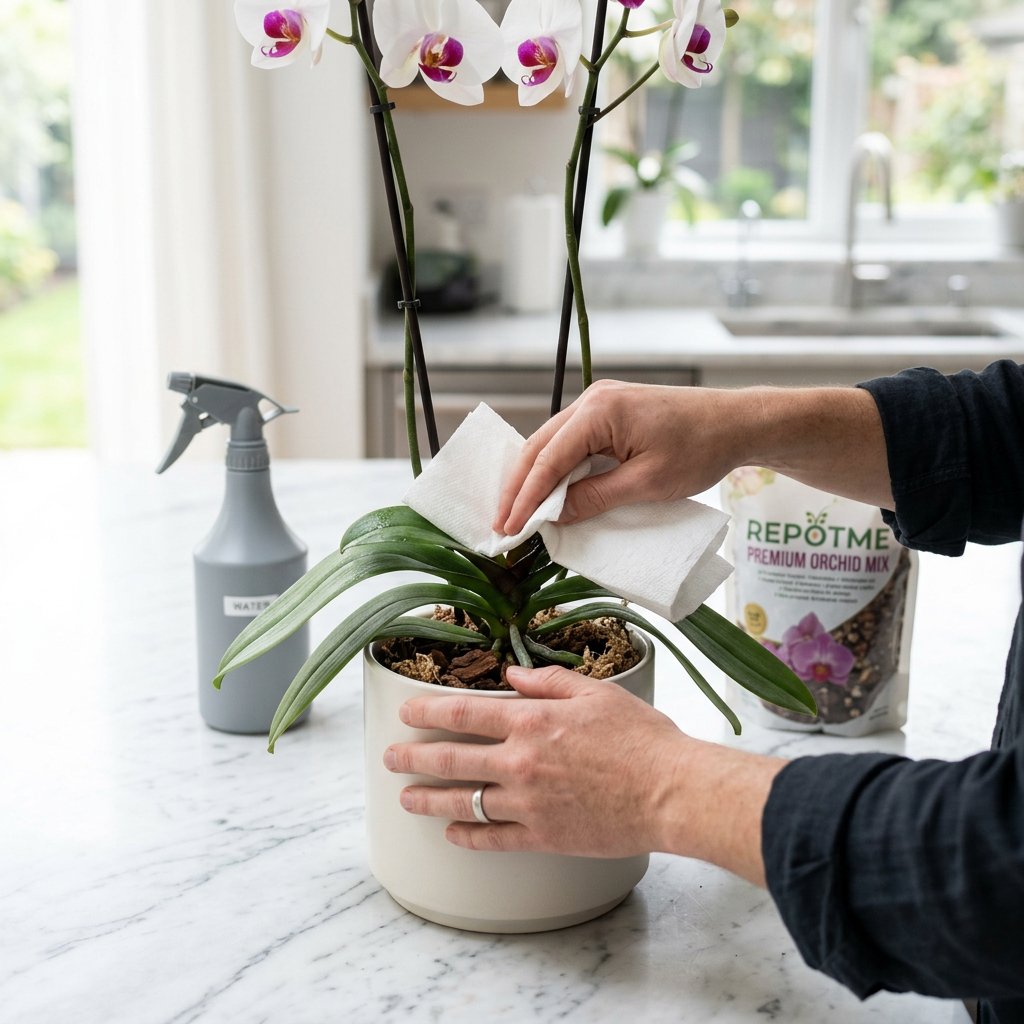
Step 3: Repot into an Epiphytic Mix If your bromeliad is planted in heavy, dense potting soil, it is at a high risk for root and crown rot. Repot it using a chunky, well-draining mix. A blend of orchid bark, perlite, and a small handful of coco coir is perfect. This mimics the airy tree branches they grow on in the wild and ensures excess water flows right through.
Step 4: Optimize Airflow and Light Place your bromeliad in bright, indirect sunlight. The brighter the indirect light, the faster the plant will process moisture. Ensure the room has good air circulation; a nearby ceiling fan or an open window (if it is warm outside) works wonders to evaporate trapped moisture from the plant's crown.
Remember, every plant parent experiences a few bumps in the road, and losing a plant to crown rot is practically a rite of passage when learning to care for bromeliads. By making these small adjustments to your watering routine and utilizing the right potting mix, you will create a perfect environment for your tropical epiphyte to flourish!