Bringing a vibrant bromeliad into your home is like adding a permanent splash of the tropics to your living space. With their striking, colorful bracts and architectural foliage, they are true showstoppers. However, seeing those lush green leaves develop crispy, brown tips can feel incredibly frustrating. If your bromeliad is looking a little worse for wear, take a deep breath! Plant hiccups happen to the best of us, and feeling guilty won't help your leafy friend. In most cases, this issue boils down to a simple watering misunderstanding. Let's explore exactly what's happening and how you can easily fix it.
The Problem: Spotting the Symptoms
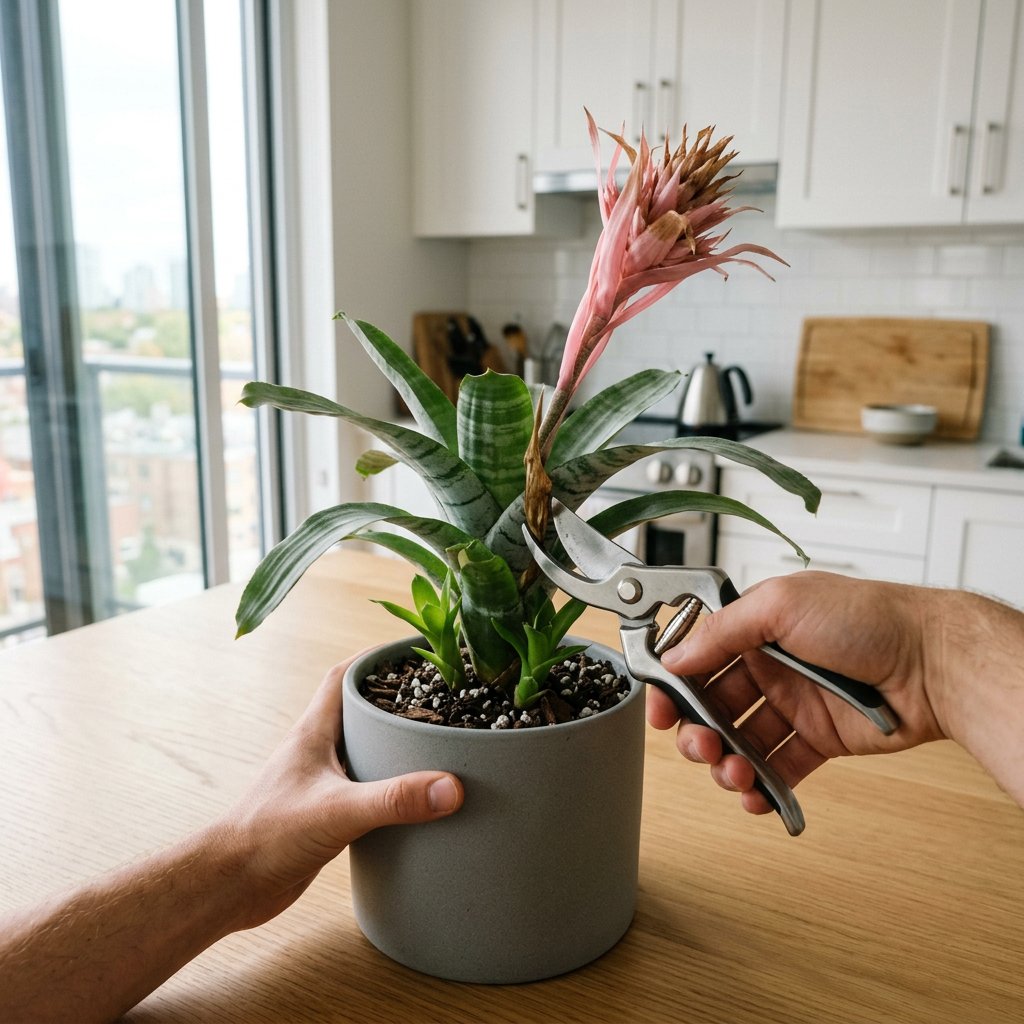
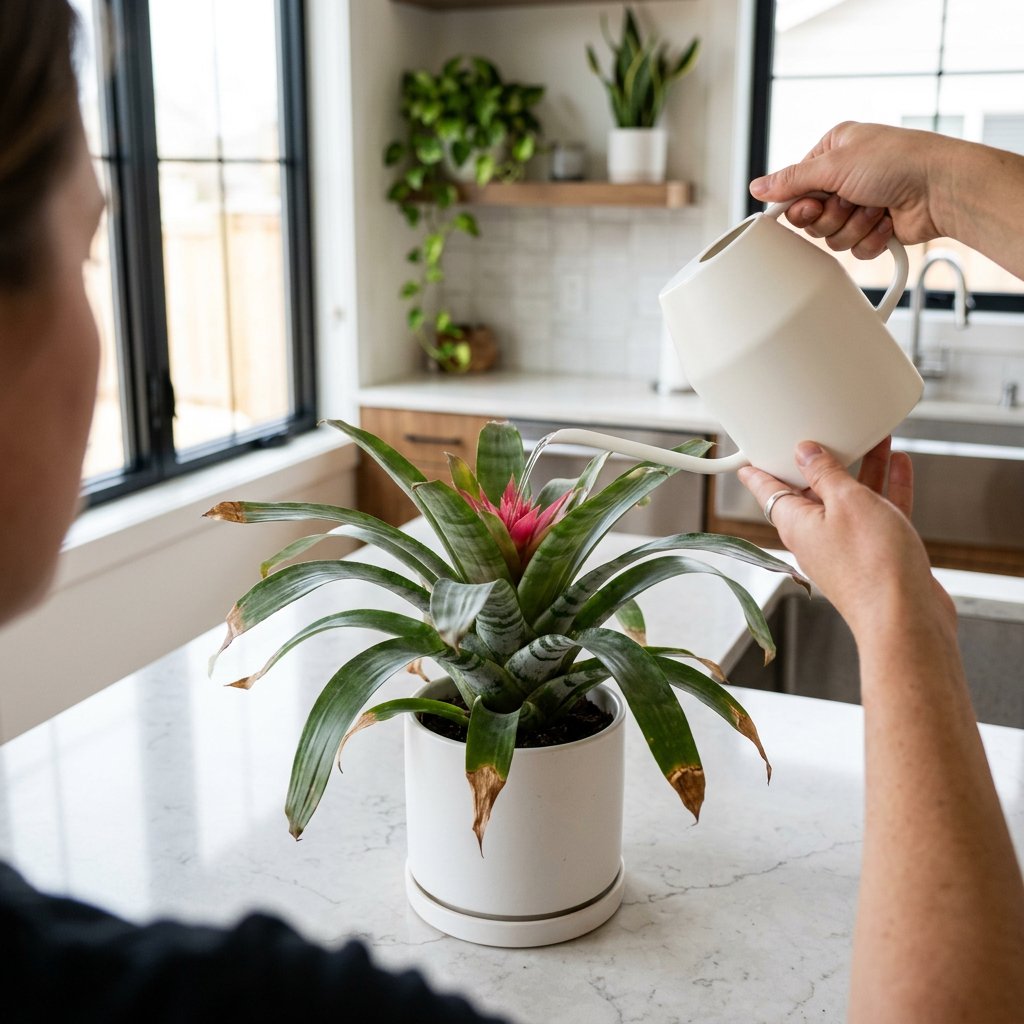
When a bromeliad is struggling with moisture issues, the very ends of its leaves will start to dry out, turn brown, and become brittle to the touch. In botanical terms, this is known as necrosis, which simply means localized tissue death. You might notice this happening slowly, creeping from the very tip downwards.
While a few minor blemishes are natural as a plant ages, widespread crispy edges are your bromeliad’s way of asking for a change in its hydration routine. If you are unsure what is wrong with your plant or want to rule out a fungal issue, you can use the AI-powered plant disease scanner in the Plantiary app to get a reliable diagnosis in seconds.
The Causes: Why Are My Bromeliad’s Leaves Turning Brown?
To fix the issue, we first need to understand how these unique plants drink. Many popular houseplants absorb moisture entirely through their roots. However, most bromeliads are epiphytes—meaning that in their natural habitat, they grow on the bark of trees rather than in the ground. Because of this, they gather water and nutrients differently.
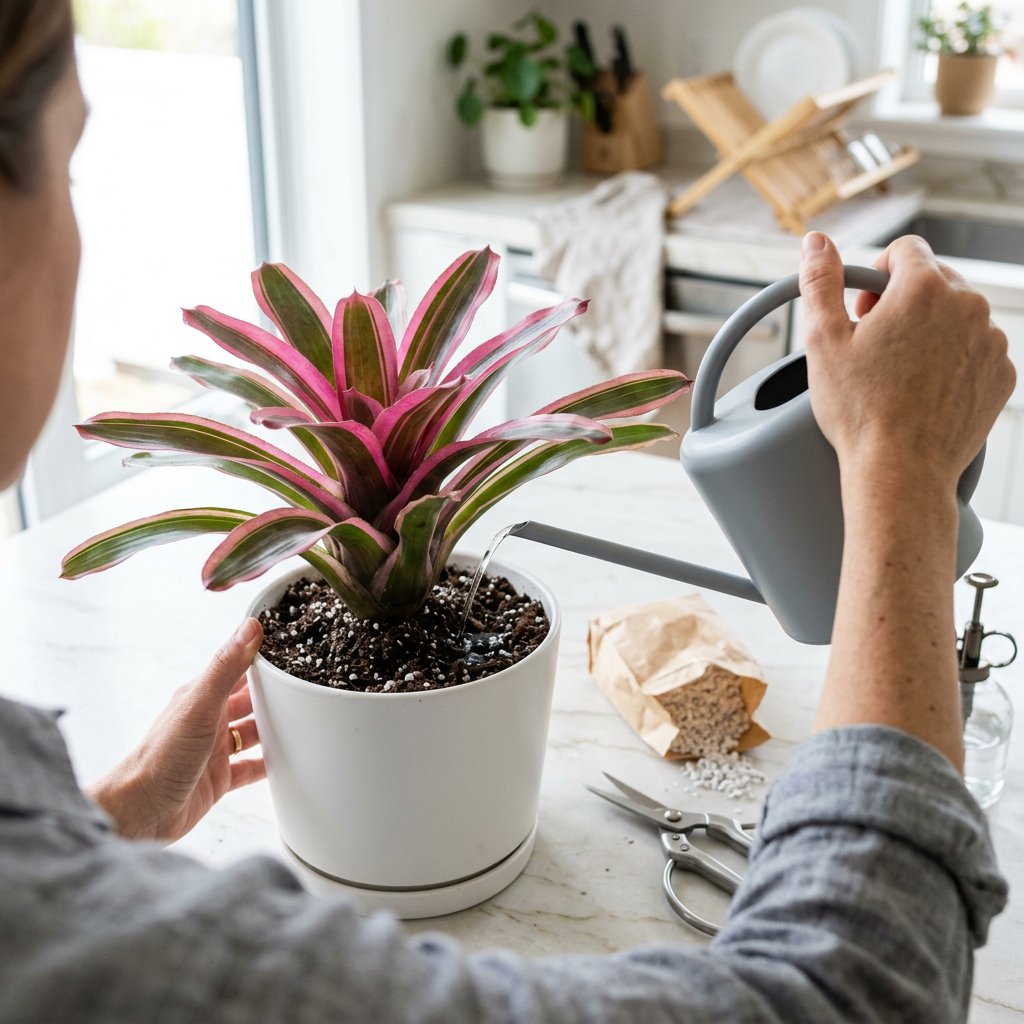
- Incorrect Watering Technique: Bromeliads feature a natural rosette shape that forms a central reservoir, often called a "cup" or "tank." If you are only watering the soil and leaving the cup dry, your plant is likely dehydrated. Conversely, keeping the soil overly soggy can lead to root rot, which destroys the roots and prevents the plant from absorbing moisture, also leading to dry tips.
- Hard Water and Chemicals: Bromeliads are quite sensitive to the minerals found in standard tap water. High levels of chlorine, fluoride, and dissolved salts can build up in the plant's tissues and the soil, eventually causing chemical burns that show up as brown leaf tips.
- Low Humidity: Since they originate from humid tropical environments, a dry indoor climate (especially during winter when the heater is running) can suck the moisture right out of their leaves faster than they can replenish it.
The Solutions: Your Step-by-Step Watering Fix
Now that we know the root of the problem, let's get your bromeliad back to its vibrant, healthy self. Follow these simple steps to correct your watering routine.
Step 1: Fill the Central Cup Instead of soaking the soil, aim your watering can directly into the center rosette of the leaves. Keep this central tank about one-quarter to one-half full of water. To prevent stagnant water and bacterial growth, make sure to flush out the old water and replace it with fresh water every week or two.
Step 2: Switch Your Water Source To prevent mineral buildup and chemical burns, stop using water straight from the tap. Instead, upgrade your plant's drinking water to:
- Rainwater: The absolute best, most natural option for tropical plants.
- Distilled or Purified Water: Free from the harsh salts and chemicals that cause brown tips.
Step 3: Let the Soil Breathe The potting mix should only be kept slightly damp, never waterlogged. Because a bromeliad's root system is small and primarily used for anchoring the plant rather than drinking, heavy, wet soil will quickly cause rot. Wait until the top two inches of the soil feel completely dry before giving the base of the plant a very light sip of water.
Step 4: Boost the Ambient Moisture To combat dry indoor air, give your bromeliad a gentle misting a few times a week. Alternatively, place the plant pot on a pebble tray filled with water. As the water evaporates, it creates a cozy, humid microclimate right around the foliage.
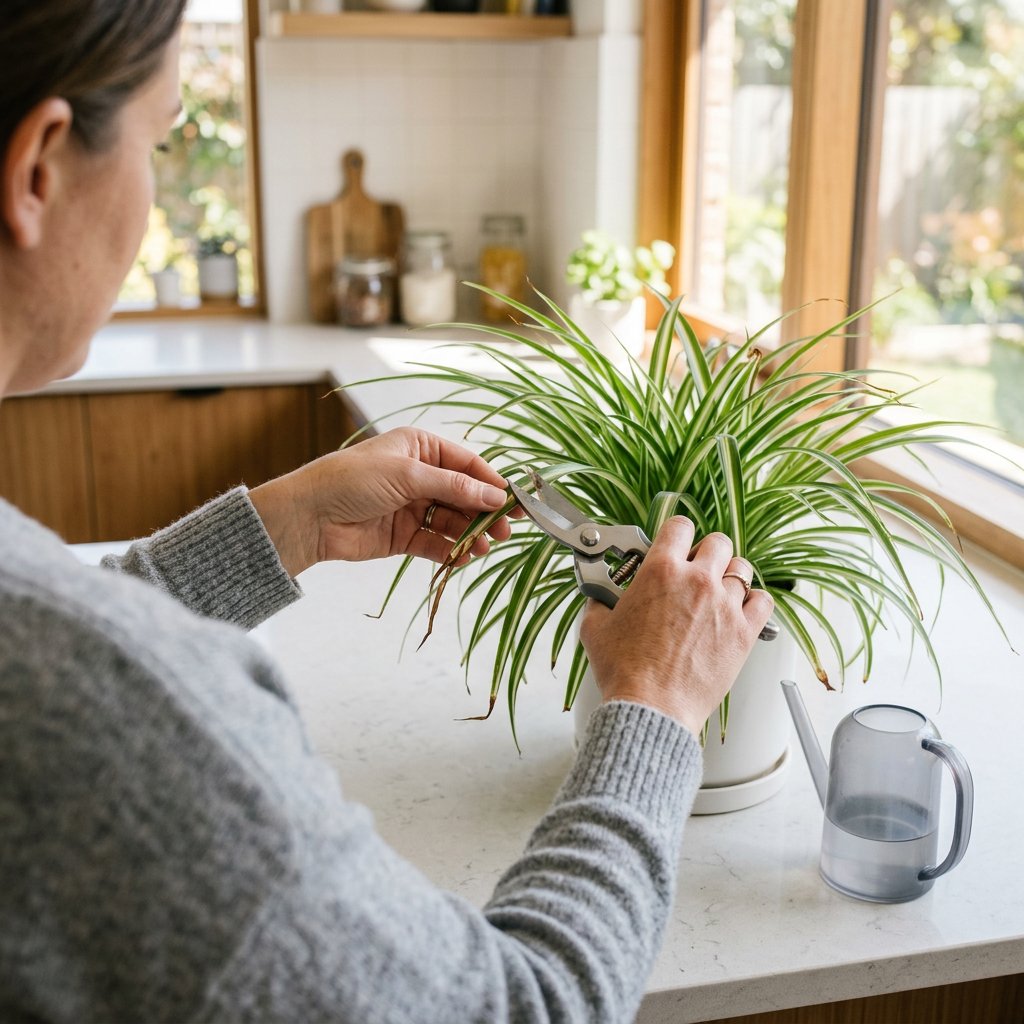
Step 5: Tidy Up the Foliage While you cannot reverse the browning that has already occurred, you can easily clean up the plant's appearance. Using a pair of sharp, sterilized scissors, carefully trim away the dead brown tips. Try to cut along the natural angled shape of the leaf so it blends in seamlessly.
You’ve Got This!
Adjusting to the unique needs of an epiphytic plant takes a little practice, so don't be hard on yourself if you hit a few bumps along the way. By tweaking your watering technique and upgrading your water quality, you will stop those brown tips in their tracks. Keep tracking your watering schedules and care routines in the Plantiary app, and your tropical beauty will be thriving and producing vibrant new growth again in no time!