Let’s face it: noticing your beloved Dracaena looking a little worse for wear can be stressful. You might see drooping leaves or a softening stem and immediately feel a wave of guilt, assuming you’ve done something terribly wrong. Please take a deep breath and give yourself some grace! Plant issues happen to absolutely every plant parent, no matter how experienced they are.
One of the most common hurdles with indoor tropicals is root rot. While the name sounds a bit intimidating, catching it early means your Dracaena has a fantastic chance of making a full recovery. And remember, if you are unsure what is wrong with your plant, you can always use the AI-powered plant disease scanner in the Plantiary app to get a diagnosis in seconds.
Let’s explore how to identify, understand, and conquer Dracaena root rot together.
The Problem: Signs Your Dracaena Has Root Rot
Because the root system is hidden beneath the soil, root rot can be a sneaky issue. However, your Dracaena will eventually send out distress signals above ground. Here is what to look out for:
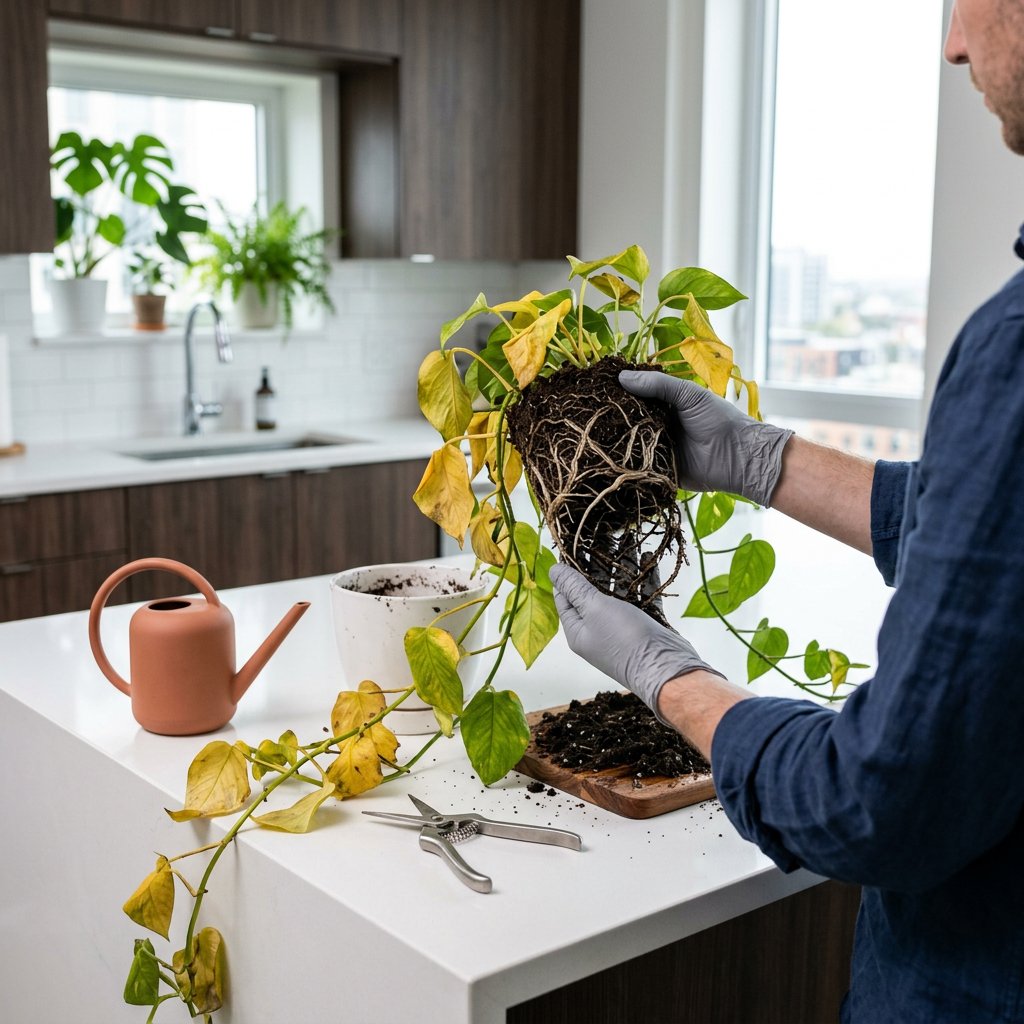
- Yellowing, drooping leaves: You might notice your plant's foliage losing its vibrant green color. This is known as chlorosis (a condition where the plant lacks chlorophyll, causing leaves to turn pale or yellow). It happens because decaying roots can no longer absorb the water and nutrients the leaves need.
- Mushy, blackened stems: Gently feel the base of your Dracaena near the soil line. A healthy trunk is firm and woody, but a rotting plant will feel soft, squishy, or hollow.
- A foul, swampy odor: Healthy potting soil smells fresh and earthy. If your pot emits a sour, rotten, or sulfur-like smell, fungi and bacteria are actively breaking down the roots.
- Sudden leaf drop: To conserve energy when its root system is compromised, your plant might start rapidly shedding its lower leaves.
The Causes: Why Does Root Rot Happen?
Root rot isn't just about water; it's a fungal or bacterial infection that thrives when roots are suffocated in overly wet conditions. Dracaenas are naturally drought-tolerant and absolutely hate having "wet feet." Here is what usually triggers the problem:
- Overwatering: Giving your plant water on a strict schedule rather than checking the soil's moisture level is the number one cause of drowned roots.
- Poor drainage: Planting your Dracaena in a decorative pot without drainage holes traps water at the bottom, creating a stagnant, swampy environment.
- Heavy, compacted soil: Standard indoor potting soils are often too dense. Without added aeration, the soil acts like a sponge and holds onto moisture for far too long.
- Low light conditions: If your plant is living in a very dark corner, it will photosynthesize and process water much slower, leaving the soil wet for extended periods.
The Solutions: Step-by-Step Recovery Guide
If you suspect root rot, it is time to roll up your sleeves and do a little plant surgery. Don't panic—plants are incredibly resilient! Follow these steps to nurse your Dracaena back to health:
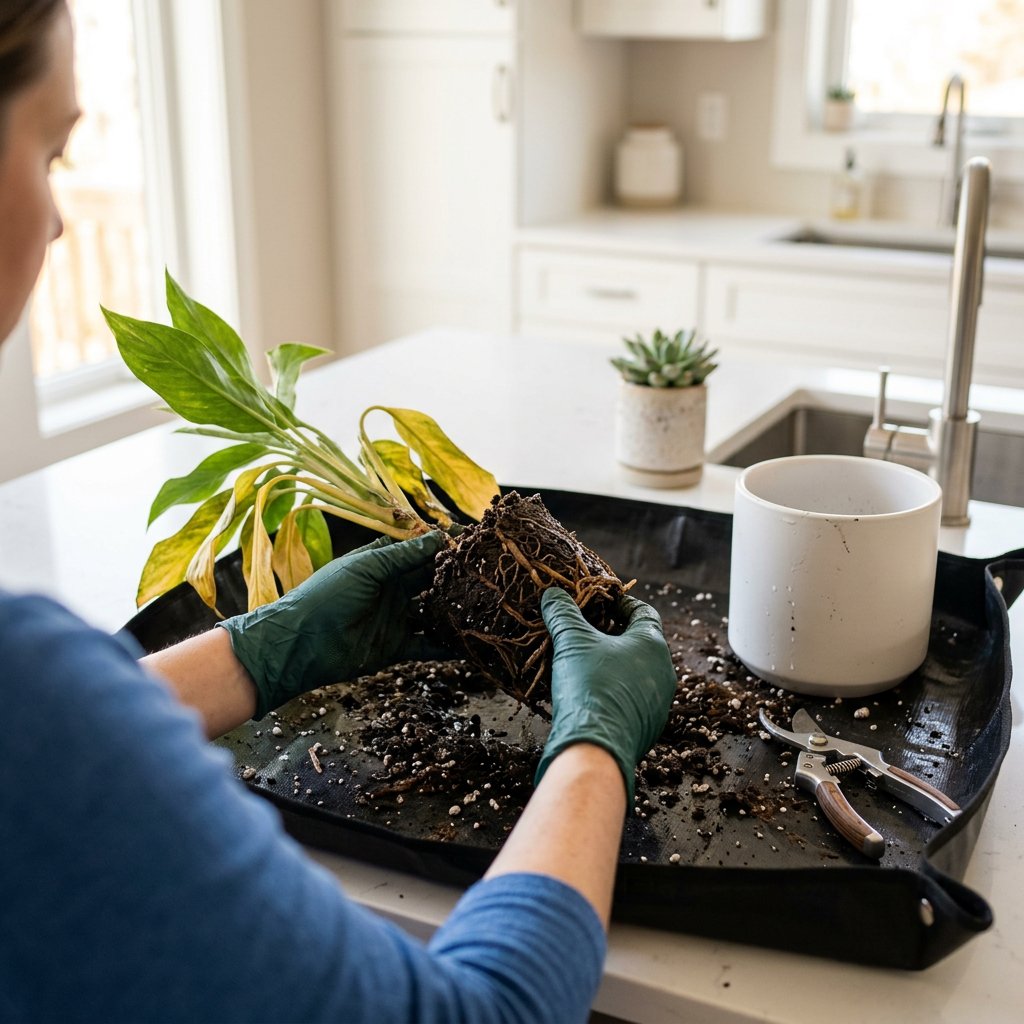
- Step 1: Unpot and Inspect. Gently remove your Dracaena from its pot. Massage the root ball and run it under lukewarm water to wash away the old, wet soil. Examine the roots carefully. Healthy Dracaena roots are firm and typically orange or white. Rotting roots will be dark brown or black, slimy, and will easily break apart or slide off like wet paper.
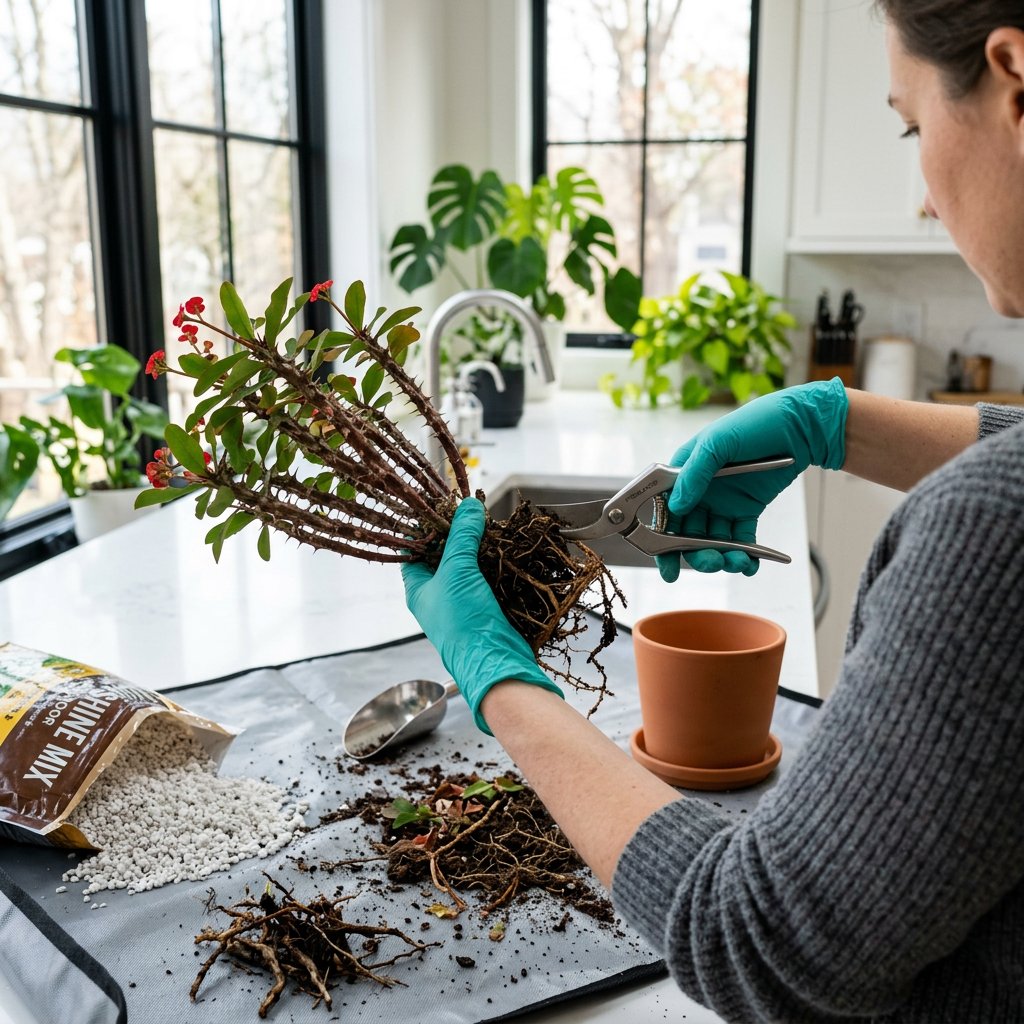
- Step 2: Prune the Decay. Take a pair of sharp, sterilized scissors or pruning shears. Carefully snip away all of the mushy, blackened roots. You must cut just above the rotted area into the healthy tissue to ensure you remove all the decay. Wipe your blades with rubbing alcohol between cuts so you don't spread the infection.
- Step 3: Disinfect the Remaining Roots. To kill any lingering fungal spores or bacteria, treat the remaining healthy roots. You can spray them with a commercial copper fungicide or dip them in a mild, safe solution of one part 3% hydrogen peroxide mixed with two parts water.
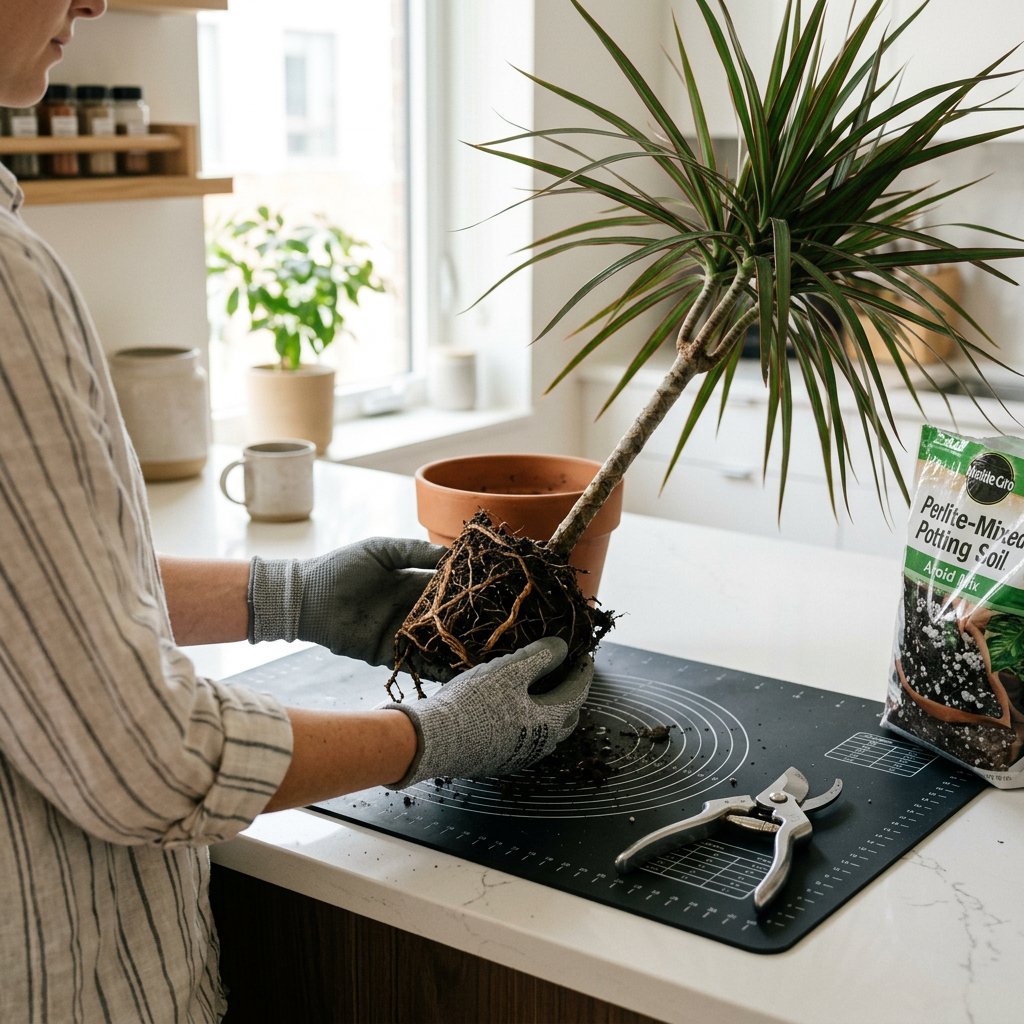
- Step 4: Repot in Fresh Soil. Throw away the old, infected soil and thoroughly wash the pot. Make sure the pot has drainage holes! Create a well-draining, airy mix by combining standard potting soil with generous handfuls of perlite and orchid bark. This ensures excess water will flow right through.
- Step 5: Adjust Your Care Routine. After repotting, place your Dracaena in bright, indirect light to encourage new growth. Moving forward, always allow the top two to three inches of soil to dry out completely before watering again.
Recovering from root rot takes a little time and patience, so don't be discouraged if your plant looks a bit shocked for a few weeks. Plant care is a continual learning journey. To help you stay on track with your newly rescued Dracaena, you can log its recovery and set up a smart, customized watering schedule right inside the Plantiary app. You've got this!