Peace Lilies (Spathiphyllum) are famous for their elegant white blooms and lush green foliage, but they also have a reputation for being quite dramatic. One day your plant looks vibrant and healthy, and the next, you might spot alarming black tips or entirely yellow leaves. First, take a deep breath—don’t panic! Every plant parent, from beginners to seasoned botanists, deals with discolored leaves at some point. Leaf discoloration is simply your plant’s way of communicating that something in its environment needs a little adjustment. If you are unsure what is wrong with your plant, you can always use the AI-powered plant disease scanner in the Plantiary app to get a diagnosis in seconds. Let's decode what your plant is trying to tell you and get it back to thriving!
The Problem: Decoding Your Peace Lily's Symptoms
Before we can fix the issue, we need to observe the symptoms closely. The exact way your Peace Lily's leaves are changing color provides the best clues for treatment.
- Yellowing Leaves: You might notice lower leaves turning a pale yellow, or the entire plant taking on a sickly yellow hue.
- Crispy Black Tips: The very tips or edges of the leaves look brown or black and feel crunchy to the touch.
- Entirely Black/Brown Leaves: Whole leaves are turning a dark, mushy black or brown, often starting from the stem.
The Causes: Why Are the Leaves Changing Color?
Peace Lilies are tropical plants that thrive in specific conditions. When they step out of their comfort zone, their foliage reacts. Here are the most common culprits:
Causes of Yellow Leaves
- Overwatering: This is the number one cause of yellowing leaves. When a Peace Lily sits in waterlogged soil, the roots suffocate and cannot absorb oxygen.
- Underwatering: If the soil is completely bone-dry and the plant is severely drooping alongside the yellowing, it is thirsty.
- Nutrient Deficiency (Chlorosis): Chlorosis is a condition where leaves lose their green pigment and turn pale or yellow due to a lack of chlorophyll. This often happens if the plant needs a nutrient boost or if the soil pH is off.
- Natural Aging: If only one or two of the oldest leaves at the very bottom of the plant are turning yellow, this is a completely normal part of the plant's life cycle.
Causes of Black Leaves or Crispy Tips
- Low Humidity: Peace Lilies love moisture in the air. Dry indoor air, especially during winter when heaters are running, causes the leaf tips to dry out and turn black.
- Fertilizer Burn: Feeding your plant too much fertilizer can cause salt to build up in the soil. This burns the roots, resulting in black tips or edges on the leaves.
- Tap Water Minerals: Peace Lilies can be sensitive to fluoride and chlorine found in regular tap water, which can build up and turn leaf tips black.
- Root Rot: If the leaves are turning a mushy black from the base upwards, you are likely dealing with root rot—a fungal disease caused by severe overwatering.
The Solutions: Step-by-Step Treatment to Revive Your Plant
Now that you know the potential causes, it is time to take action. Follow these safe, scientifically sound steps to nurse your Peace Lily back to health.
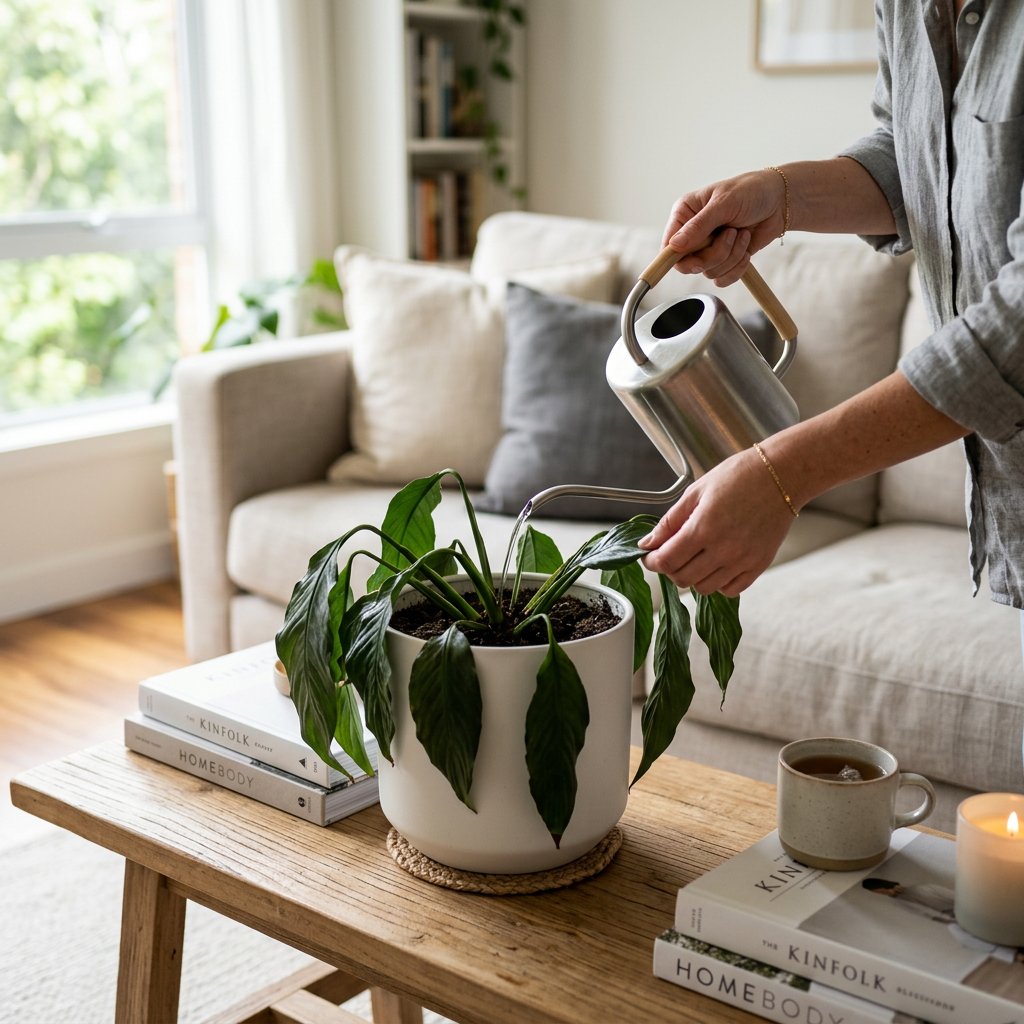
Step 1: Check the Soil Moisture Poke your finger about two inches deep into the soil. If it feels soaking wet, hold off on watering until the top half of the soil dries out. Ensure your pot has drainage holes so excess water can escape. If the soil is completely dry and compacted, give your plant a thorough, deep watering.
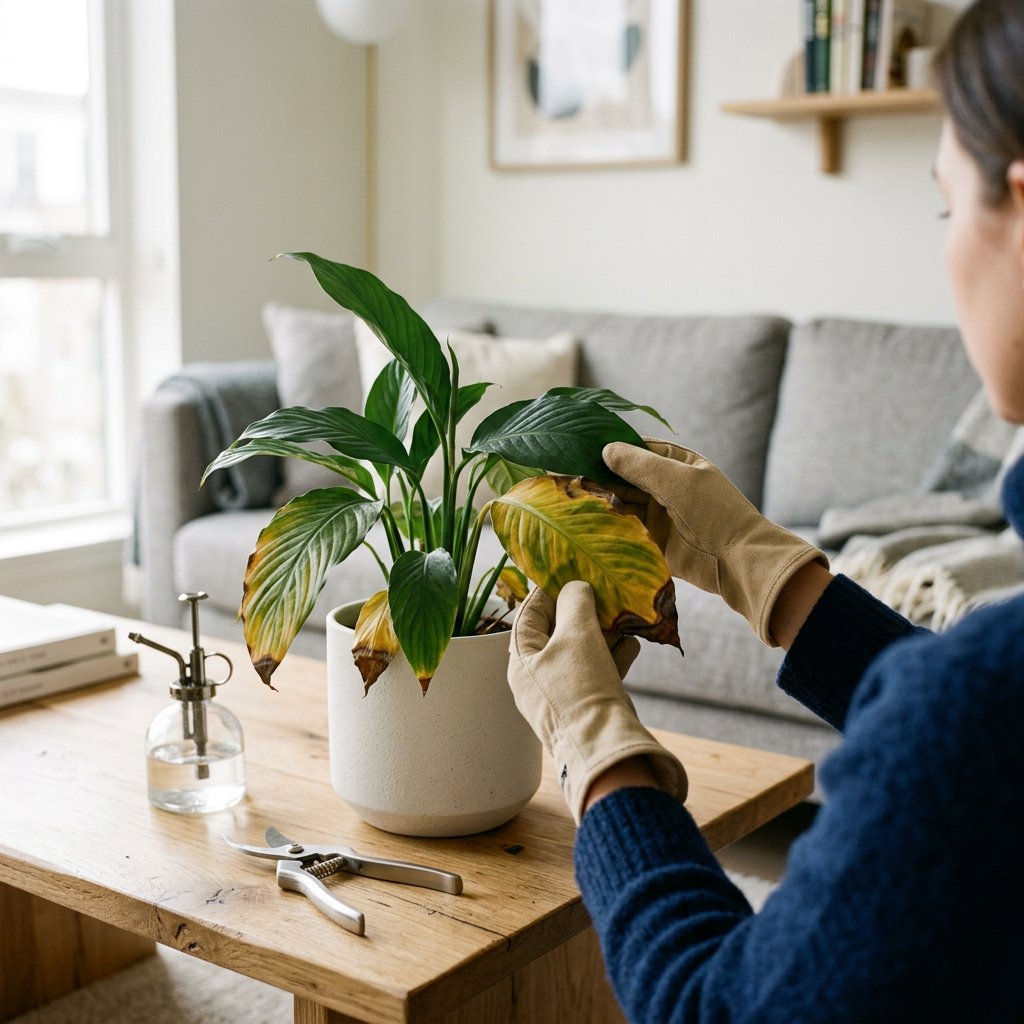
Step 2: Inspect the Roots for Rot If the soil is soggy and the leaves are turning black and mushy, gently pull the plant out of its pot. Healthy roots should be firm and pale. If you see dark, slimy, or foul-smelling roots, you have root rot. Using sterilized scissors, carefully snip away the rotting roots, and repot the plant in fresh, well-draining potting soil.
Step 3: Trim the Damaged Foliage Leaves that have turned completely black or yellow will not turn green again. Using clean, sharp pruning shears, cut the heavily damaged leaves off near the base of the stem. If only the tips are black, you can carefully trim just the crispy edges, following the natural shape of the leaf. This redirects the plant's energy toward pushing out healthy new growth!
Step 4: Adjust Your Watering Routine To prevent mineral buildup and black tips, try switching from tap water to filtered water, rainwater, or distilled water. Always water your Peace Lily thoroughly, but wait until the top couple of inches of soil feel dry before watering again.
Step 5: Flush Out Excess Fertilizer If you suspect fertilizer burn, place your plant in the sink or shower and let lukewarm water run through the soil for a few minutes. This flushes out excess mineral salts. Going forward, only fertilize your Peace Lily during the active growing season (spring and summer) using a diluted, balanced houseplant fertilizer.
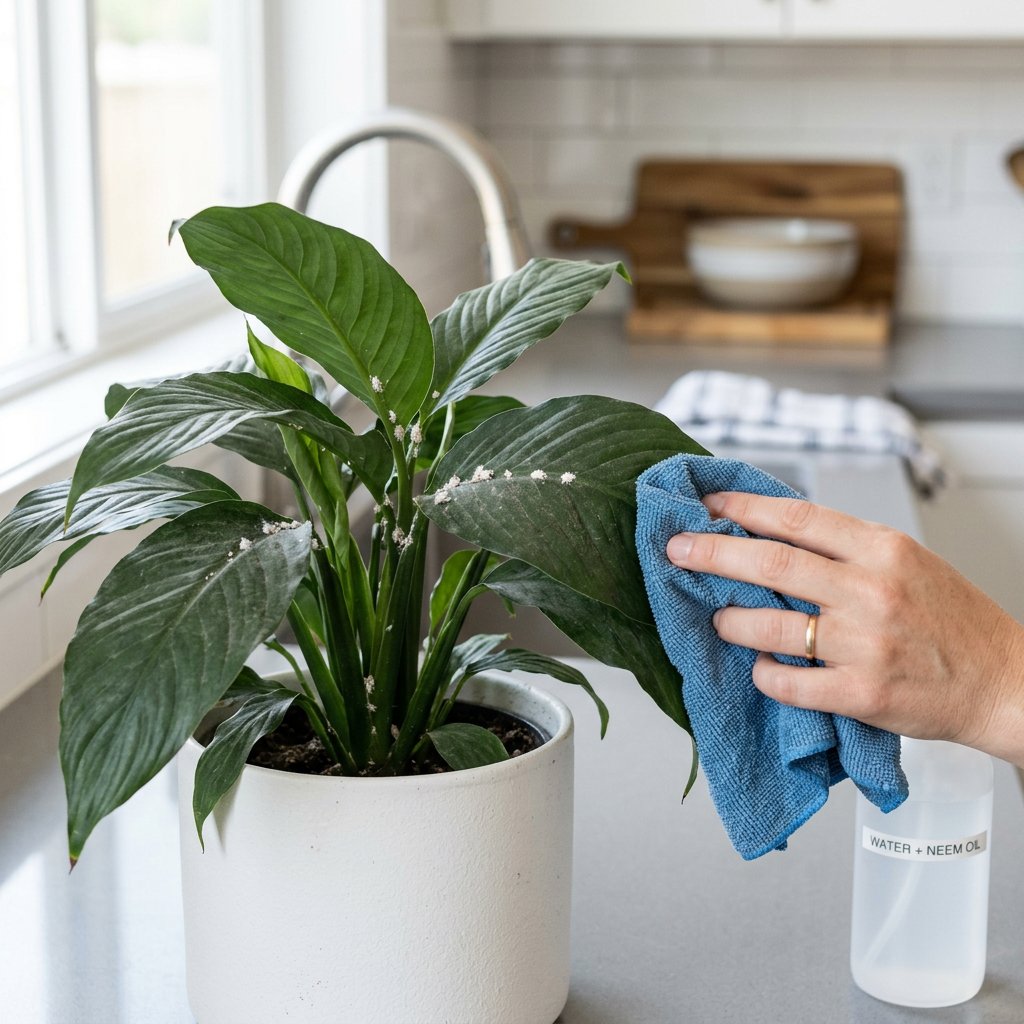
Step 6: Boost the Humidity If dry air is causing crispy black tips, group your Peace Lily with other houseplants to create a microclimate, or place a small humidifier nearby. You can also rest the pot on a tray filled with pebbles and a little water (just ensure the bottom of the pot isn't touching the water directly).
Caring for plants is a continuous learning journey, and a few yellow or black leaves are just bumps in the road. By making these small environmental tweaks, your Peace Lily will reward you with fresh, vibrant growth in no time. Don't forget, if you need ongoing care reminders or want to track your plant's recovery progress, the Plantiary app is your perfect pocket gardening companion!