Snake plants (Dracaena trifasciata, formerly Sansevieria) are famous for being the ultimate indestructible houseplants. With their striking architectural leaves and drought-tolerant nature, they are often the first plant we bring into our homes. But if your once-rigid snake plant has suddenly become soft, wrinkled, or is completely flopping over, take a deep breath. You are not a bad plant parent!
This is an incredibly common issue, usually stemming from too much love in the form of water. When snake plants get too wet, they develop root rot. The good news is that these plants are tough fighters. If you catch it in time, you can absolutely save your mushy snake plant. And remember, if you are ever unsure what is wrong with your green friends, you can always use the AI-powered plant disease scanner in the Plantiary app to get an accurate diagnosis in seconds.
Let’s dive into what is happening beneath the soil and exactly how you can rescue your plant.
The Problem: Symptoms of a Mushy Snake Plant
Because root rot happens underground, we usually don't notice it until the plant shows distress signs above the soil level. Keep an eye out for these tell-tale symptoms:
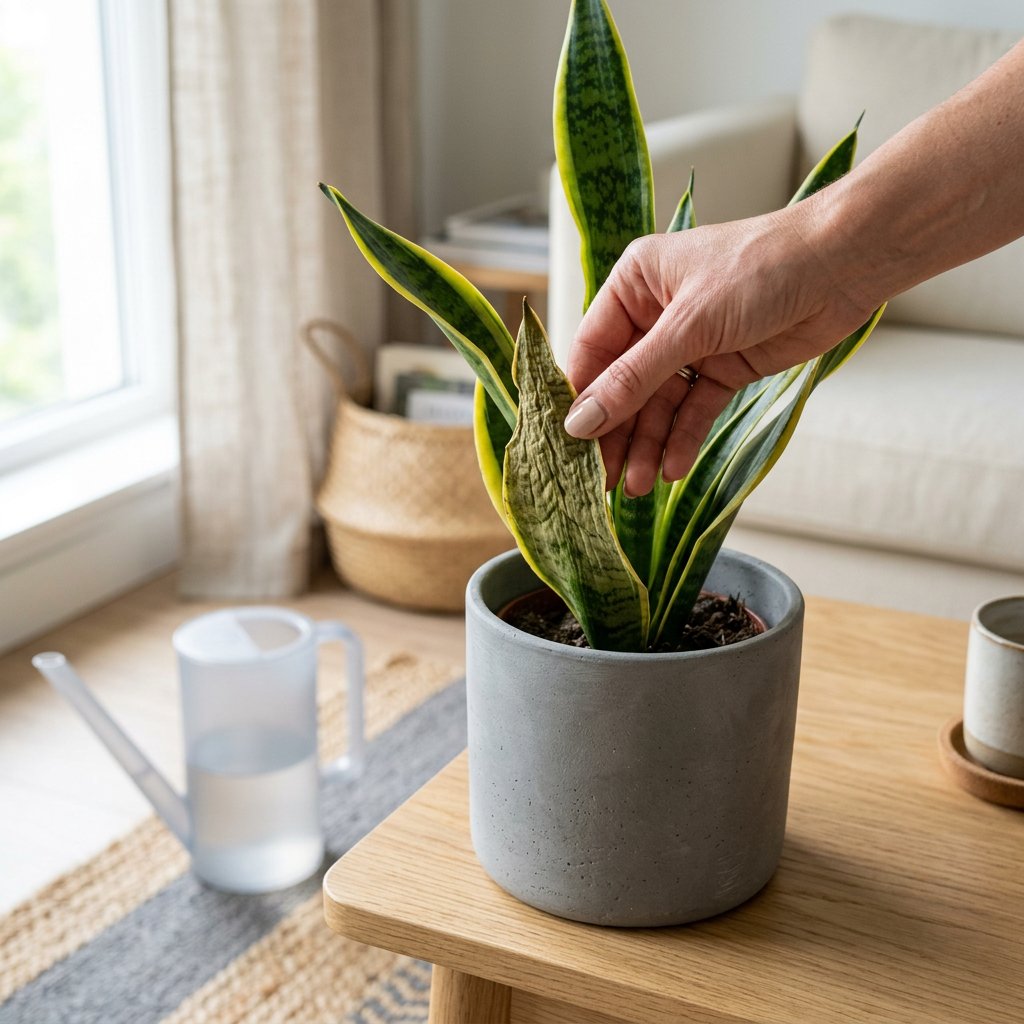
- Mushy, falling leaves: The base of the leaves feels soft, slimy, or squishy to the touch, and they may flop over completely.
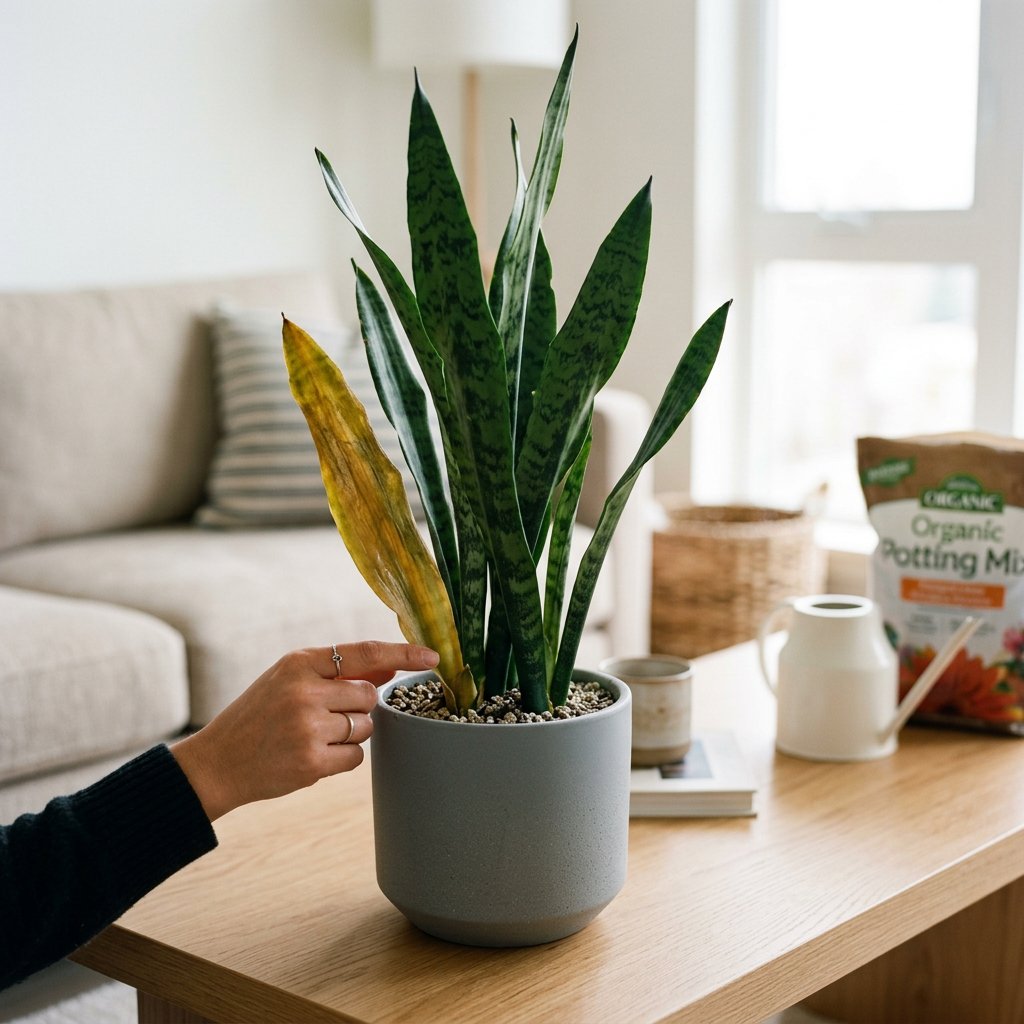
- Yellowing: You might notice chlorosis—a botanical term for when leaves lose their green pigment and turn pale or yellow due to a lack of nutrients or poor root health.
- Wrinkled foliage: Paradoxically, rotting roots can't absorb water, so the upper parts of the plant may look dehydrated and wrinkled.
- A swampy odor: If you lean in close to the pot, the soil might smell foul, sour, or similar to a damp basement. This is the smell of decaying organic matter and bacterial or fungal growth.
The Causes: Why Is This Happening?
To fix the issue, we first need to understand the root cause (pun intended!). Snake plants are technically succulents. Their thick, fleshy leaves are designed to store water for long periods of drought.
- Overwatering: This is the number one culprit. Giving your snake plant water before the soil has completely dried out suffocates the roots.
- Poor Drainage: If your pot lacks drainage holes, or if the soil is too heavy and compacted, water pools at the bottom. Roots need oxygen to breathe; sitting in standing water literally drowns them, allowing rot-causing fungi to thrive.
- Low Light: While snake plants are marketed as "low light" plants, they actually prefer bright, indirect light. In dark corners, they photosynthesize slower and use far less water, meaning the soil stays wet for much longer.
The Solutions: Step-by-Step Root Rot Treatment
Ready to play plant surgeon? Grab a pair of sharp scissors, some fresh soil, and let's get to work.
Step 1: Unpot and Inspect Gently pull your snake plant out of its pot. Massage the root ball to loosen the dirt, and rinse the roots under room-temperature running water. This washes away the old, contaminated soil so you can see exactly what you are working with.
Step 2: Prune the Decay Healthy snake plant roots are firm and typically white, light brown, or orange. Rotted roots are dark brown or black, stringy, and slimy. Wipe your scissors with rubbing alcohol to sterilize them, then confidently snip away all the mushy, dead roots. Cut slightly above the rot to ensure you are leaving only healthy tissue behind.
Step 3: Disinfect the Remaining Roots To stop the spread of fungal pathogens, treat the surviving roots. You can spray them with a commercial copper-based fungicide, or use a safe home solution: mix one part 3% hydrogen peroxide with two parts water and gently pour it over the healthy roots. This kills the remaining rot-causing bacteria and gives the roots a boost of oxygen.
Step 4: Let it Callus Before putting the plant back into damp soil, leave it out on a paper towel in a dry, room-temperature spot for 24 to 48 hours. This allows the fresh cuts to callus—meaning they dry out and form a protective scab, preventing rot from immediately re-entering the plant.
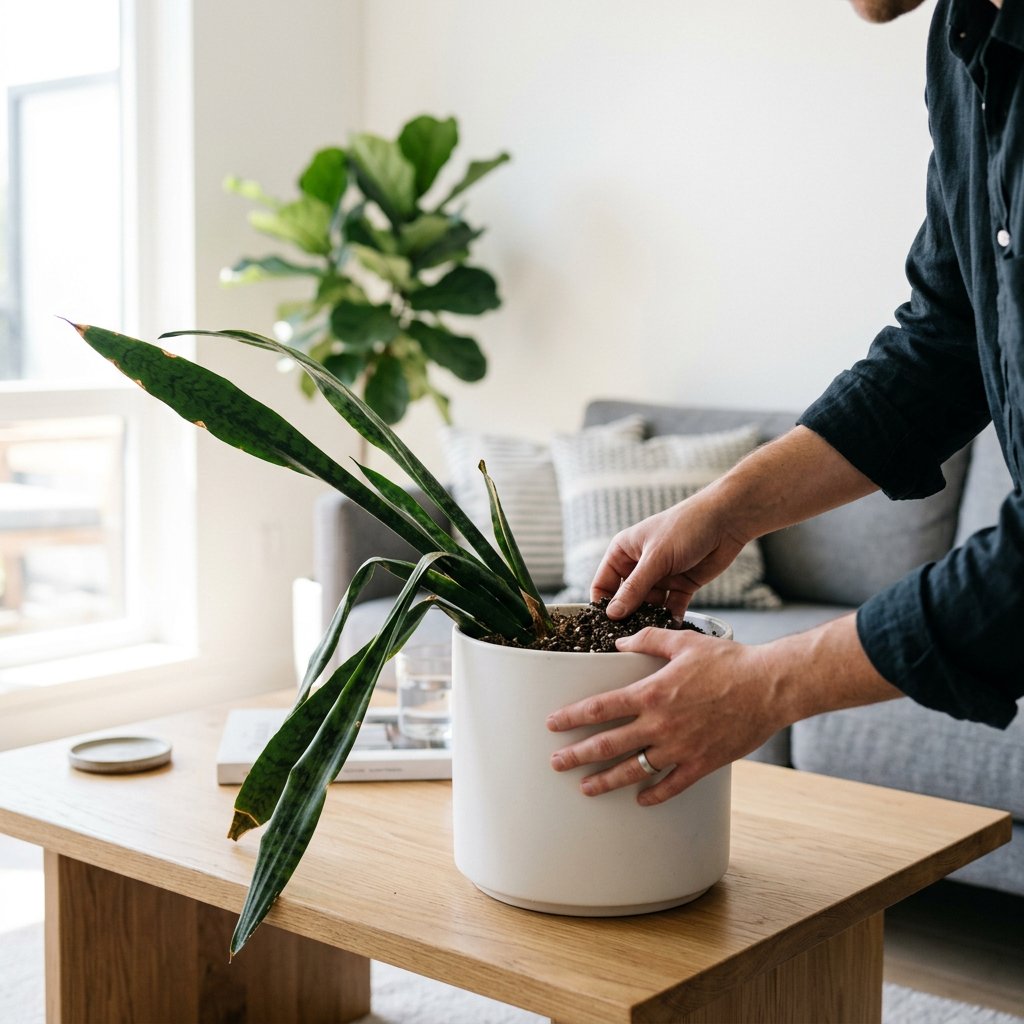
Step 5: Repot in Proper Soil Do not reuse the old soil! Replant your snake plant in a brand-new, well-draining potting mix. A commercial cactus or succulent mix heavily amended with perlite or pumice is perfect. Most importantly, ensure your new pot has large drainage holes at the bottom. Terracotta pots are highly recommended, as the porous clay helps wick away excess moisture.
Moving Forward: Preventing Future Heartbreak
Now that your plant is on the mend, hold off on watering it for at least a week to let it settle in. Moving forward, only water your snake plant when the soil is 100% dry from top to bottom.
Plant care is a learning journey, and a little trial and error is entirely normal. To take the guesswork out of your routine, download the Plantiary app and set up a customized watering schedule tailored to your snake plant's environment. With the right soil, proper drainage, and mindful watering, your snake plant will bounce back stronger than ever!