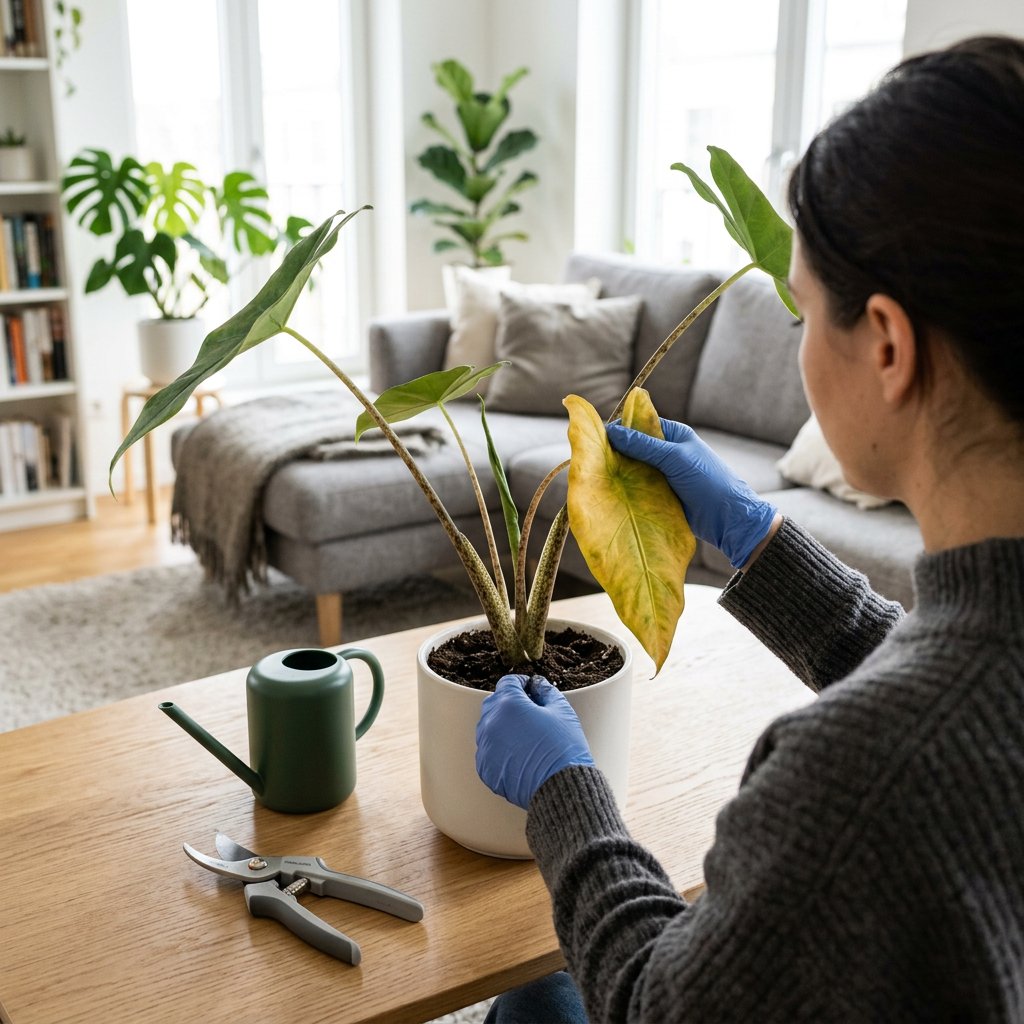
It happens to the best of us: you go to check on your prized Elephant Ear, and suddenly, one of its massive, beautiful leaves has turned a sad shade of yellow. Take a deep breath! Seeing yellow leaves on your Alocasia can feel heartbreaking, but please do not feel guilty. Plant issues happen to every plant parent, and Alocasias are famously known to be a little dramatic.
Yellowing is simply your plant's way of communicating that something in its environment needs a slight adjustment. Whether you are a seasoned indoor jungle keeper or a brand-new plant parent, figuring out the issue is completely doable. If you are ever unsure what is wrong with your plant, you can always use the AI-powered plant disease scanner in the Plantiary app to get a diagnosis in seconds.
Let’s dive into what your Alocasia is trying to tell you and how to get it back to its vibrant, tropical self!
The Problem: Decoding the Yellow Leaves
In botanical terms, the yellowing of leaves is known as chlorosis. This simply means your plant is losing its chlorophyll, which is the essential green pigment that allows plants to absorb light and create their own food.
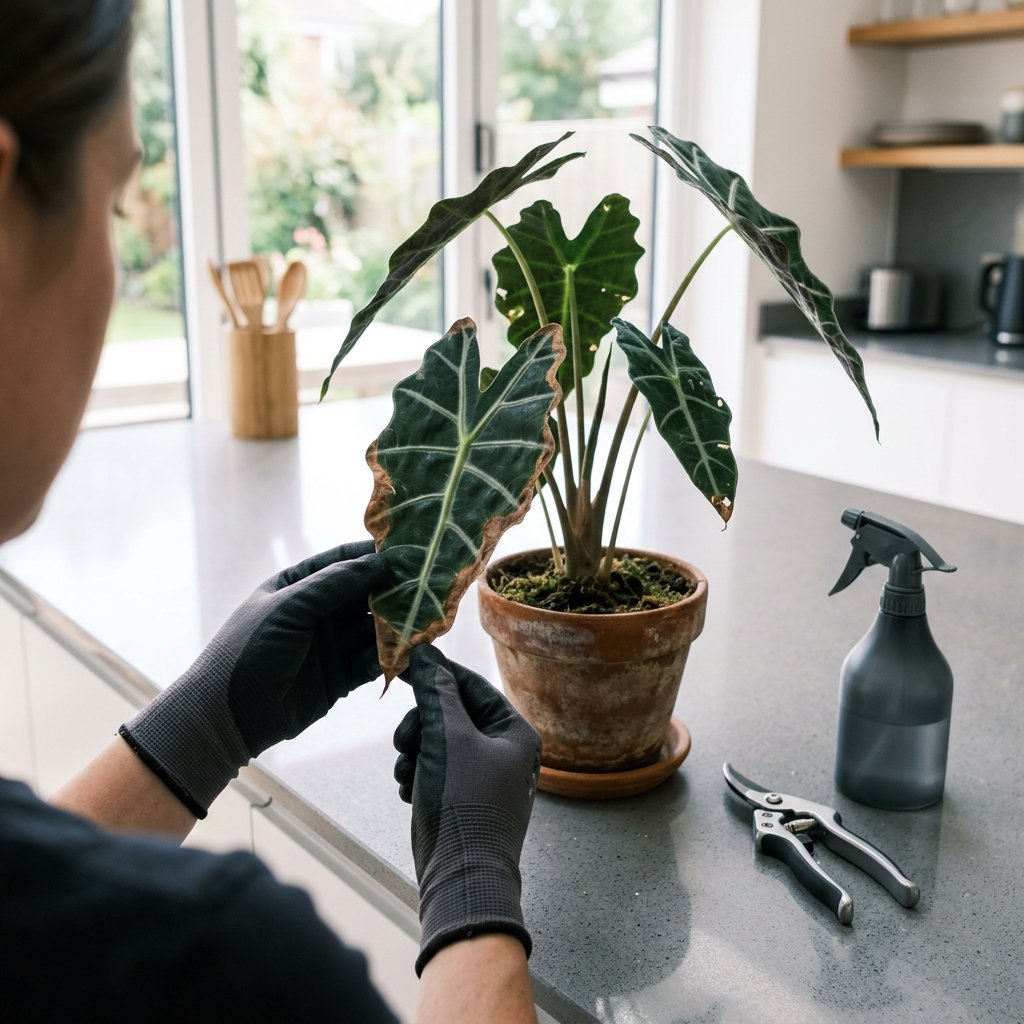
However, not all yellowing looks the same. Pay close attention to the symptoms to help pinpoint the issue:
- The lowest, oldest leaf is turning yellow: This is often a natural process, not a disease.
- Leaves are yellow and mushy: Usually a sign of excess moisture in the soil.
- Yellow spots or stippling (tiny dots): A common indicator of pest damage.
- Pale yellowing all over: This can point to light issues or a lack of nutrients.
The Causes: Why Is My Alocasia Unhappy?
To fix the problem, we first need to understand the root cause. Here are the most common reasons an Alocasia leaf turns yellow:
- Natural Aging: Alocasias are notorious for dropping their oldest leaf when they are pushing out a new one. They recycle the energy from the dying leaf to support the baby leaf. It is literally the circle of life!
- Overwatering and Root Rot: This is the most common culprit. While these tropical beauties love humidity, they absolutely despise sitting in heavy, soggy soil. Excess water drowns the roots, preventing them from taking up oxygen.
- Light Imbalances: If your plant isn't getting enough sunlight, it may suffer from etiolation—a condition where the plant stretches and weakens in search of light, often losing its color. Conversely, too much harsh, direct sunlight will scorch the leaves.
- Thirsty Pests: Tiny invaders, particularly spider mites, love the large leaves of Alocasias. They pierce the plant tissue and suck out the sap, draining the plant's energy and color.
- Nutrient Deficiencies: Because Alocasias grow such massive leaves, they are heavy feeders. If the soil is depleted, the plant will pull nutrients from older leaves to survive.
The Solutions: Step-by-Step Treatment
Now that we know what might be going wrong, let’s get your plant on the road to recovery with these scientifically proven, actionable steps.
Step 1: Assess the soil moisture and roots Stick your finger about two to three inches into the soil. If it feels soaking wet and smells a bit sour, you likely have an overwatering issue. Carefully slide the plant out of its pot and inspect the roots. Healthy roots are firm and pale; rotten roots are dark, mushy, and smelly. If you spot rot, trim away the mushy parts with sterile scissors and repot the plant in a fresh, chunky, well-draining soil mix (adding orchid bark and perlite works wonders).
Step 2: Adjust your watering routine Moving forward, only water your Alocasia when the top 2 to 3 inches of soil are completely dry. Always ensure your pot has drainage holes so excess water can escape.
Step 3: Optimize your lighting Alocasias thrive in bright, indirect sunlight. If your plant is hiding in a dark corner, slowly transition it closer to a bright window. If it is getting blasted by hot afternoon sun, move it back a few feet or hang a sheer curtain to diffuse the rays.
Step 4: Inspect and treat for pests Take a close look at the undersides of the leaves. If you see fine webbing or tiny dust-like specks crawling around, you have spider mites. Avoid weird pantry DIYs; instead, gently wipe the leaves down with a damp cloth and treat the plant with a scientifically proven horticultural oil, like neem oil or a gentle insecticidal soap.
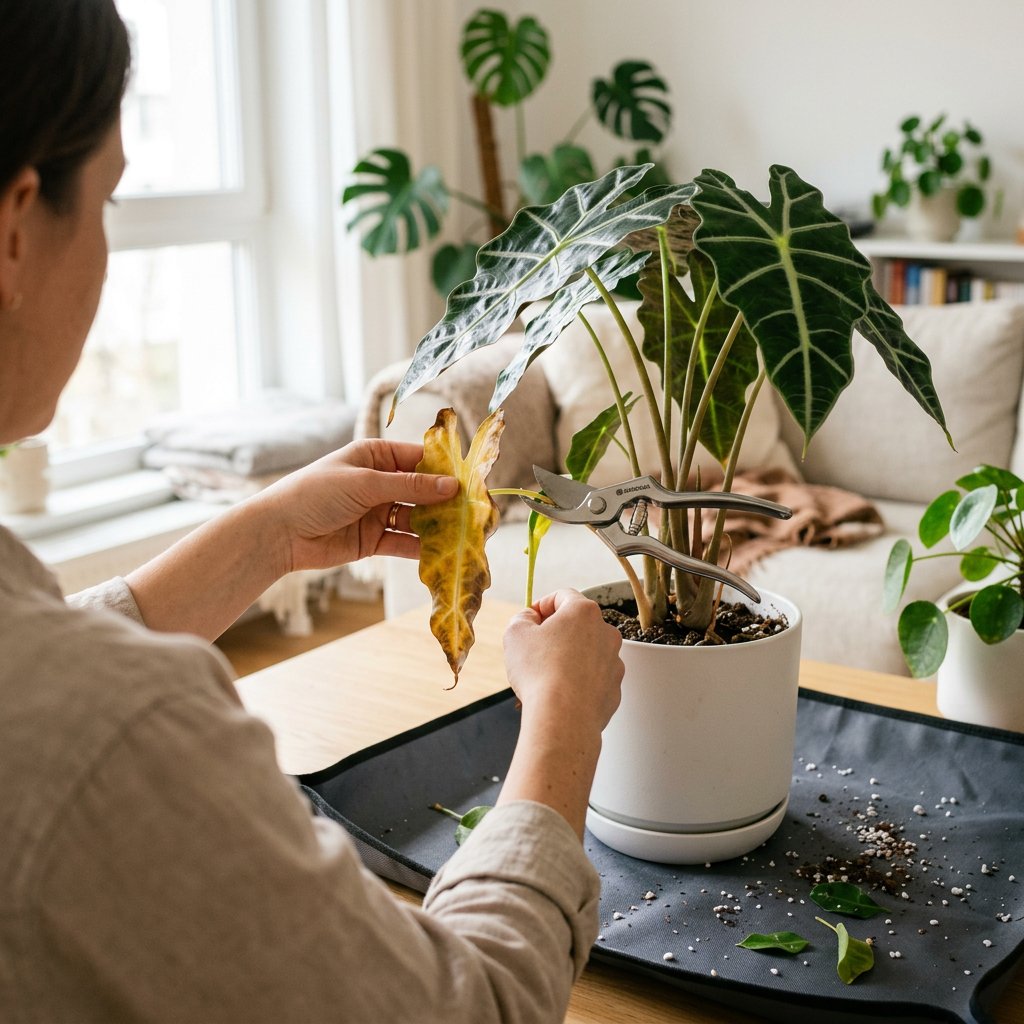
Step 5: Prune the yellow leaf (Optional but helpful) Once a leaf has turned entirely yellow, it will not turn green again. You can use clean, sterilized pruning shears to snip the leaf off near the base of the stem. This allows the plant to stop wasting energy on a dying leaf and redirect it toward healthy new growth.
You've Got This!
Remember, bringing a struggling plant back to life is one of the most rewarding parts of plant parenthood. Your Alocasia is resilient, and with a few minor tweaks to its care routine, it will be pushing out stunning new foliage in no time.
To take the guesswork out of your plant care routine, don't forget to use the Plantiary app. You can set up custom watering reminders, track your Alocasia's growth, and keep your entire indoor jungle thriving all year round!