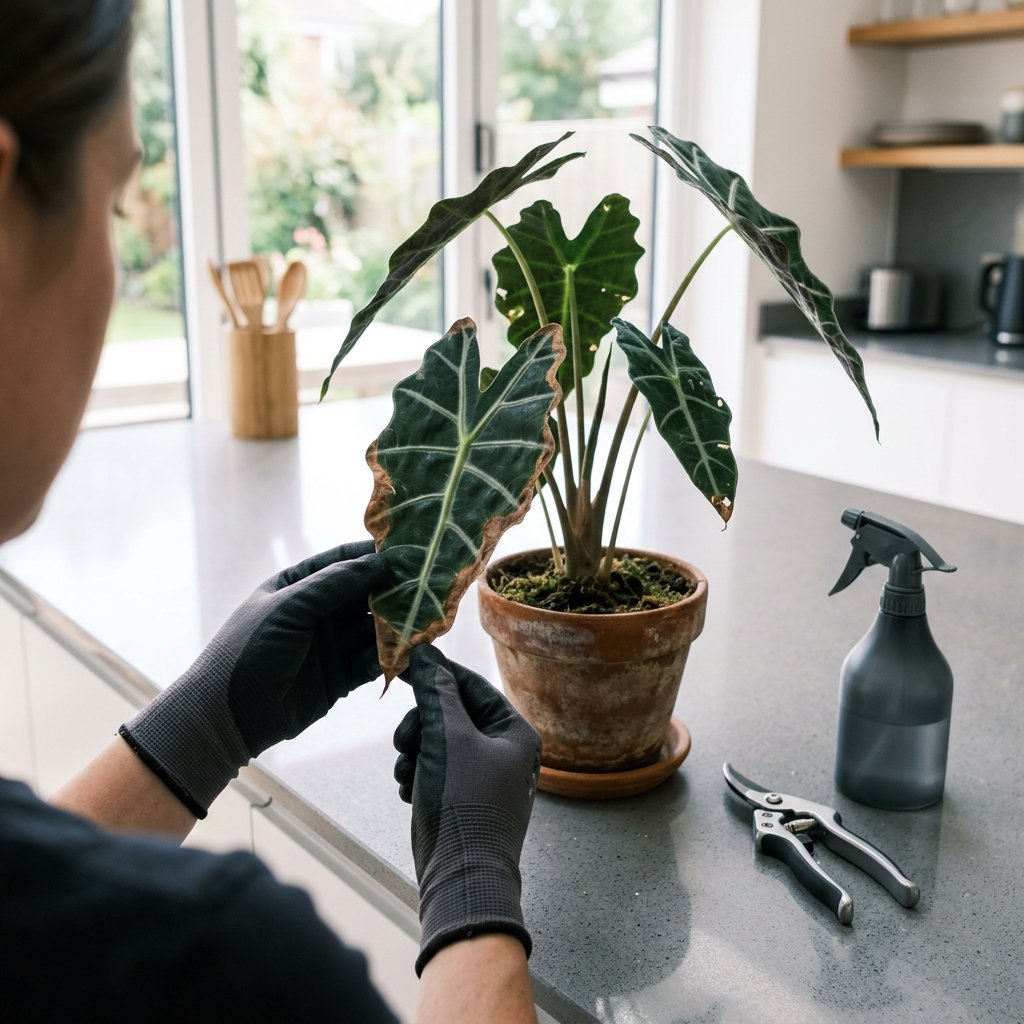
Have you ever walked up to your majestic Alocasia, ready to admire its stunning, elephant-ear-shaped foliage, only to spot crispy brown edges ruining the vibe? Take a deep breath and please don't be hard on yourself! Alocasias are notorious drama queens, and dealing with dry, browning margins is almost a rite of passage for plant parents. Plant care is an ongoing learning journey, and even expert botanists deal with imperfect leaves from time to time.
If you are unsure whether those brown spots are simply from dry air or something more serious, you can use the AI-powered plant disease scanner in the Plantiary app to get an accurate diagnosis in seconds! But if you are dealing with classic crispy edges, let's explore exactly what is happening and how to get your tropical beauty thriving again.
The Problem: Decoding the Symptoms
When an Alocasia is unhappy with its environment, it will quickly let you know through its leaves. You might notice:
- Crispy, brittle margins: The very outer edges of the leaves feel dry to the touch and easily crumble.
- Brown tips: The pointed tips of the leaves turn brown and dry up before the rest of the leaf.
- A yellow halo: Sometimes, the brown edges are bordered by a faint yellow line, signaling that the leaf tissue is currently dying.
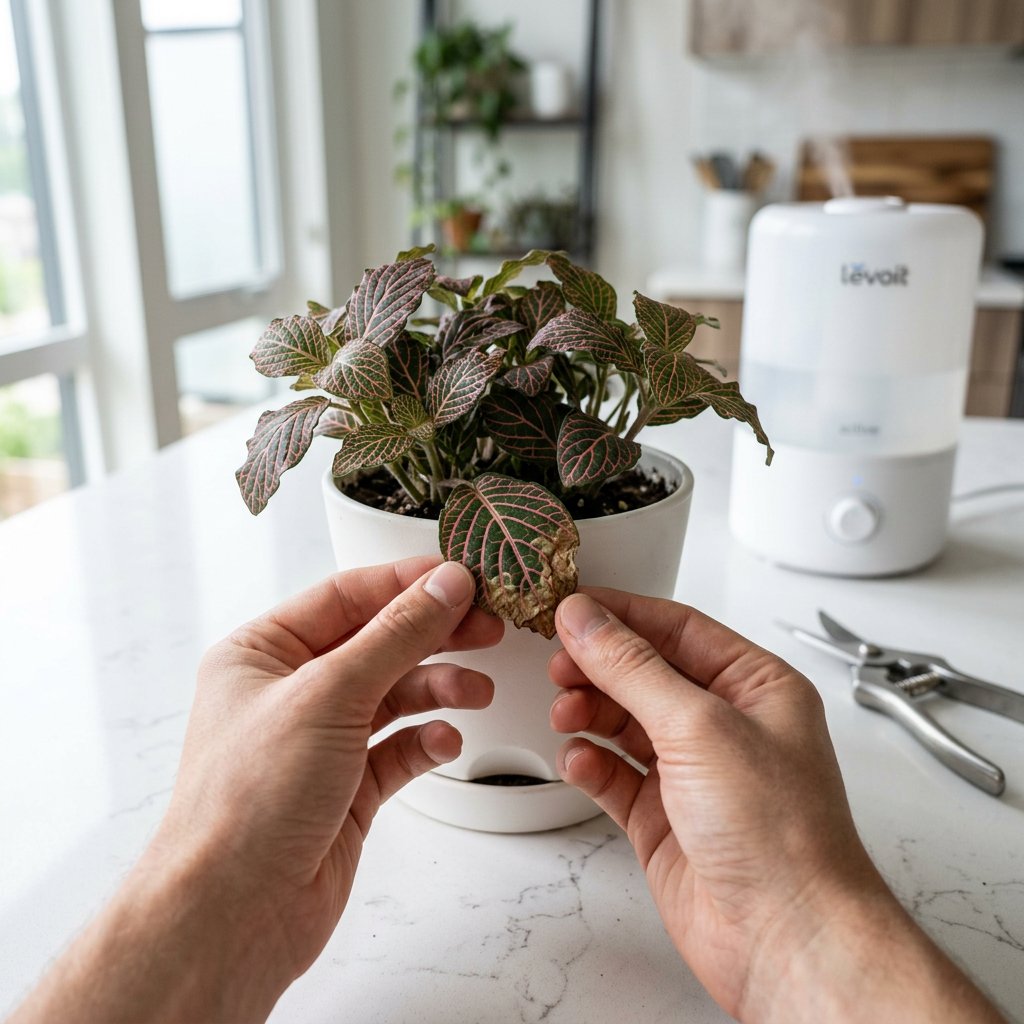
In the botanical world, this dead, brown plant tissue is known as necrosis. Once a part of the leaf becomes necrotic, it cannot turn green again. However, by identifying the root cause, you can stop the spreading and ensure all new leaves emerge flawless!
The Causes: Why Are Your Alocasia Leaves Browning?
To stop the browning, we first need to figure out what is triggering your plant's stress response. Here are the most common culprits:
1. Lack of Humidity
Alocasias originate from the humid understories of tropical rainforests. When the air in our homes is too dry—especially during winter when heaters are blasting—the plant loses moisture through its leaves faster than its roots can absorb it, resulting in dry, brown edges.
2. Tap Water Toxicity
Many houseplants are sensitive to the chemicals found in municipal tap water, such as fluoride, chlorine, and heavy minerals. Over time, these minerals build up in the soil and are pushed to the very edges of the plant's leaves, causing chemical burns.
3. Inconsistent Watering
Letting the soil dry out completely or watering in erratic bursts puts the plant into drought stress. This lack of consistent moisture directly impacts the delicate edges of the foliage first.
4. Fertilizer Burn
While Alocasias are heavy feeders, giving them too much fertilizer can cause a buildup of excess salts in the soil. Similar to tap water chemicals, these salts travel through the plant and burn the leaf margins.
The Solutions: Step-by-Step Treatment
Ready to stop those brown edges in their tracks? Follow these proven, plant-safe steps to restore your Alocasia’s health.
Step 1: Switch Your Water Source
Stop watering your Alocasia with water straight from the tap. Instead, switch to distilled water, filtered water, or collected rainwater. This instantly removes the threat of fluoride and chlorine burns.
Step 2: Flush the Soil
If you suspect fertilizer burn or mineral buildup, you need to perform a process called leaching (flushing excess salts out of the soil). Take your plant to the sink or shower and slowly pour a generous amount of room-temperature, filtered water over the soil. Let it drain completely out of the bottom holes. Repeat this process two or three times to wash away trapped salts.
Step 3: Elevate Ambient Humidity
Skip the outdated advice of heavily misting your plant, which can actually invite harmful fungal diseases. Instead, use proven methods to raise the ambient humidity around your Alocasia to at least 60%:
- Place a cool-mist humidifier near the plant.
- Group your Alocasia with other houseplants to create a humid microclimate.
- Place the plant's pot on a pebble tray filled with water (ensuring the bottom of the pot sits on the pebbles, not submerged in the water).
Step 4: Master Your Watering Rhythm
Alocasias love their soil to be consistently moist, but never soggy. Wait until the top 1 to 2 inches of the potting mix feels dry before giving it a thorough watering. To take the guesswork out of your routine, you can log your watering schedule in the Plantiary app to receive smart, timely reminders!
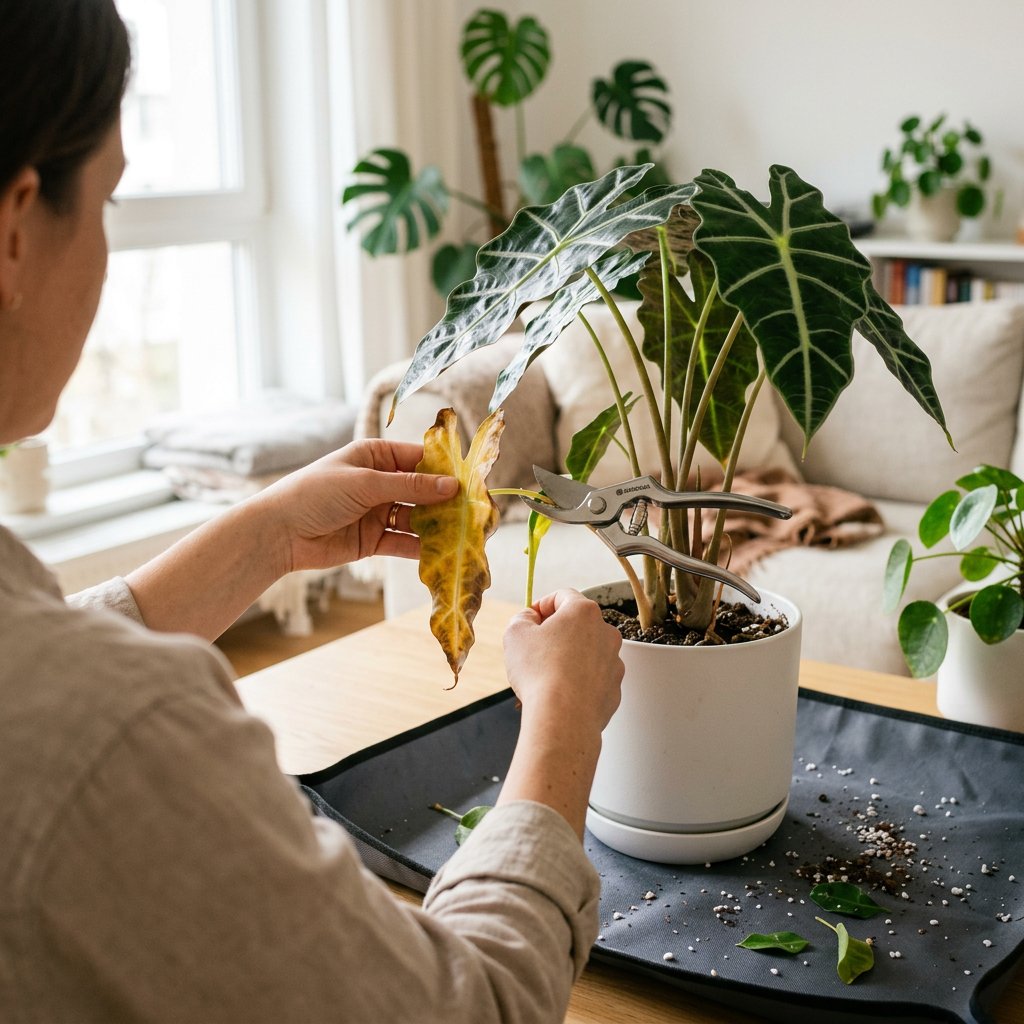
Remember, plant care requires a little patience. While the existing brown edges won't heal, you can safely trim them away with sterile scissors if they bother you. By following these steps, you are setting your Alocasia up for a brilliant, lush, and perfectly green future!