Have you recently noticed tiny, spider-like offshoots dangling from the long stems of your beloved Spider Plant (Chlorophytum comosum)? Congratulations! You are officially a plant grandparent. Seeing these little green clusters cascading over the edge of your pot is incredibly exciting, but it can also leave you wondering what to do next. Please don't worry if you feel a bit intimidated—propagating these little babies is actually one of the easiest, most rewarding parts of plant parenthood. Every plant parent starts somewhere, and we are here to guide you. Plus, once you've potted up your new plants, you can easily add them to your Plantiary app to keep track of their fresh watering schedules!
The Situation: Identifying Ready Spiderettes
Before you start snipping, you need to make sure your plant's babies—botanically known as spiderettes—are actually ready to leave the nest.
- Look for root nodes: Gently lift the baby plant and look at its base. You should see tiny, knobby brown or green bumps. These are root nodes, the exact spots where new roots will push out.
- Check the size: It is best to wait until the spiderette has a few leaves of its own and is at least two inches wide. If you try to propagate a baby that is too small, it might not have the stored energy required to survive on its own.
The Causes: Why Your Plant is Producing Babies
You might be wondering what caused your plant to suddenly push out all these miniature versions of itself.
- Happy stress: Spider plants naturally send out long, arching stems called stolons (horizontal runners that grow away from the main plant) when they are slightly root-bound and receiving excellent light.
- Survival instinct: In nature, sending out stolons allows the plant to spread across the forest floor. By snipping and propagating these babies, you are actually mimicking its natural lifecycle while taking weight off the mother plant, allowing her to redirect energy back into her own growth!
The Solutions: Step-by-Step Propagation
There are two highly successful, scientifically sound methods to propagate spider plants. Neither requires expensive tools or fancy chemicals—just a little patience!
Method 1: Water Propagation
This is a favorite method for many indoor gardeners because you get to watch the roots grow in real-time.
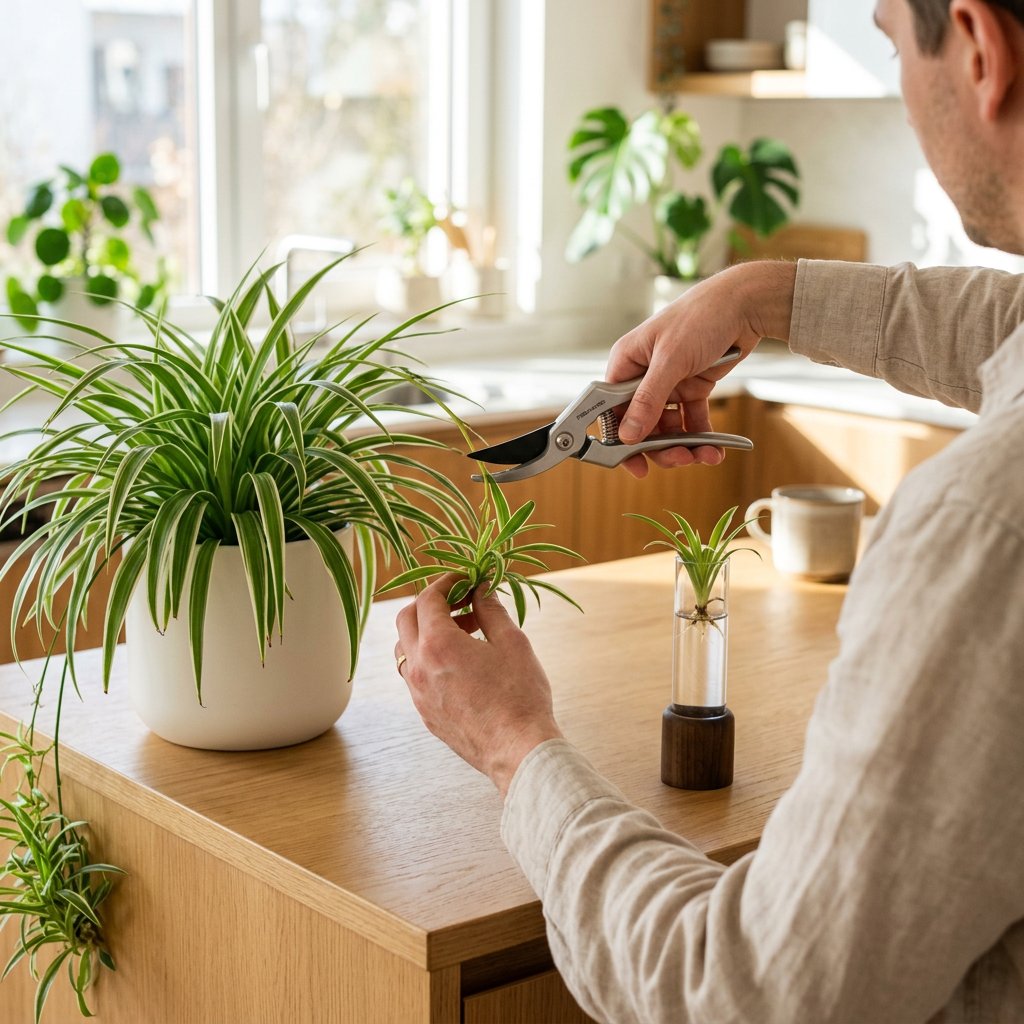
- Step 1: Snip the baby. Using a pair of clean, sterilized scissors, cut the baby off the stolon, leaving just a tiny bit of the stem attached to the baby's base.
- Step 2: Place in water. Fill a small glass or jar with room-temperature water. Submerge only the knobby base (the root nodes) into the water. Crucial tip: Ensure the leaves stay completely dry to prevent bacterial rot.
- Step 3: Provide bright, indirect light. Place the glass in a warm spot out of direct, harsh sun. Change the water every 3 to 5 days to keep oxygen levels high.
- Step 4: Pot in soil. After about 1 to 2 weeks, you will see thick, white roots. Once those roots are 1 to 2 inches long, plant your baby in a small pot with well-draining potting soil.
Method 2: Soil Propagation (The Stolon Method)
This method closely mimics how Spider Plants propagate in the wild and carries almost zero risk of shock.
- Step 1: Prepare a small nursery pot. Fill a small pot with moist, well-draining potting soil and place it right next to the mother plant.
- Step 2: Pin the baby. Do not cut the baby off the mother plant yet! Instead, gently place the base of the baby plant onto the soil of the new pot. Use a bent paperclip or a floral pin to gently hold the base against the soil.
- Step 3: Keep the soil moist. Water the small pot regularly. The mother plant will continue to feed the baby through the stolon while it grows its own roots.
- Step 4: Cut the cord. After 2 to 3 weeks, give the baby plant a very gentle tug. If you feel resistance, it has rooted! You can now safely cut the stolon connecting it to the mother plant.
Post-Propagation Care & Troubleshooting
Even with the best care, newly propagated plants might show signs of stress. This happens to the most experienced botanists, so don't be hard on yourself!
- Crispy tips: This usually indicates a lack of humidity or a buildup of minerals from tap water. Try using filtered water.
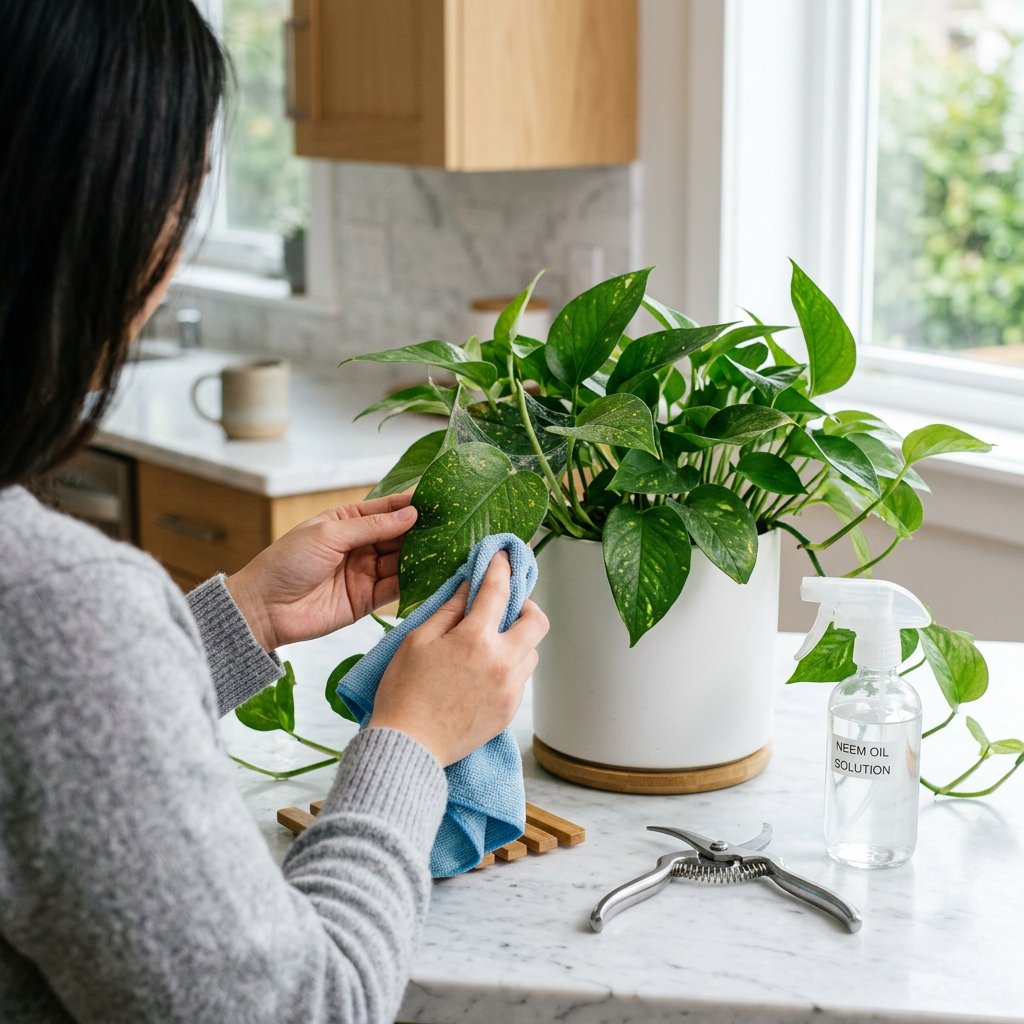
- Yellowing leaves: If the leaves begin to turn pale yellow, your baby plant might be experiencing chlorosis (a loss of green pigment, often caused by overwatering or poor drainage). Make sure your pot has drainage holes!
If you are ever unsure what is wrong with your newly propagated plant, you can use the AI-powered plant disease scanner in the Plantiary app to get an accurate diagnosis and treatment plan in seconds.
Growing new life from your favorite houseplant is a magical experience. Take a deep breath, grab your scissors, and enjoy the beautiful process of multiplying your indoor garden!