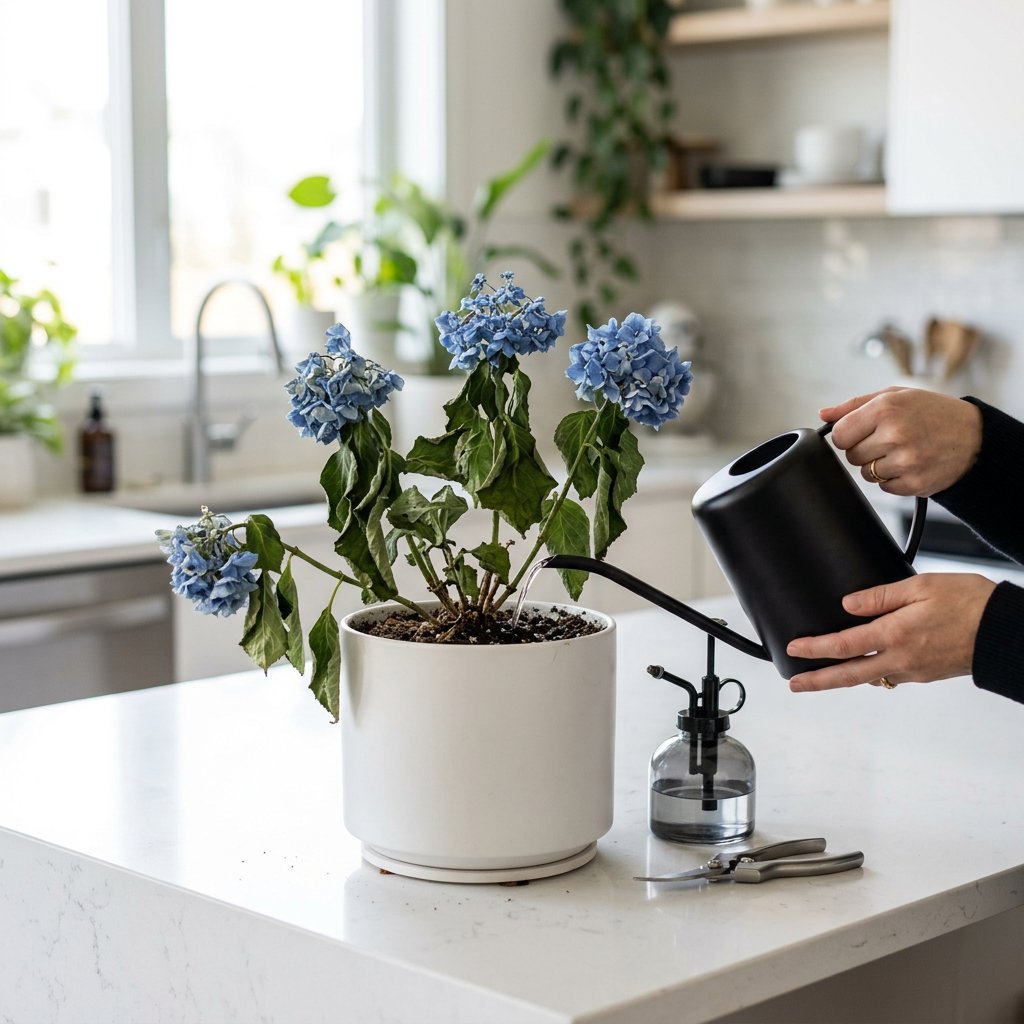
Imagine stepping into your garden, expecting to be greeted by your hydrangea’s lush foliage and magnificent blooms, only to find the leaves speckled with unsightly brown or purple spots. Please don't panic or feel guilty! Seeing your beloved plant struggle can be disheartening, but leaf spots are an incredibly common issue that happens to even the most experienced plant parents. Fungal problems are just a small bump in your gardening journey, and your hydrangea has every ability to bounce back with a little bit of targeted care.
If you are ever unsure what is wrong with your plant, you can always use the AI-powered plant disease scanner in the Plantiary app to get an instant diagnosis and put your mind at ease. Until then, let’s explore exactly what’s happening to your hydrangea and how to fix it!
The Problem: Identifying Hydrangea Leaf Spots
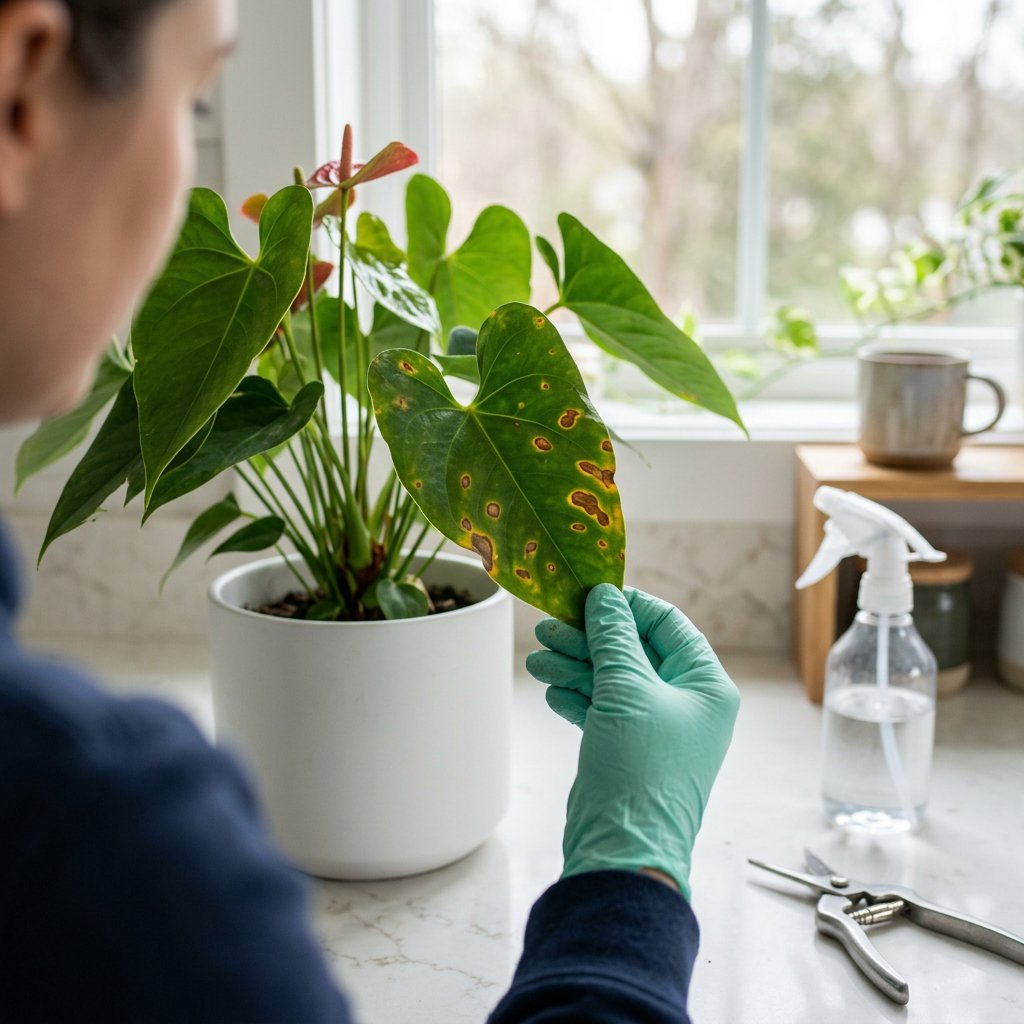
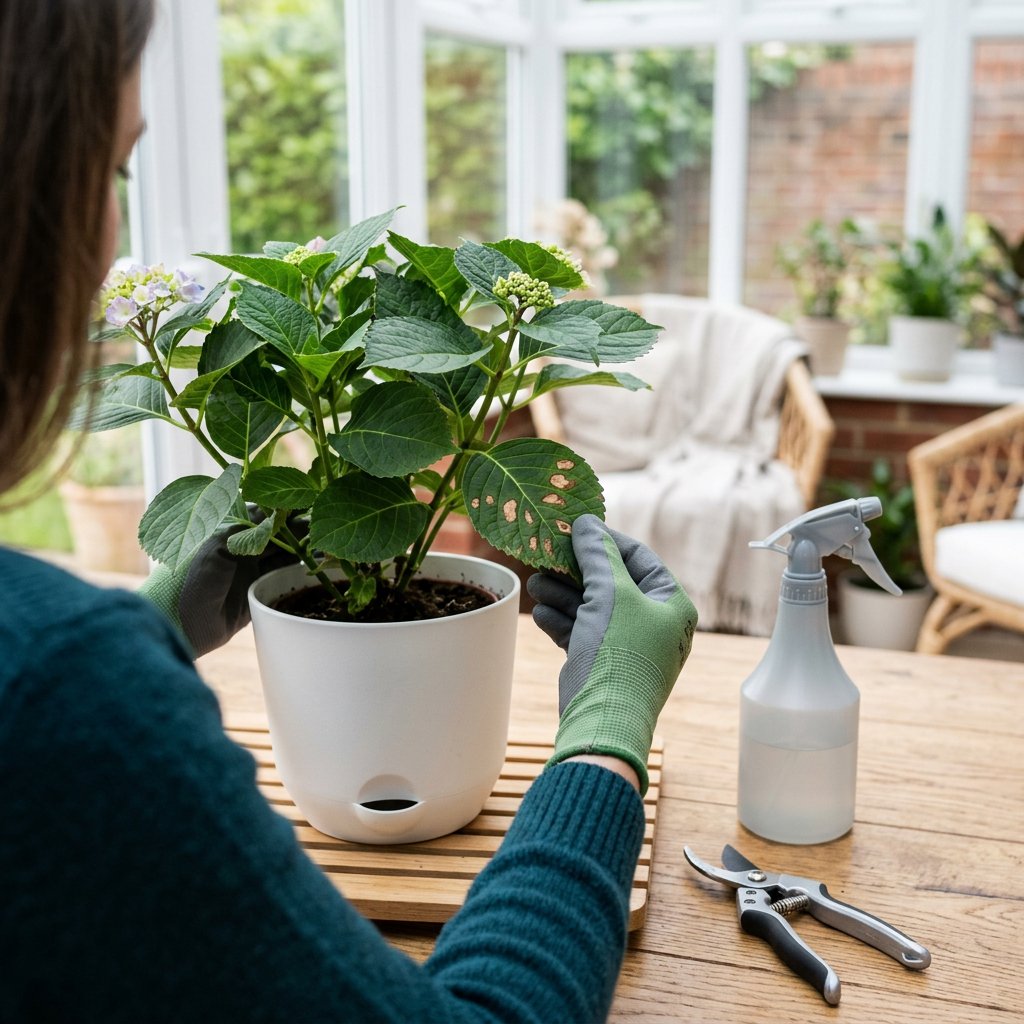
Before we can treat the issue, we need to know what we are looking at. Hydrangeas are particularly susceptible to a fungal pathogen known as Cercospora. When this fungus takes hold, you will typically see the following symptoms:
- Small, circular spots: These usually start as tiny purple or dark brown dots scattered across the lower leaves.
- Enlarging lesions: As the fungus spreads, the spots grow larger and may develop grayish-tan centers surrounded by a dark purple halo.
- Yellowing leaves: You might also notice chlorosis—a botanical term that simply means the yellowing of normally green leaf tissue—surrounding the dark spots.
- Leaf drop: In severe cases, the affected leaves will eventually dry out, die, and fall off the plant.
The Causes: Why Is My Hydrangea Getting Spots?
Fungal pathogens like Cercospora are opportunists. They don't attack because you are a bad gardener; they simply thrive when the environmental conditions are just right. The primary causes include:
- Prolonged Leaf Wetness: Fungal spores need moisture to germinate. If your hydrangea's leaves stay wet for extended periods, fungi will quickly settle in.
- Overhead Watering: Using a sprinkler or watering wand from above splashes water—and dormant fungal spores—from the soil directly onto the lower leaves.
- Poor Air Circulation: When hydrangeas are planted too closely together or have dense, unpruned centers, fresh air cannot flow through the branches to dry the leaves.
- Humid Weather: Warm, muggy days accompanied by frequent summer rain showers create a perfect incubator for fungal growth.
The Solutions: Step-by-Step Fungal Treatment
The good news is that fungal leaf spots are rarely fatal to hydrangeas. By taking a few scientifically proven, actionable steps, you can stop the spread and protect your plant’s future growth.
Step 1: Prune Away the Heavily Infected Leaves Carefully snip off the leaves that are heavily covered in spots. This immediately reduces the number of fungal spores on the plant. Be sure to wipe your pruning shears with rubbing alcohol between cuts so you don't accidentally spread the fungus to healthy branches. Note: Throw the infected leaves in the trash, not your compost bin, to prevent the spores from surviving the winter!
Step 2: Clean Up the Surrounding Soil Fungal spores love to overwinter (survive through the cold months) in fallen garden debris. Rake up and dispose of any dead leaves and twigs resting on the soil beneath your hydrangea.
Step 3: Change Your Watering Habits Keep the leaves as dry as possible. Always water your hydrangea at the base, directing the moisture straight into the soil where the roots need it. It is also best to water early in the morning so that any stray drops on the foliage have time to dry under the daytime sun.
Step 4: Improve Airflow If your hydrangea is a dense thicket of branches, carefully thin out some of the older, inner stems. This allows gentle breezes to pass through the plant, naturally drying out the environment that fungi love so much.
Step 5: Apply a Safe, Proven Fungicide To protect the remaining healthy leaves, apply a scientifically proven fungal treatment. Copper-based fungicides or horticultural neem oil sprays are excellent, safe choices for hydrangeas. Follow the instructions on the product label carefully, spraying in the early evening to avoid sunburning the leaves. Keep in mind that fungicides are protective rather than curative—they will stop the spots from spreading to new growth, even if they don't erase the spots on already damaged leaves.
Caring for plants is an ongoing learning experience, and encountering a little fungus is practically a gardening rite of passage. Keep a close eye on your newly emerging leaves, maintain good watering habits, and remember that the Plantiary app is always right in your pocket whenever you need a helping hand!