Have you ever reached out to touch your Kalanchoe’s beautifully thick, vibrant leaves, only to find them feeling uncomfortably soft, limp, or squishy? Don't panic! It is entirely normal to feel a little heartbroken when our plant babies aren't thriving, but mushy leaves are an incredibly common issue for succulent parents everywhere.
Plant care is a wonderful learning journey full of trial and error. If your Kalanchoe is looking a bit worse for wear, you haven't failed as a plant parent. You just need to make a few quick adjustments to its environment. Let’s dive into what is happening to your plant and exactly how to save it!
The Problem: Identifying Soft and Mushy Kalanchoe Leaves
Kalanchoes are succulents, which means their leaves should naturally feel firm, rigid, and plump because they store water inside them for drought survival. When things go wrong, you might notice the following symptoms:
- Deflated Texture: The leaves feel thin, wrinkly, or completely squishy to the touch.
- Color Changes: The foliage may start looking translucent or yellow. This yellowing is known as chlorosis, which is simply a loss of green pigment typically caused by environmental stress.
- Dropping Leaves: Mushy leaves may fall off the plant at the slightest touch.
- Blackened Stems: The base of the stem near the soil line might look dark brown or black and feel slimy.
The Causes: Why Are Your Kalanchoe Leaves Turning Mushy?
While we always want to shower our plants with love, sometimes we give them a little too much love in the form of water.
- Overwatering: This is the number one culprit. Because Kalanchoes store water in their leaves, giving them excess water causes their plant cells to burst, resulting in a squishy, mushy mess.
- Root Rot: If your plant sits in wet soil for too long, it develops root rot. This is a fungal condition where waterlogged roots suffocate from a lack of oxygen and begin to decay. Once the roots die, they can no longer transport nutrients to the plant.
- Poor Drainage: Planting your Kalanchoe in dense, moisture-retaining potting soil or a pot without drainage holes will trap water around the roots, accelerating rot.
If you are ever unsure what is wrong with your plant, you can use the AI-powered plant disease scanner in the Plantiary app to get an accurate diagnosis in seconds!
The Solutions: Step-by-Step Treatment for Kalanchoe Rot
If your Kalanchoe is suffering from rot, simply letting the soil dry out usually isn't enough. We need to take a look under the soil to fix the issue. Here is how to save your plant:
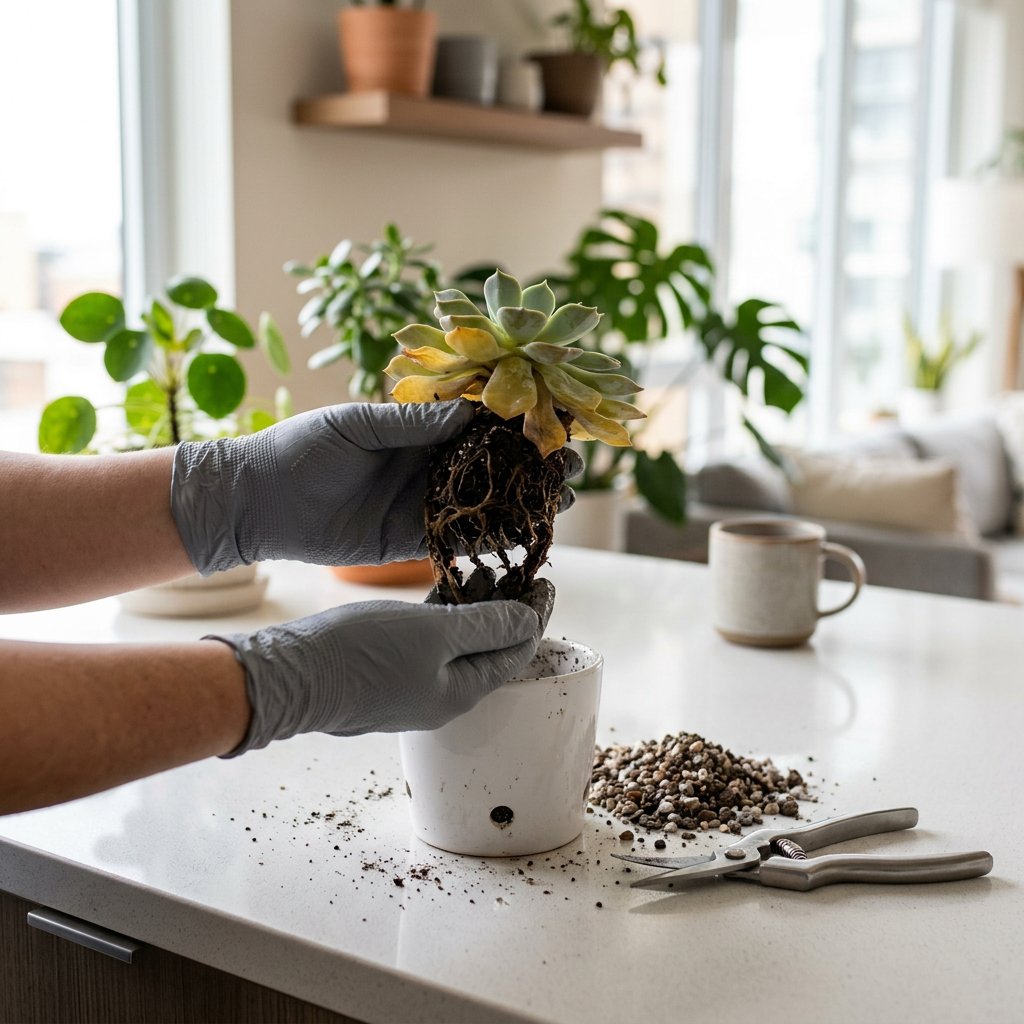
Step 1: Unpot and Inspect the Roots Gently pull your Kalanchoe out of its pot and brush away the excess soil. Take a close look at the root system. Healthy roots should be firm and light in color. If the roots are dark brown, black, stringy, and have a foul, swampy smell, you are dealing with root rot.
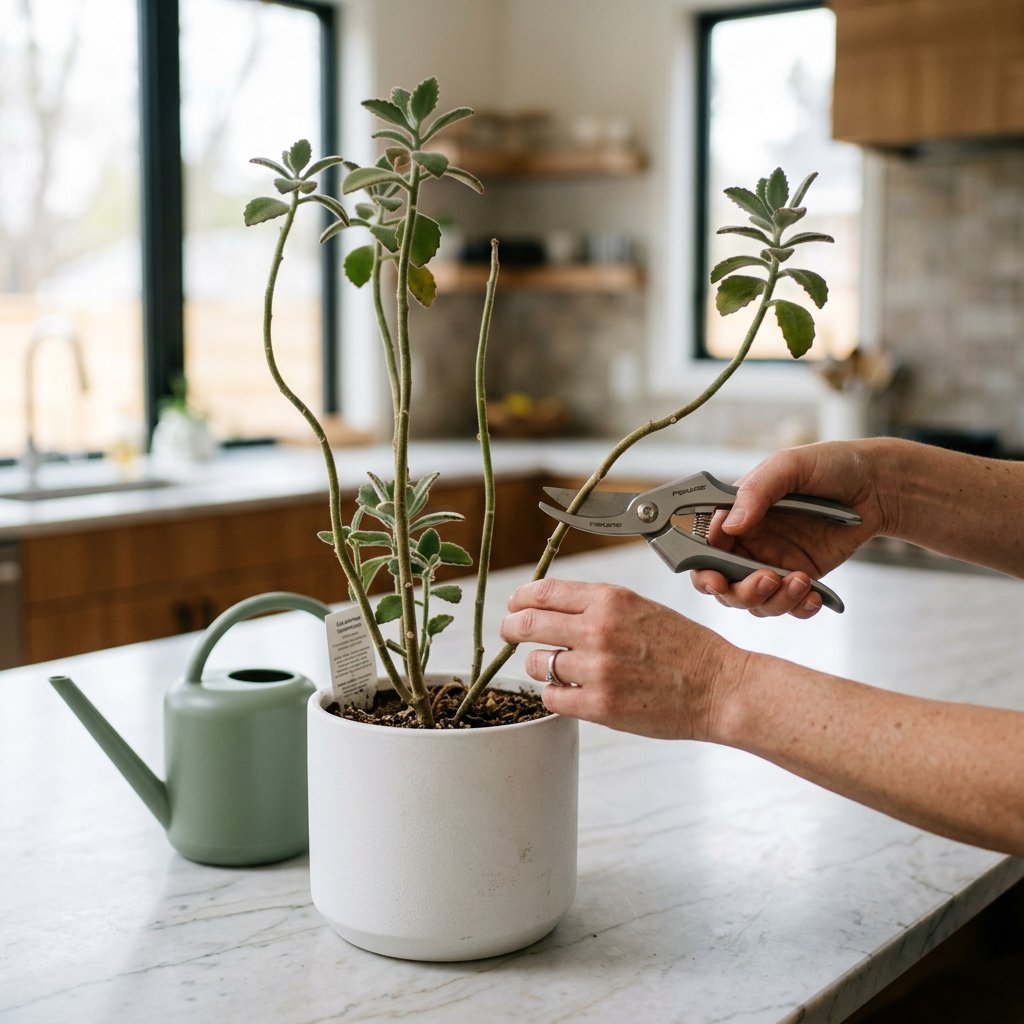
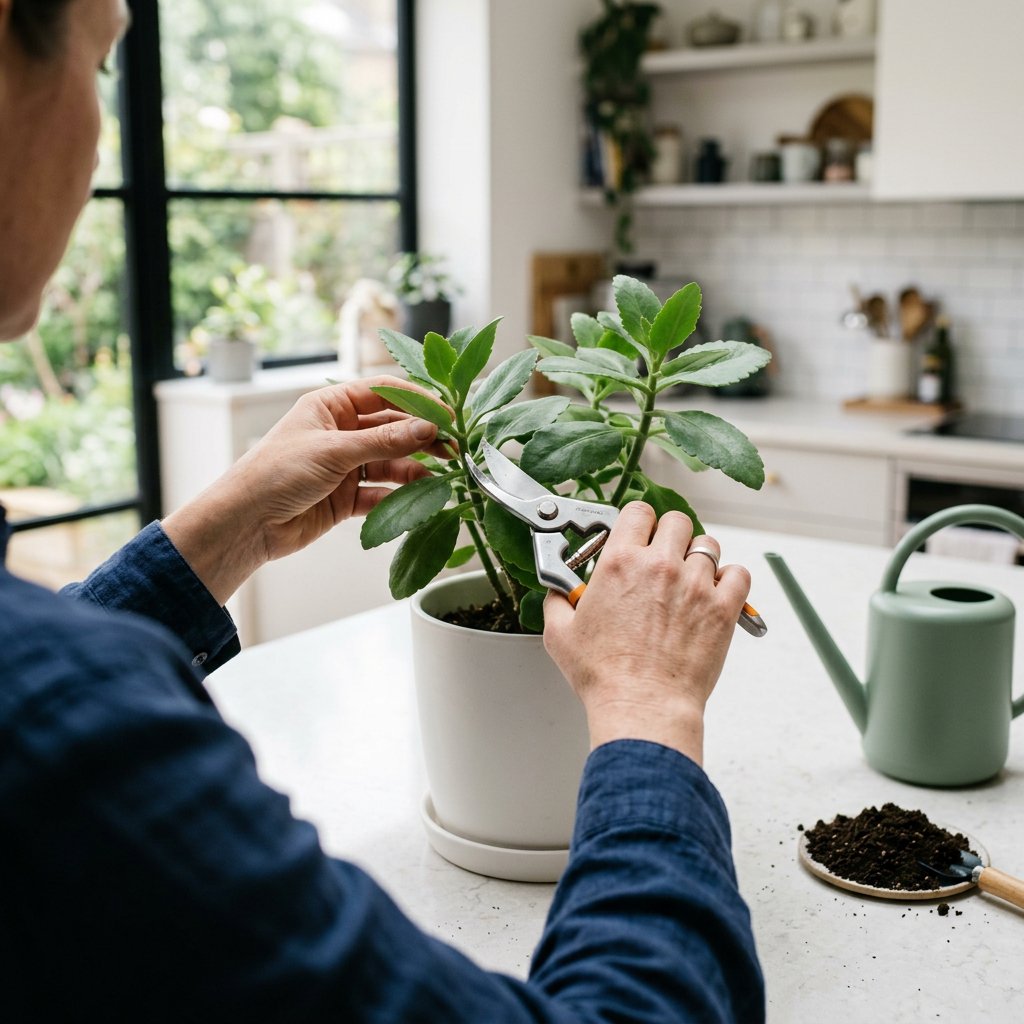
Step 2: Prune Away the Damage Take a pair of clean, sterilized scissors or pruning shears. Carefully snip away all of the mushy, blackened roots. You should also trim off the soft, yellowing leaves so the plant can direct its remaining energy toward growing healthy new roots.
Step 3: Let it Callus (If Necessary) If you had to cut away a large portion of the main stem because the rot spread upwards, set the plant on a dry paper towel for a day or two. This allows the cut end to form a callus (a dry, hardened protective layer), which prevents bacteria from entering when you put it back in the soil.
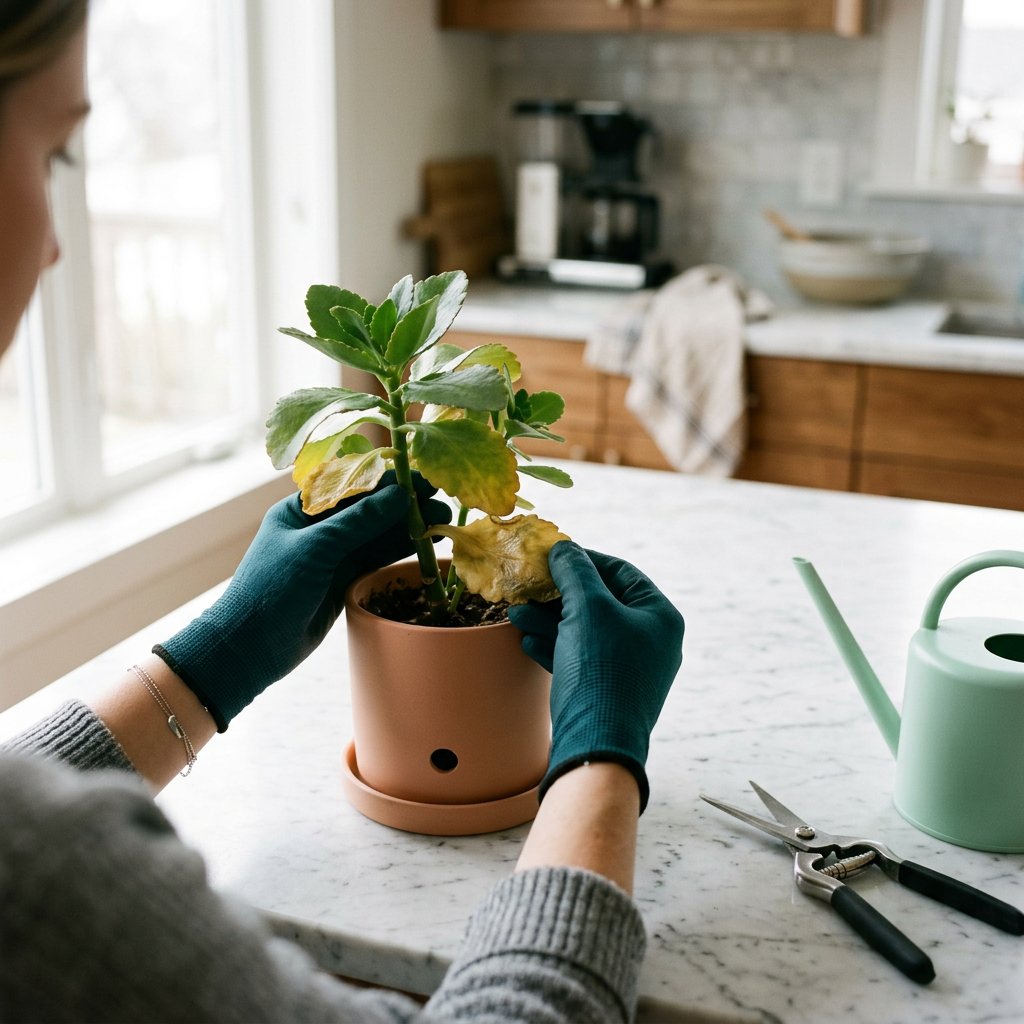
Step 4: Repot in the Right Soil Wash the old pot thoroughly, or grab a new one. Ensure it has at least one drainage hole—terracotta pots are fantastic for Kalanchoes because the porous clay allows excess moisture to evaporate. Repot your plant using a chunky, well-draining cactus or succulent soil mix.
Step 5: Adjust Your Watering Routine Wait a few days before watering your newly potted Kalanchoe. Moving forward, use the "soak and dry" method: water the plant deeply until water runs out of the drainage holes, and then do not water it again until the soil is completely, 100% dry.
You've Got This!
Saving a plant from root rot might feel intimidating, but taking action is incredibly rewarding. Remember, no plant parent is perfect, and every challenge is just an opportunity to understand your green companions a little better.
To help prevent overwatering in the future, don't forget to set up customized watering reminders in the Plantiary app. We'll help you keep track of your Kalanchoe's schedule so its leaves stay beautifully plump and vibrant all year round!