We’ve all been there. You bring home a tiny, adorable plant and think, "I'm going to put you in a massive, beautiful pot so you have plenty of room to grow big and strong!" It comes from a place of pure love and care. But unfortunately, moving a small plant into a giant container can actually do more harm than good.
If your newly repotted green friend is suddenly looking a little sad, please don't beat yourself up! Plant parenting is a journey full of trial and error, and upgrading pot size too quickly is one of the most common mistakes we see. Let's break down the risks of over-potting, how to spot the signs of distress, and exactly how you can nurse your plant back to health.
The Problem: Symptoms of an Over-Potted Plant
When a plant is placed in a container that is much too large for its root system, it will eventually start to send out distress signals. Keep an eye out for these common symptoms:
- Yellowing Leaves: You might notice your plant's foliage turning yellow and dropping. This is known as chlorosis—a condition where the leaf loses its green chlorophyll pigment, often triggered by waterlogged soil and suffocation of the roots.
- Stunted Growth: If months go by and your plant hasn't pushed out a single new leaf, it might be spending all its energy trying to expand its roots to fill the giant pot.
- Soil That Never Dries: The potting mix feels dense, heavy, and wet to the touch, even weeks after you last watered it.
- Mushy Base or Foul Odor: A squishy stem at the soil line or a swampy, rotting smell coming from the dirt are classic signs that the roots are decaying.
If you are noticing these symptoms but aren't entirely sure if over-potting or a pest is the culprit, you can use the AI-powered plant disease scanner in the Plantiary app to get a diagnosis in seconds!
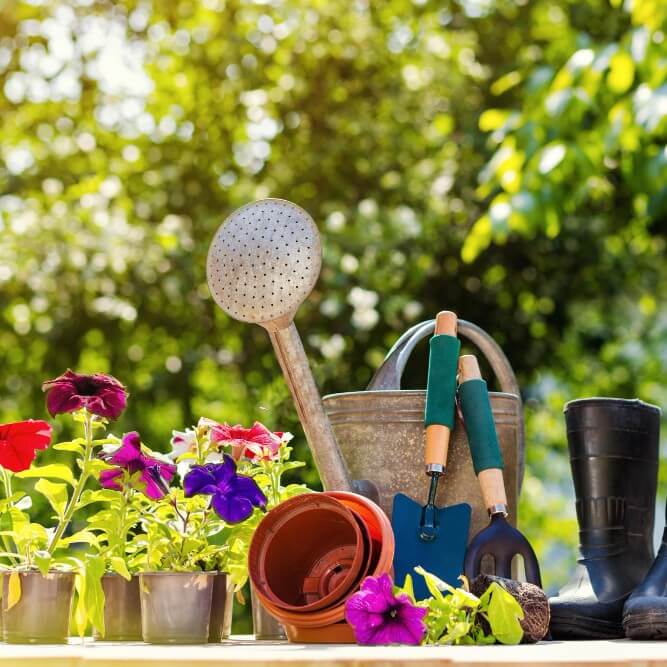
The Causes: Why is a Big Pot a Bad Thing?
It sounds counterintuitive, but plants don't actually like having limitless space indoors. To understand why, we have to look at the soil-to-root ratio.
Plants drink water through their root systems. When a small root ball is surrounded by a massive volume of soil, those little roots can only drink up a tiny fraction of the moisture. The rest of the excess, unoccupied soil acts like a giant, wet sponge that holds onto water for far too long.
When soil stays soggy, it pushes out all the oxygen. This leads to hypoxia—a condition where the plant literally suffocates from a lack of oxygen in the root zone. Without oxygen, roots begin to die and rot, inviting harmful fungal pathogens to take over.
The Solutions: Step-by-Step Treatment for Over-Potted Plants
If you realize your plant is in a pot that’s too big, don't panic! You can easily reverse the damage with a simple repotting rescue mission.
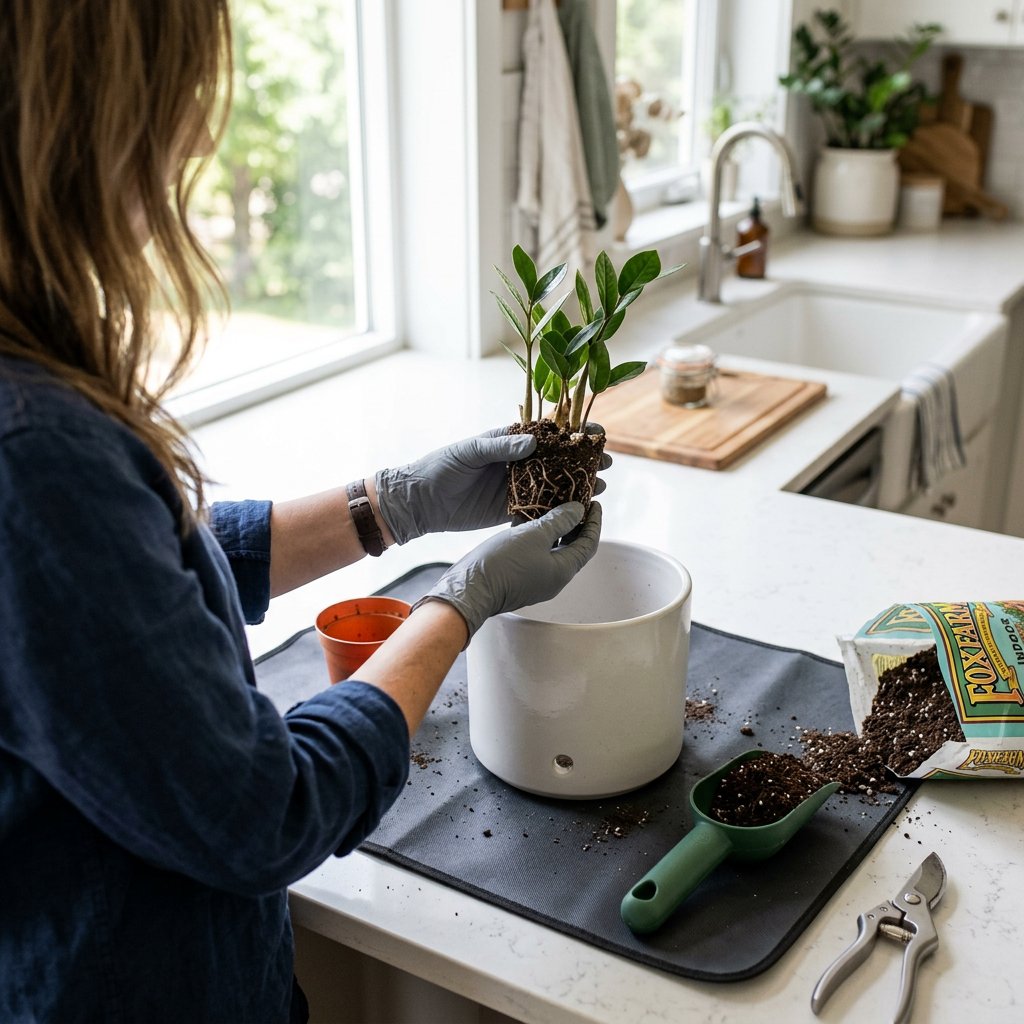
Step 1: Unpot and Inspect Gently slide the plant out of its oversized pot and massage the excess dirt away from the root ball. Take a close look at the roots. Healthy roots are usually firm and white or tan. If you see roots that are dark brown, black, slimy, or stringy, your plant is experiencing root rot.
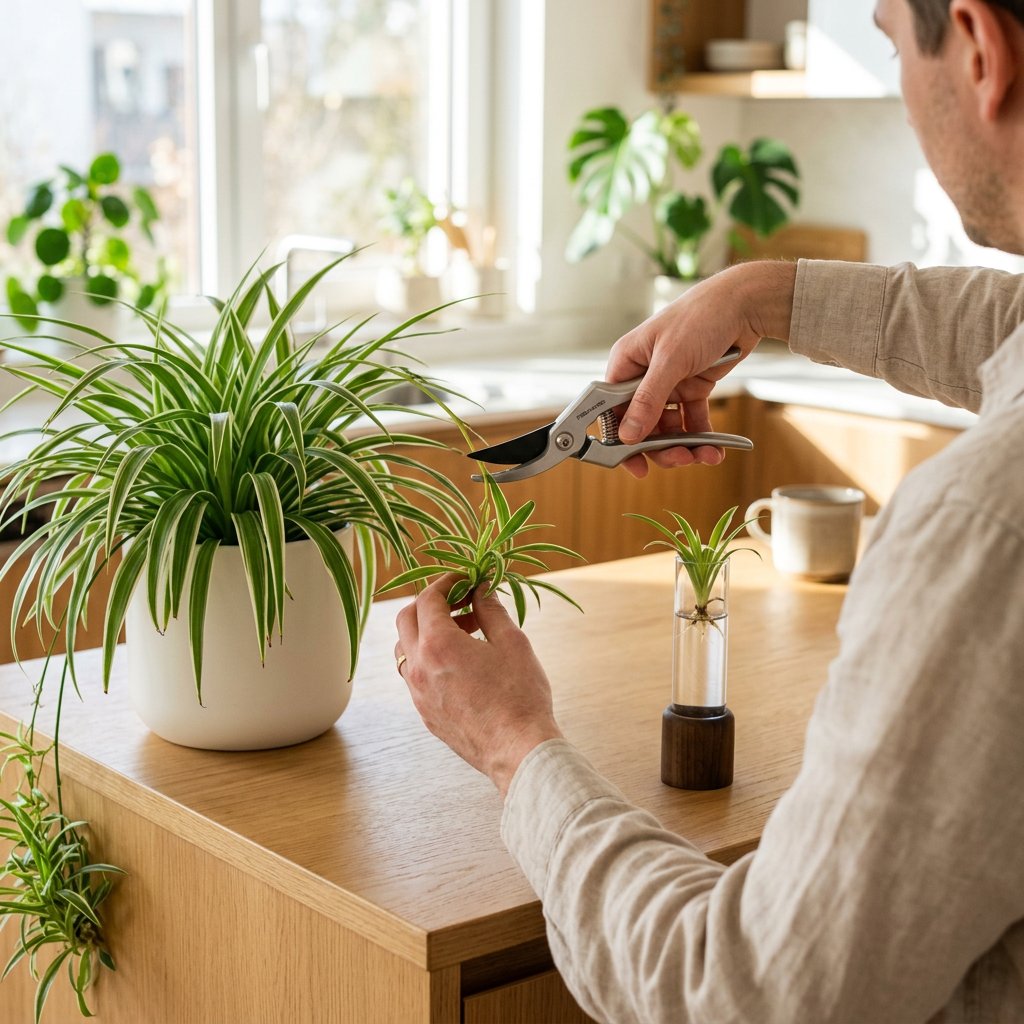
Step 2: Prune Damaged Roots If you found rot in Step 1, it's time for a tiny surgery. Wipe a pair of sharp scissors or pruning shears with rubbing alcohol to sterilize them. Carefully snip away any mushy, rotten roots, leaving only the firm, healthy ones behind.
Step 3: Choose the Right Pot Size Downsize! The golden rule of repotting is to choose a container that is only 1 to 2 inches wider in diameter than the plant's current root ball. And remember: your pot must have drainage holes at the bottom so excess water can escape.
Step 4: Use Well-Draining Soil Repot your plant using a fresh, airy soil mix. You can easily improve the drainage of standard indoor potting soil by mixing in generous handfuls of perlite or pumice. This creates little pockets of air in the soil, preventing hypoxia and keeping roots happy.
Step 5: Adjust Your Watering Routine After repotting, give your plant a gentle watering, and then let it rest. Moving forward, always check the soil before you water—allow the top two inches to dry out completely. To take the guesswork out of your routine, you can log your newly potted plant into the Plantiary app to receive customized care and watering reminders!
Remember, plants are incredibly resilient. By stepping in, downsizing the pot, and giving the roots a chance to breathe, you are setting your plant up for years of healthy, vibrant growth. You've got this!