It happens to the best of us. You go to admire your beautiful blooming orchid, only to notice that its once-plump, glossy foliage is suddenly looking wrinkled, limp, and sad. Seeing your precious plant decline can be stressful, but please don’t be hard on yourself! Orchids have a unique set of needs, and shriveled leaves are simply their way of communicating that something is off balance. Whether you're a seasoned plant parent or a nervous beginner, the Plantiary app is always here to help you translate what your plants are trying to say. Let’s solve this mystery together and get your orchid back to thriving.
The Problem: Loss of Turgor Pressure
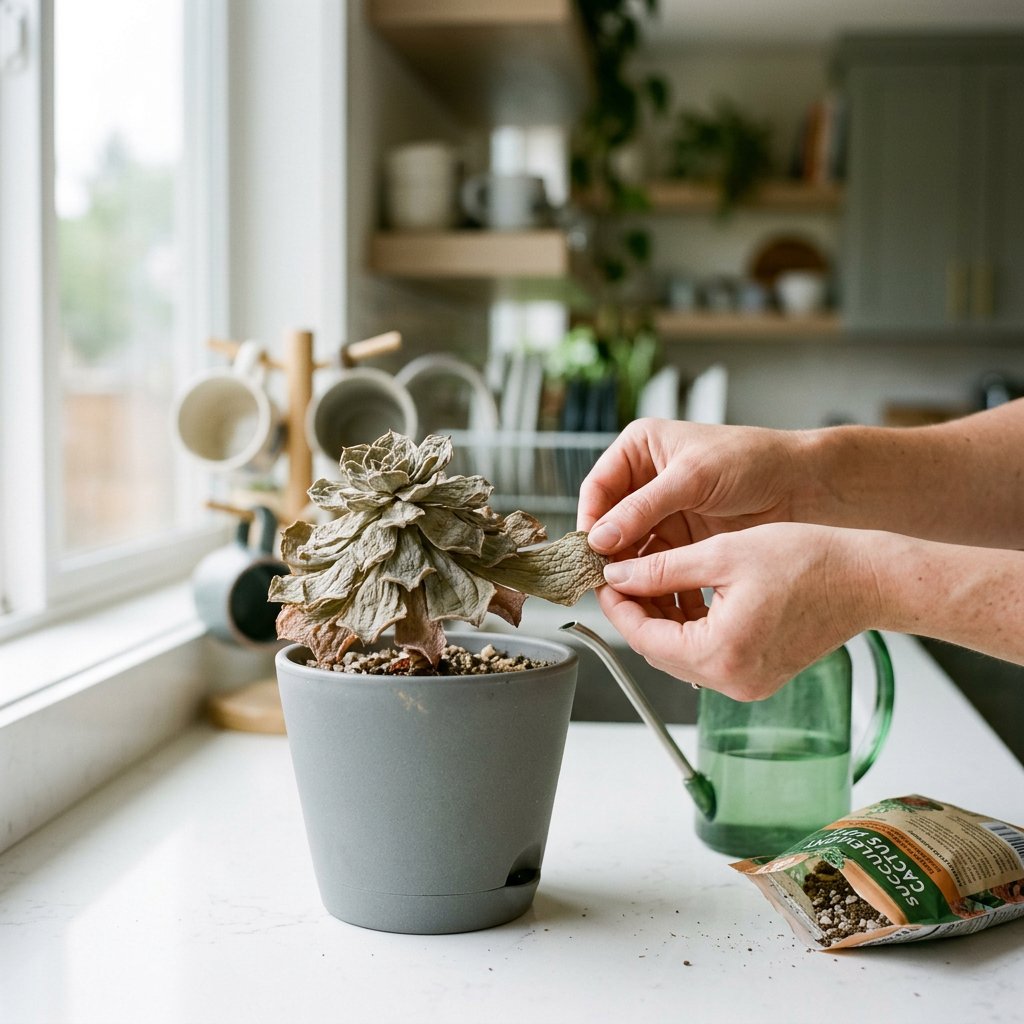
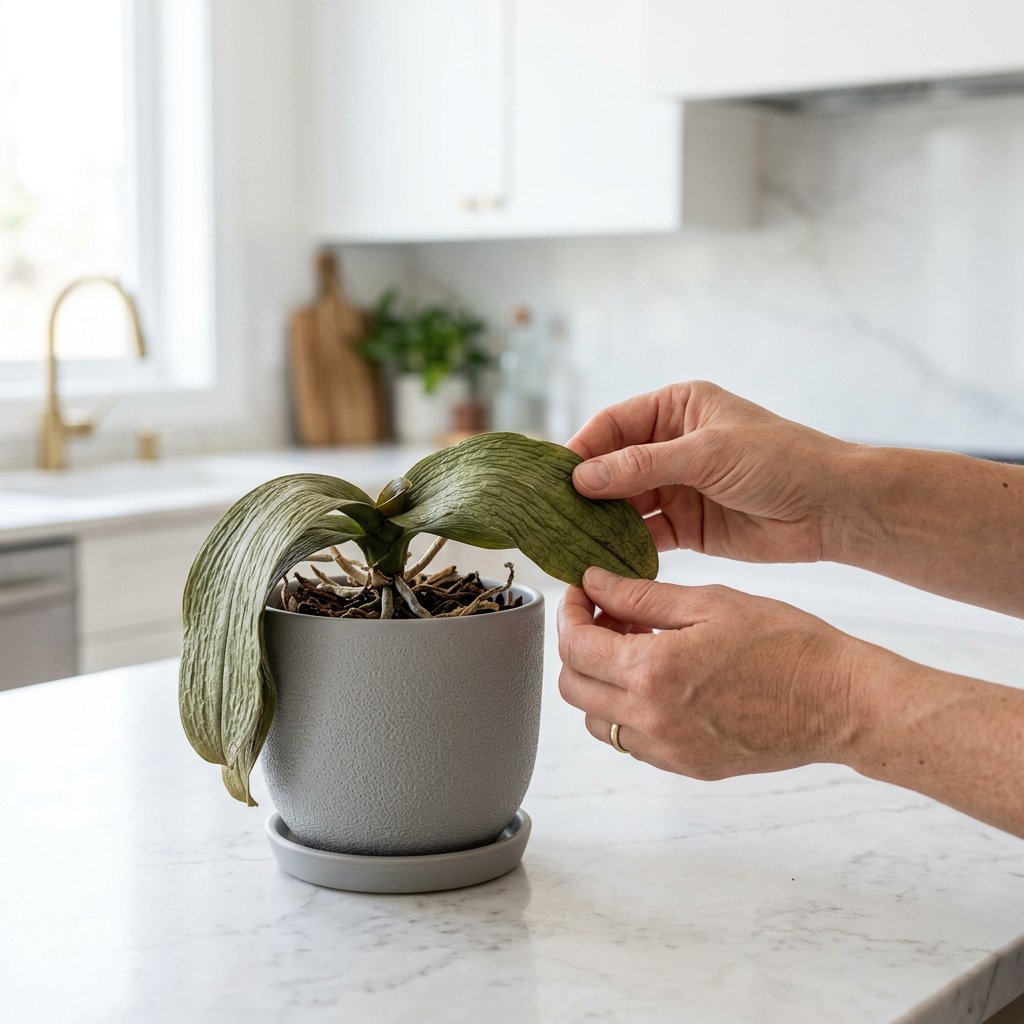
When an orchid is healthy, its leaves are stiff and smooth. This is due to turgor pressure—the internal water pressure inside the plant’s cells that keeps them firm and inflated, much like air in a balloon. When an orchid cannot absorb enough water, it loses this pressure. The cells deflate, resulting in leaves that look grooved, leathery, or severely wrinkled.
However, diagnosing why the plant can't absorb water is where things get a little tricky.
The Causes: The Paradox of Thirst vs. Rot
The most confusing part about shriveled orchid leaves is that the two main culprits—underwatering and overwatering—cause the exact same symptom. In both scenarios, water is failing to reach the leaves.
1. Thirst (Underwatering)
If you haven't watered your orchid in a while, or if the environment is very hot and dry, the potting medium dries out completely. Without moisture in the pot, the roots have nothing to drink, and the plant begins to pull water from its own leaves to survive, causing them to shrivel.
2. Root Rot (Overwatering)
Orchids are epiphytes, meaning in the wild, they grow on tree bark with their roots exposed to the air. They need high airflow. If they are planted in dense soil or watered too frequently, the roots suffocate and begin to decay—a condition known as root rot. Dead, mushy roots cannot absorb water. Paradoxically, even though the orchid is sitting in a wet pot, the leaves are dying of extreme thirst because the delivery system (the roots) has been destroyed.
The Solutions: Step-by-Step Recovery
To find out which issue your orchid is facing, you need to look beneath the surface. Here is exactly how to diagnose and treat your plant.
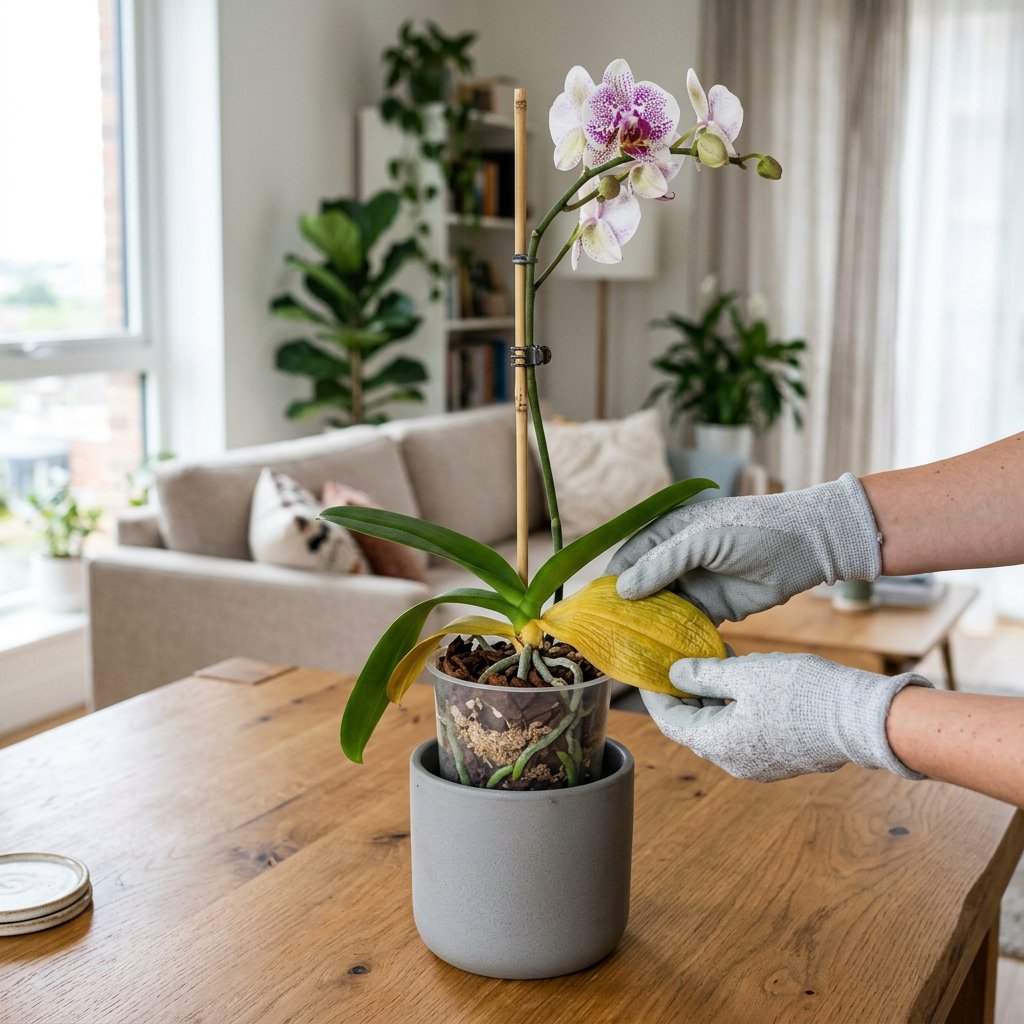
Step 1: Inspect the Roots
Carefully pull your orchid out of its pot. The roots will tell you everything you need to know:
- Thirsty Roots: Look silvery-gray, firm, and perhaps slightly brittle.
- Rotted Roots: Look dark brown or black, feel squishy or slimy to the touch, and often smell swampy.
Pro Tip: If you are unsure what is wrong with your plant, you can use the AI-powered plant disease scanner in the Plantiary app to get a diagnosis in seconds!
Step 2: Treat for Thirst (If roots are dry and silver)
If your roots are healthy but dry, your orchid simply needs a good drink.
- Place the plastic nursery pot into a bowl of room-temperature water.
- Let the orchid soak for 15 to 20 minutes so the bark can fully absorb the moisture.
- Remove the plant and let it drain completely before putting it back in its decorative pot. Never leave your orchid sitting in a puddle!
Step 3: Treat for Rot (If roots are mushy and brown)
If you discover root rot, you will need to perform a little plant surgery to save your orchid.
- Sterilize a pair of sharp pruning shears with rubbing alcohol.
- Carefully snip away all the brown, mushy, and hollow roots. Keep only the roots that are firm (even if they are pale yellow or green).
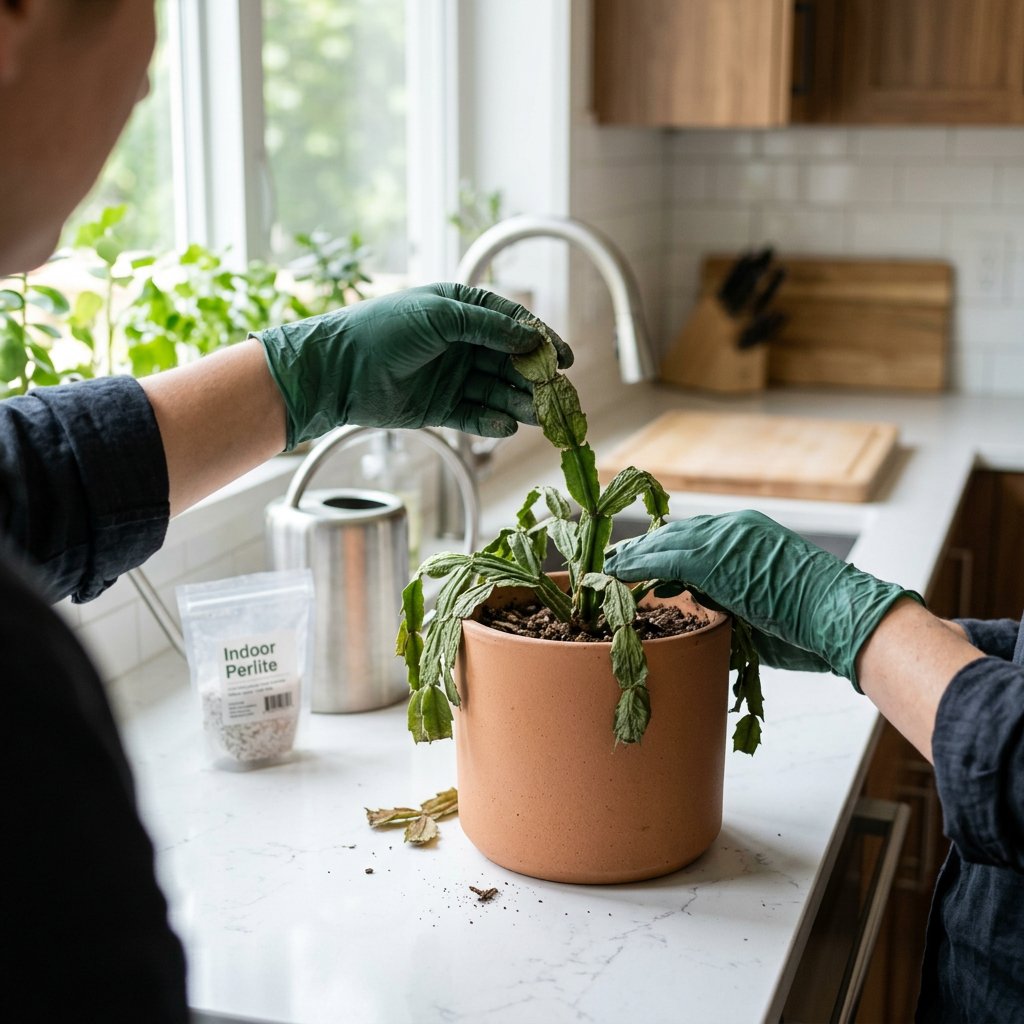
- Repot the orchid in a fresh, well-aerated orchid mix (typically a blend of coarse pine bark, perlite, and charcoal). Never use standard potting soil for epiphytic orchids.
Step 4: Adjust the Environment
Once your orchid has been treated, make sure its daily environment supports its recovery. Place it in bright, indirect sunlight—direct sun will scorch the weakened leaves. Boost the ambient humidity around the plant by using a humidifier or placing the pot on a tray filled with pebbles and a little water (ensuring the pot sits above the water line, not in it).
Be patient with your green friend. Severely shriveled leaves may never completely smooth out, but with proper care, they will firm up, and the new leaves your orchid grows will be beautifully plump and glossy. You've got this!