Spider plants (Chlorophytum comosum) are celebrated worldwide as the ultimate beginner-friendly houseplant. With their cascading, ribbon-like leaves and adorable little "spiderettes" dangling from their stems, they bring an effortless, lush vibe to any room. But if you’ve recently noticed the ends of those vibrant leaves turning crispy and brown, take a deep breath! You are absolutely not a bad plant parent.
Brown tips on spider plants are incredibly common, and even the most seasoned indoor gardeners deal with them. The good news? It’s usually an easy fix that only requires a few minor tweaks to your routine. Plus, with the Plantiary app by your side, managing your plant’s health is easier than ever. Let’s dive into why this happens and how you can restore your plant's gorgeous green glory.
The Problem: Decoding the Symptoms
Before we jump into the solutions, let’s look at what’s actually happening. You might notice the very tips of your spider plant's leaves turning dry, brittle, and brown or black. Sometimes, a faint yellow halo separates the healthy green tissue from the dead brown tip.
This is rarely a sign of a disease or a pest infestation. Instead, it’s a physiological response—meaning your plant is simply reacting to its environment or a specific element in your care routine.
The Causes: Why Is Your Spider Plant Getting Crispy?
Spider plants are quite expressive, and those brown tips are their way of communicating that something in their environment is slightly off. Here are the most common scientific culprits:
- Chemical Sensitivity (Fluoride Toxicity): Spider plants are famously sensitive to fluoride and chlorine, which are minerals commonly found in municipal tap water. When the plant absorbs these chemicals, they travel to the ends of the leaves and accumulate, literally burning the plant tissue from the inside out.
- Salt Buildup in the Soil: Over time, unused liquid fertilizer and water minerals can build up in the potting mix. This alters the soil's chemistry and actually pulls moisture away from the roots, causing the tips to dry out.
- Inconsistent Watering: Allowing the soil to become bone-dry for extended periods, or conversely, keeping it permanently soggy, disrupts the plant's vascular system. If water can't effectively travel to the furthest extremities, the leaf tips die off.
- Low Humidity: Spider plants are tropical natives. When the indoor air gets too dry—especially during winter when central heating is running—the plant loses moisture through its leaves faster than the roots can replace it. This process is known as transpiration, and when it happens too quickly, the tips crisp up.
The Solutions: A Step-by-Step Guide to Preventing Brown Tips
Now that we know exactly why your plant is crisping up, let's fix it! Follow these scientifically proven steps to keep your spider plant's foliage perfectly green and healthy.
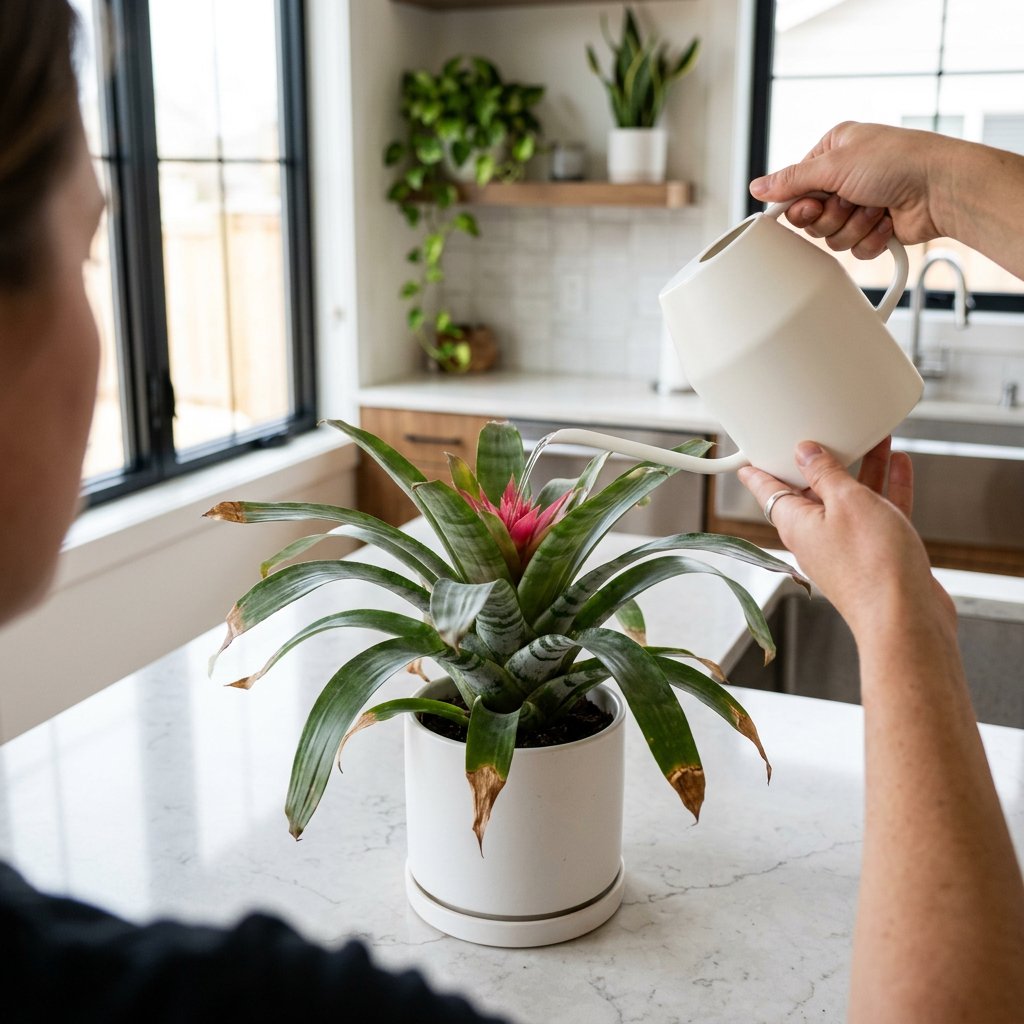
Step 1: Upgrade Your Water Quality Since tap water is the leading cause of crispy tips, switch to filtered water, rainwater, or distilled water. If you must use tap water, let it sit out in an open pitcher for 24 to 48 hours before watering. This allows the chlorine to evaporate off, though it's worth noting that this won't remove fluoride—so filtered water is always your best bet!
Step 2: Flush the Soil To get rid of excess fertilizer salts and mineral buildup, take your plant to the sink or shower. Slowly pour a generous amount of room-temperature water over the soil, letting it drain completely out of the bottom holes. Repeat this process two or three times to effectively "wash" the root zone. Aim to do this every three to four months.
Step 3: Establish a Consistent Watering Routine Spider plants like their soil to be slightly moist but never waterlogged. Water your plant thoroughly only when the top two inches of soil feel dry to the touch. Pro tip: If you struggle to remember when it's time to water, you can easily set up a custom care schedule in the Plantiary app to receive perfectly timed reminders!
Step 4: Gently Boost the Ambient Humidity If your home is exceptionally dry, increase the ambient moisture around your plant. You can group your houseplants together (which creates a humid microclimate), place the plant pot on a pebble tray filled with water, or run a small room humidifier nearby.
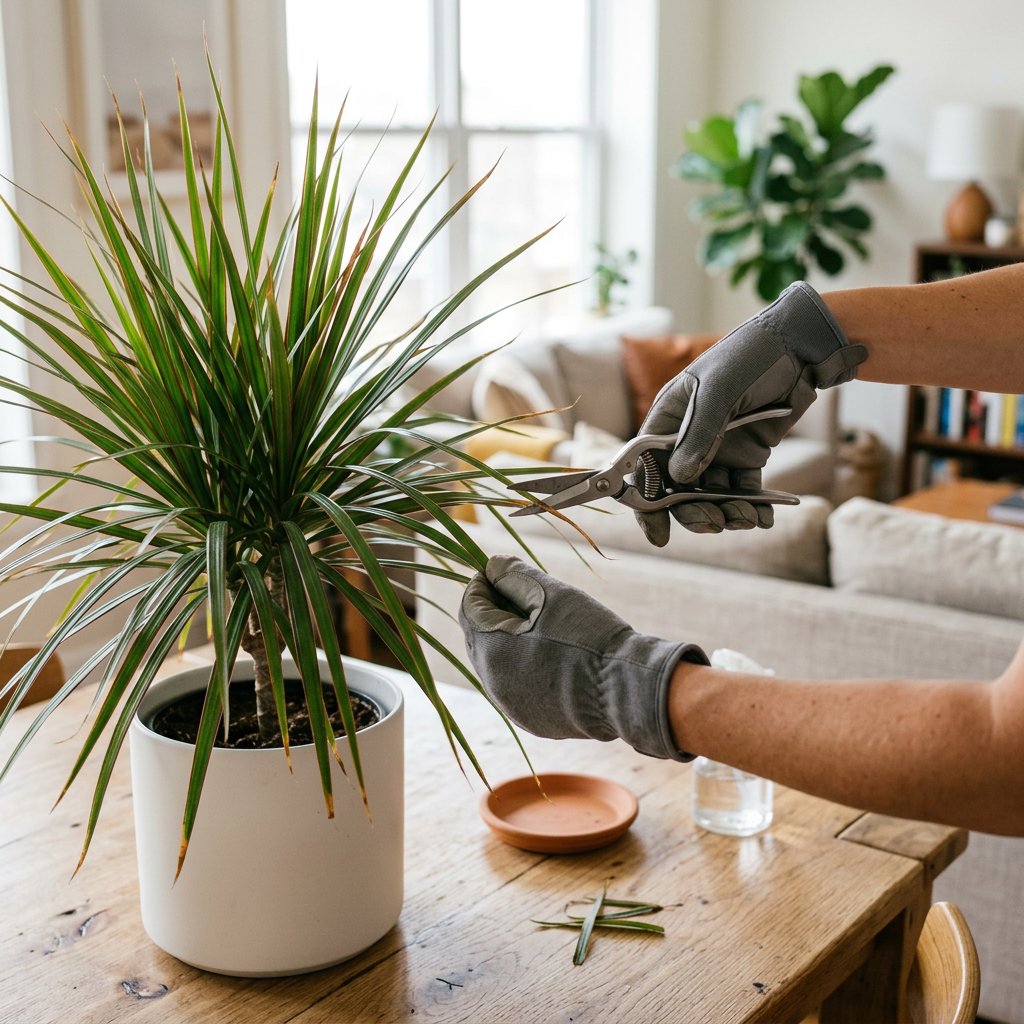
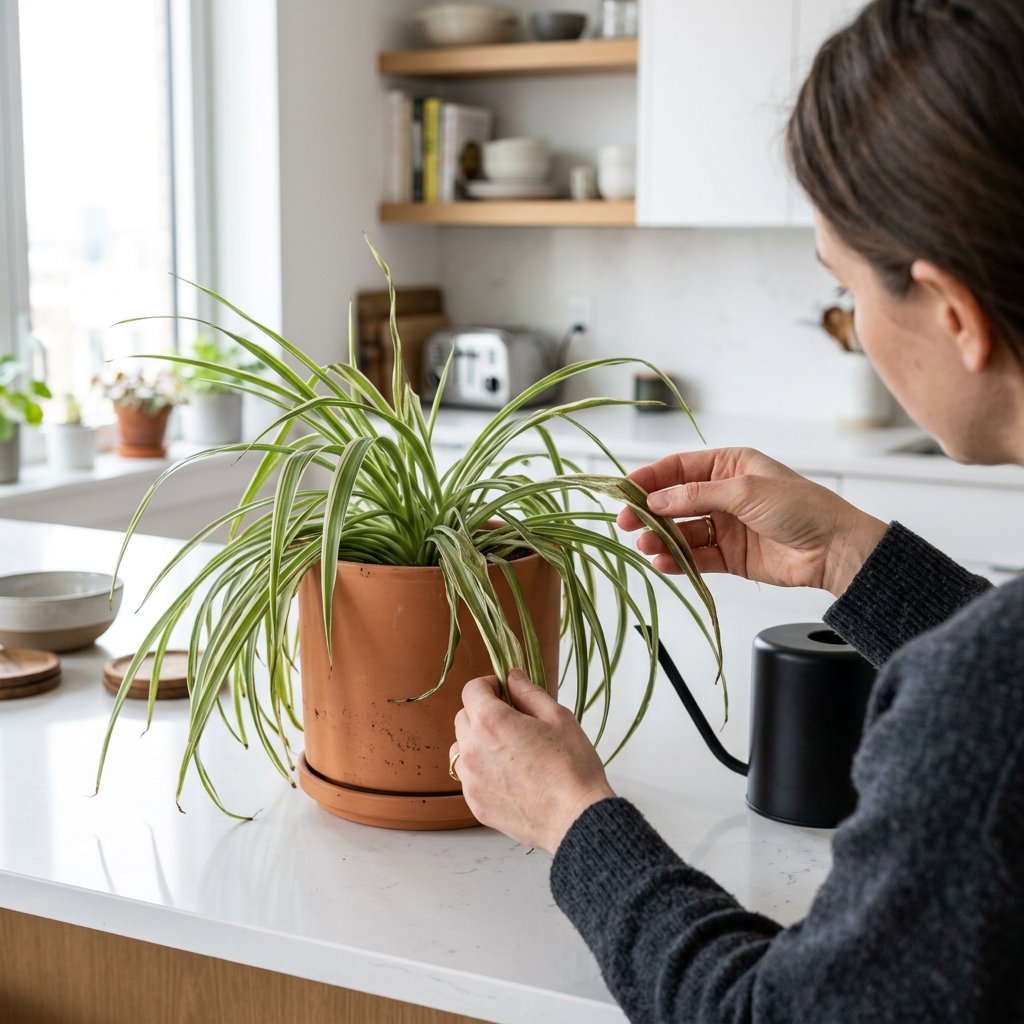
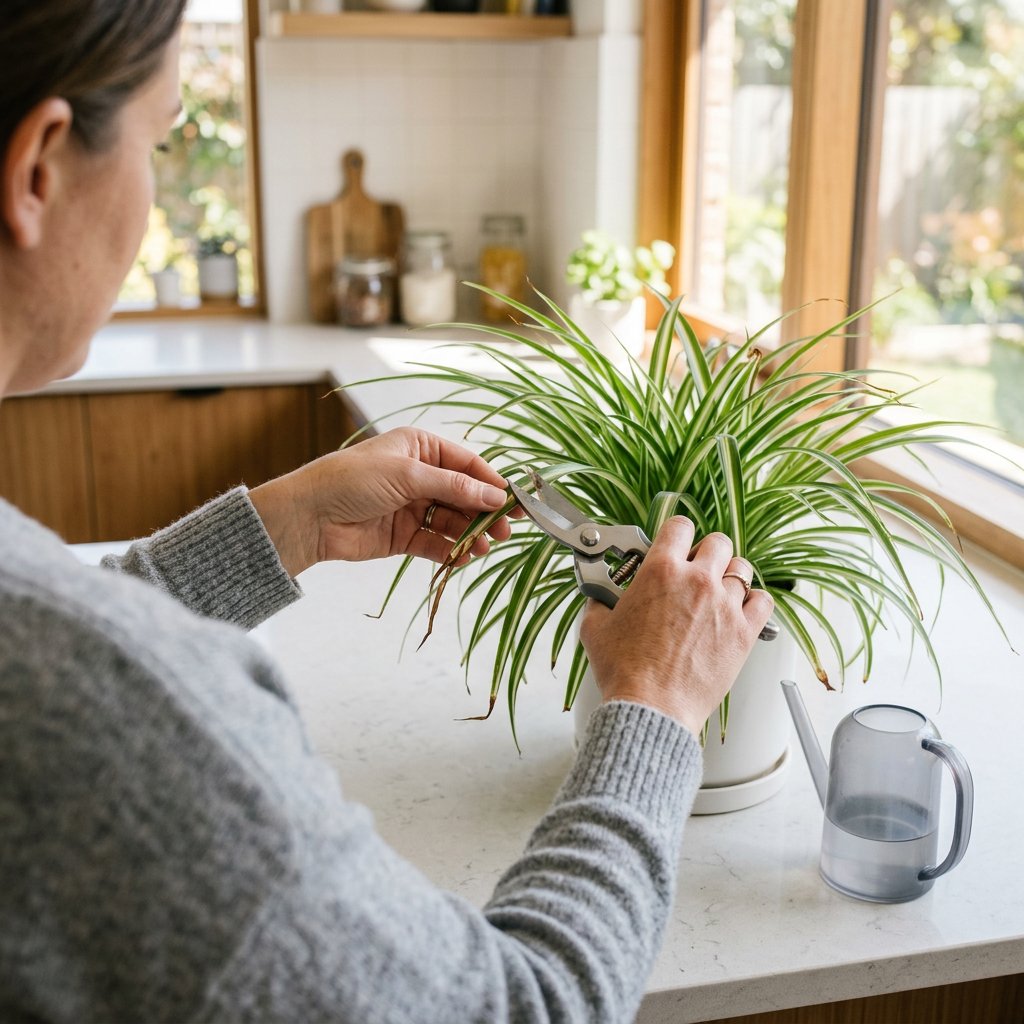
Step 5: Safely Trim the Damage Those brown tips won't turn green again, but you don't have to chop off the whole leaf! Using clean, sterilized scissors, carefully snip off the brown tips, angling your cut to mimic the natural point of the leaf. Try to cut just inside the brown area, leaving a tiny sliver of dead tissue. If you cut into the healthy green part, the plant will create a fresh brown scab to heal the wound.
Keep Growing with Confidence
Seeing brown tips on your beloved spider plant can be a bit frustrating, but remember that houseplant care is a constant journey of learning, observing, and adjusting. By tweaking your water quality and keeping an eye on soil moisture, your plant will be pushing out flawless new growth in no time.
If you are ever unsure what is wrong with your plant, you can use the AI-powered plant disease scanner in the Plantiary app to get a professional diagnosis and care plan in seconds. Happy planting, and don't forget to give yourself—and your leafy friends—a little grace!