Discovering your beautiful, waxy-bloomed Anthurium looking sad and droopy can be incredibly stressful. If the leaves are turning yellow and the potting mix feels like a wet sponge, you might be facing a plant parent’s biggest fear: root rot. But please, take a deep breath! Plant issues happen to absolutely everyone, from beginners to seasoned botanists. You haven't failed as a plant parent; your Anthurium is simply asking for a little extra help. Let's walk through how to identify, understand, and cure root rot to save your beloved plant before it's too late.
The Problem: Spotting the Symptoms of Root Rot
Because root rot happens beneath the soil, it can be tricky to catch early. However, your Anthurium will send out distress signals above ground. Here is what you should look out for:
- Chlorosis: This is the botanical term for the yellowing of leaves, which happens when the plant cannot produce enough chlorophyll. In the case of root rot, the dying roots can no longer absorb the nutrients needed to keep the leaves green.
- Wilting Despite Wet Soil: If your Anthurium looks severely dehydrated and droopy, but the soil is soaking wet, the roots have likely rotted away and can no longer drink.
- Foul Odor: Healthy soil smells earthy and fresh. If your plant’s soil smells like a swamp or rotten eggs, fungi and bacteria are actively decaying the root system.
- Mushy Stems: In severe cases, the rot will travel up from the roots into the base of the stems, turning them brown and squishy.
If you are unsure what is wrong with your plant, you can use the AI-powered plant disease scanner in the Plantiary app to get a diagnosis in seconds!
The Causes: Why Are Your Anthurium's Roots Rotting?
To prevent root rot from happening again, it helps to understand why it happens in the first place. Anthuriums are naturally epiphytes—meaning that in their native rainforest habitats, they grow on the branches of other trees, not in the ground. Their roots are used to being exposed to plenty of circulating air.
Root rot typically occurs due to:
- Overwatering: Watering your plant on a strict schedule rather than checking the soil moisture first suffocates the roots.
- Poor Drainage: Pots without drainage holes trap water at the bottom, creating a toxic, oxygen-deprived environment.
- Heavy Soil: Standard, dense potting soil clings to moisture for too long and prevents roots from breathing, inviting water mold pathogens (like Pythium) to attack the weakened plant.
The Solutions: Step-by-Step Root Rot Treatment
If you suspect root rot, time is of the essence. Roll up your sleeves, grab a clean workspace, and follow these actionable steps to nurse your Anthurium back to health.
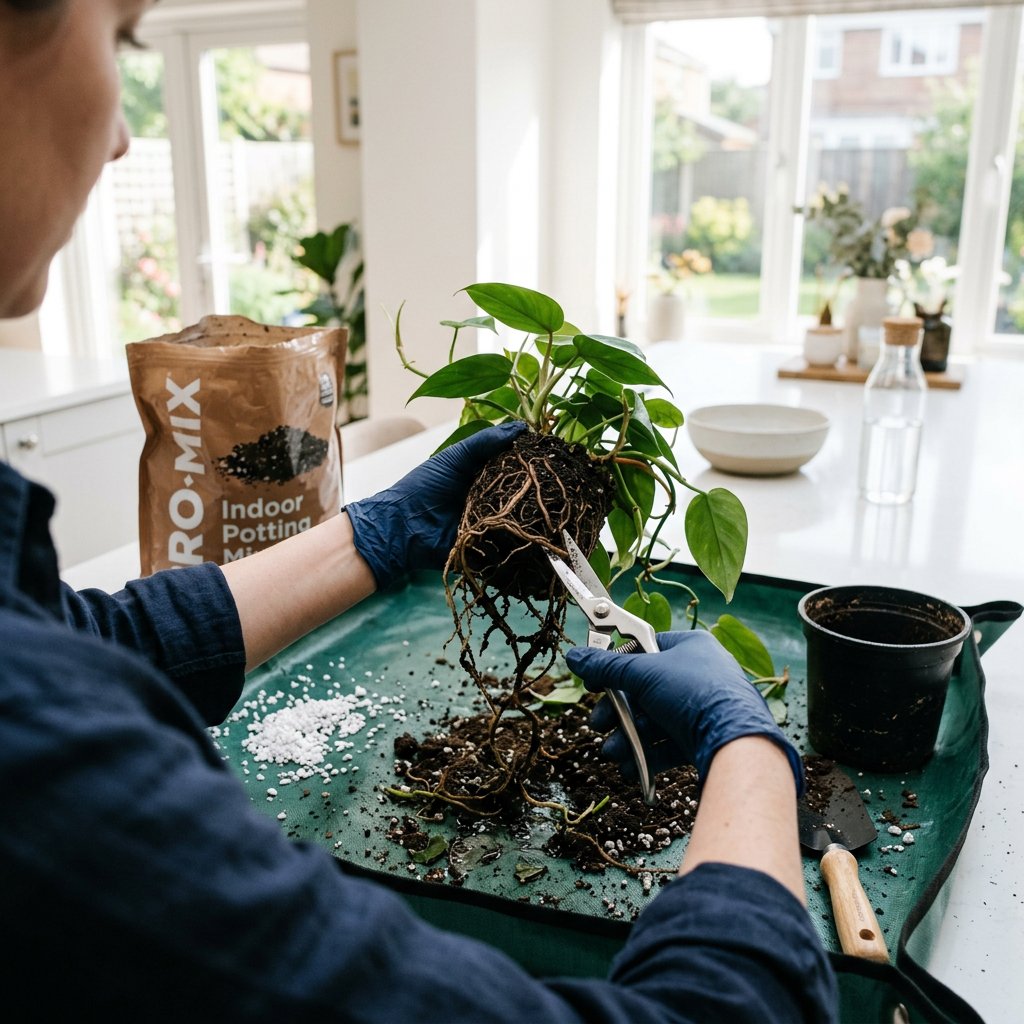
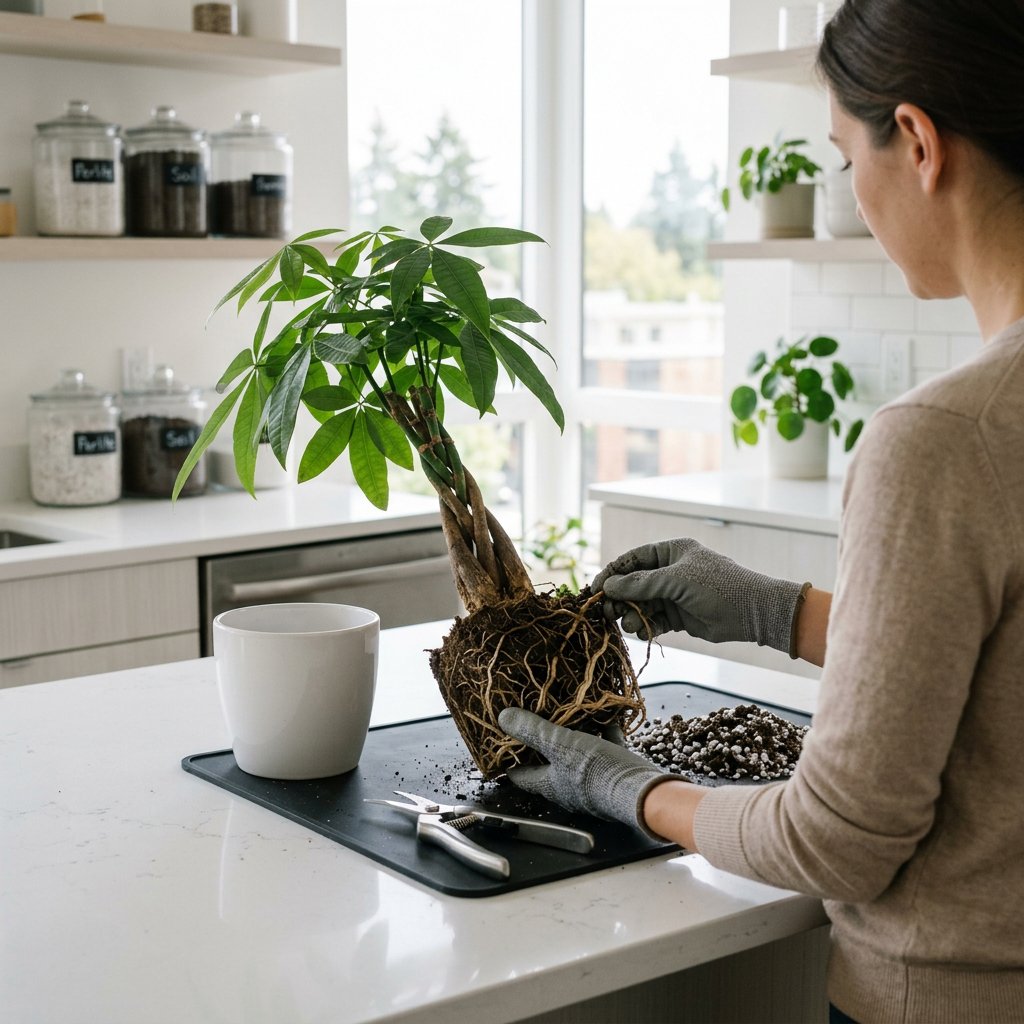
Step 1: Unpot and Inspect
Gently pull your Anthurium out of its pot and massage the soil away from the root ball. Healthy roots will feel firm, plump, and look whitish or light green. Rotted roots will look dark brown or black, feel slimy, and easily pull apart with a gentle tug.
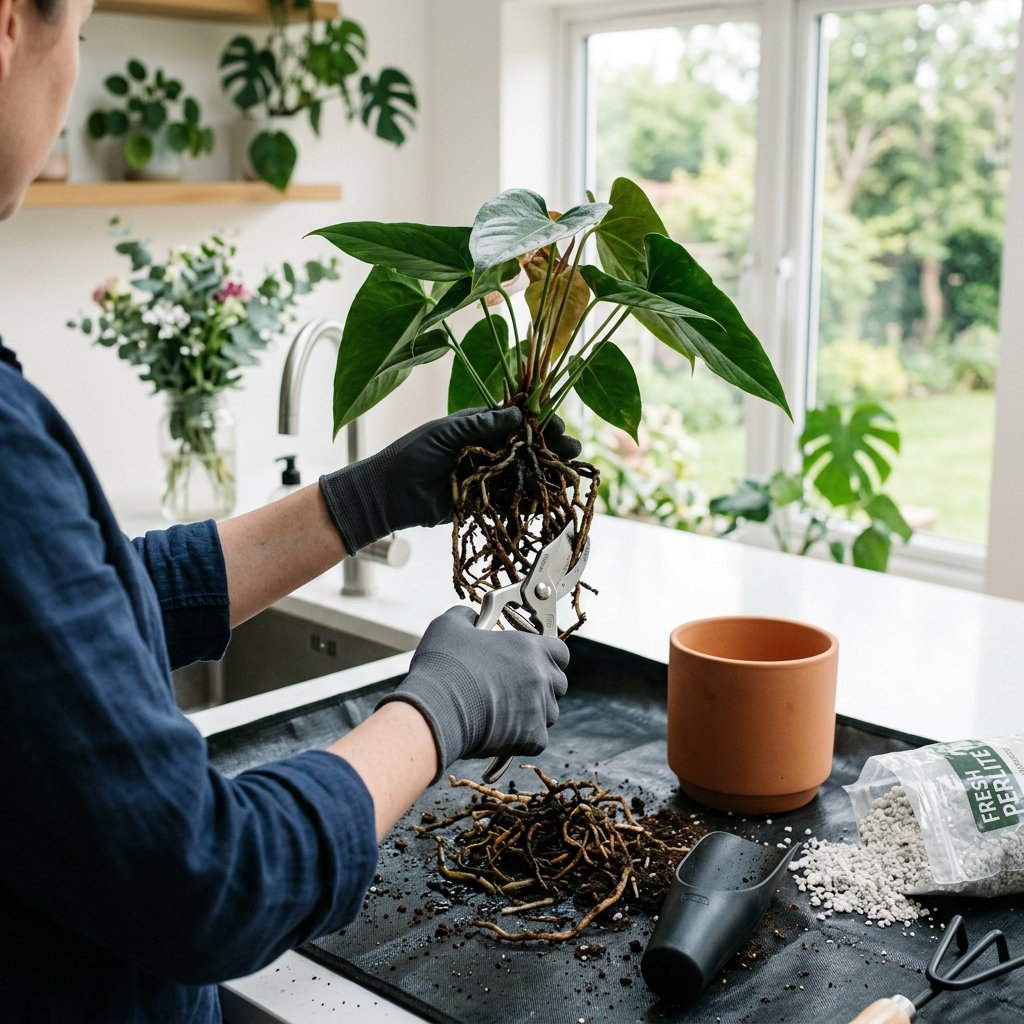
Step 2: Wash and Prune
Rinse the remaining soil off the roots under lukewarm running water so you can see exactly what you are working with. Take a pair of sharp, sterilized pruning shears and carefully cut away every single mushy, brown, or rotting root. Do not be afraid to cut aggressively—leaving even a tiny piece of rot can cause the infection to spread again.
Step 3: Disinfect the Remaining Roots
To ensure all the microscopic fungal pathogens are destroyed, treat the healthy roots. You can spray them lightly with a commercial copper fungicide or use a gentle, scientifically proven home solution: mix one part 3% hydrogen peroxide with two parts water, and briefly dip the roots into the mixture. The oxygenating fizz helps kill off leftover bacteria.
Step 4: Repot in an Airy Mix
Throw away the old, infected soil and thoroughly wash the pot with hot, soapy water (or choose a new pot with excellent drainage holes). Repot your Anthurium in a chunky, highly aerated soil mix. A fantastic blend for Anthuriums is equal parts orchid bark, perlite, and standard indoor potting soil. This mimics their natural, airy rainforest environment.
Step 5: Adjust Your Care Routine
Place your freshly repotted Anthurium in bright, indirect light to encourage recovery. Do not fertilize it for at least a month, as fertilizer can burn the delicate, healing roots. Moving forward, always use your finger or the Plantiary app’s watering tracker to ensure the top two inches of the soil are completely dry before giving your plant a drink.
Healing takes time, so be patient with your plant over the next few weeks. By acting quickly and providing the right environment, your Anthurium will push out fresh, healthy roots and reward you with beautiful new growth!