Seeing a bright, waxy Anthurium leaf lose its vibrant green and fade into a sickly yellow can be a heartbreaking experience. But take a deep breath—you are not a bad plant parent! Plant hiccups happen to everyone, from absolute beginners to seasoned botanists. Yellowing leaves are simply your plant's way of communicating that something in its environment needs a gentle tweak. If you are ever feeling lost or unsure what is wrong with your plant, you can use the AI-powered plant disease scanner in the Plantiary app to get a diagnosis in seconds.
Let's explore why your Anthurium might be losing its color and how to get it back to its gorgeous, blooming self.
The Problem: Decoding Your Anthurium's Symptoms
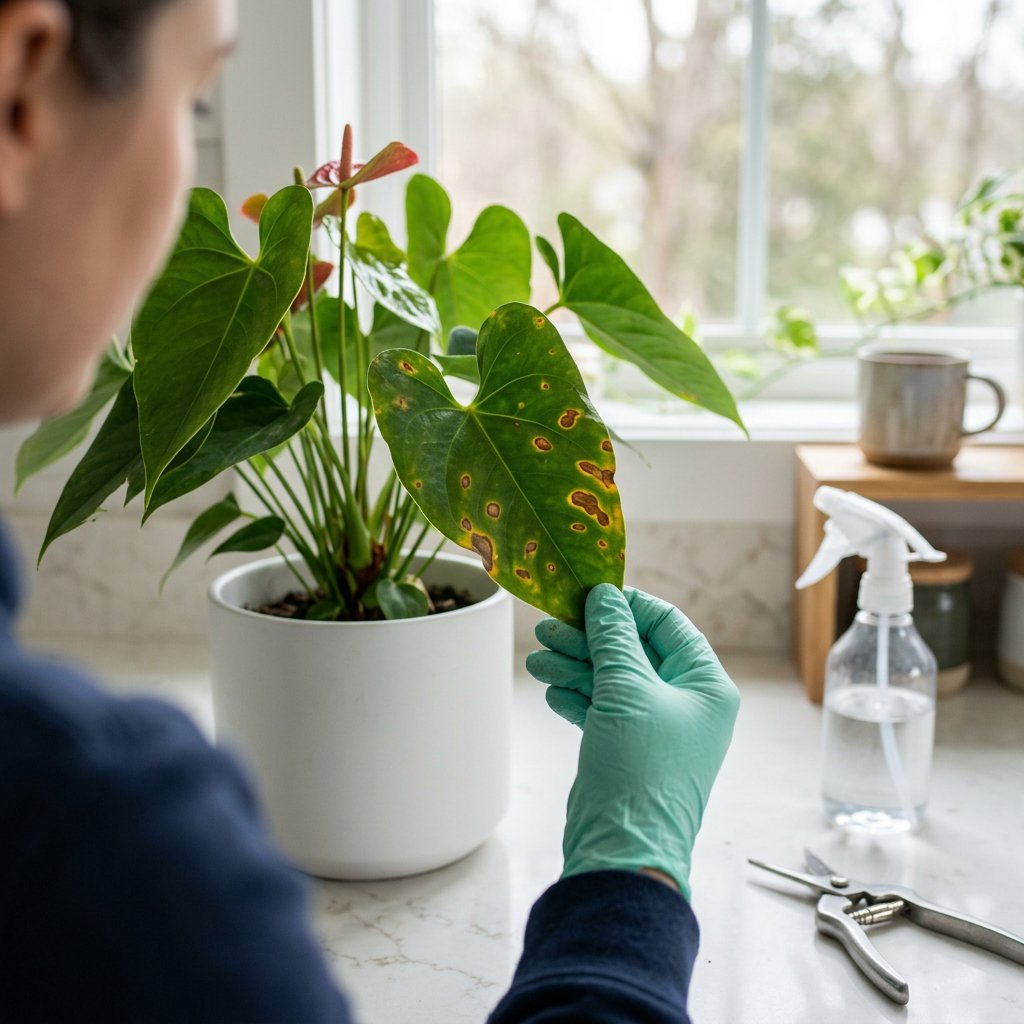
Before we can fix the issue, we need to understand the symptoms. In the botanical world, the technical term for this yellowing is chlorosis—which simply means your plant is lacking chlorophyll, the green pigment it needs to absorb light and make food.
Depending on the exact shade, texture, and location of the yellowing, your Anthurium is giving you specific clues. Are the lower leaves turning fully yellow and mushy? Are there crispy brown edges accompanying a yellow halo? Identifying exactly how the leaf looks is the first step toward healing.
The Causes: Why Are Your Anthurium Leaves Turning Yellow?
There are a few common environmental stress factors that can cause chlorosis in Anthuriums. Here are the most likely culprits:
- Overwatering and Poor Drainage: This is the most common issue. Anthuriums are naturally epiphytes—meaning that in the wild, they grow on other plants or tree branches rather than in deep soil. Their roots require a lot of oxygen. Dense, soggy potting soil suffocates them, leading to root rot.
- Improper Lighting: Anthuriums love the dappled sunlight of the jungle floor. Too much direct, harsh sunlight can scorch the leaves, bleaching them yellow or brown. Conversely, keeping them in a dark, windowless corner will cause the plant to slowly pale as it struggles to photosynthesize.
- Nutrient Deficiencies: A lack of essential minerals, specifically nitrogen or magnesium, can cause overall paling or yellowing between the leaf veins.
- Natural Aging: If only one old leaf at the very bottom of the stem is turning yellow while the rest of the plant is pushing out beautiful, healthy new growth, don't panic! This is a natural life cycle. Plants shed older foliage to direct their energy toward new leaves and flowers.
The Solutions: Step-by-Step Treatment to Revive Your Anthurium
Ready to get your tropical beauty thriving again? Follow these scientifically sound, actionable steps to troubleshoot and fix the problem.
Step 1: Assess your soil moisture. Stick your finger about two inches into the potting soil. If it feels wet and muddy, you are overwatering. Allow the top few inches of the soil to dry out completely before watering again.
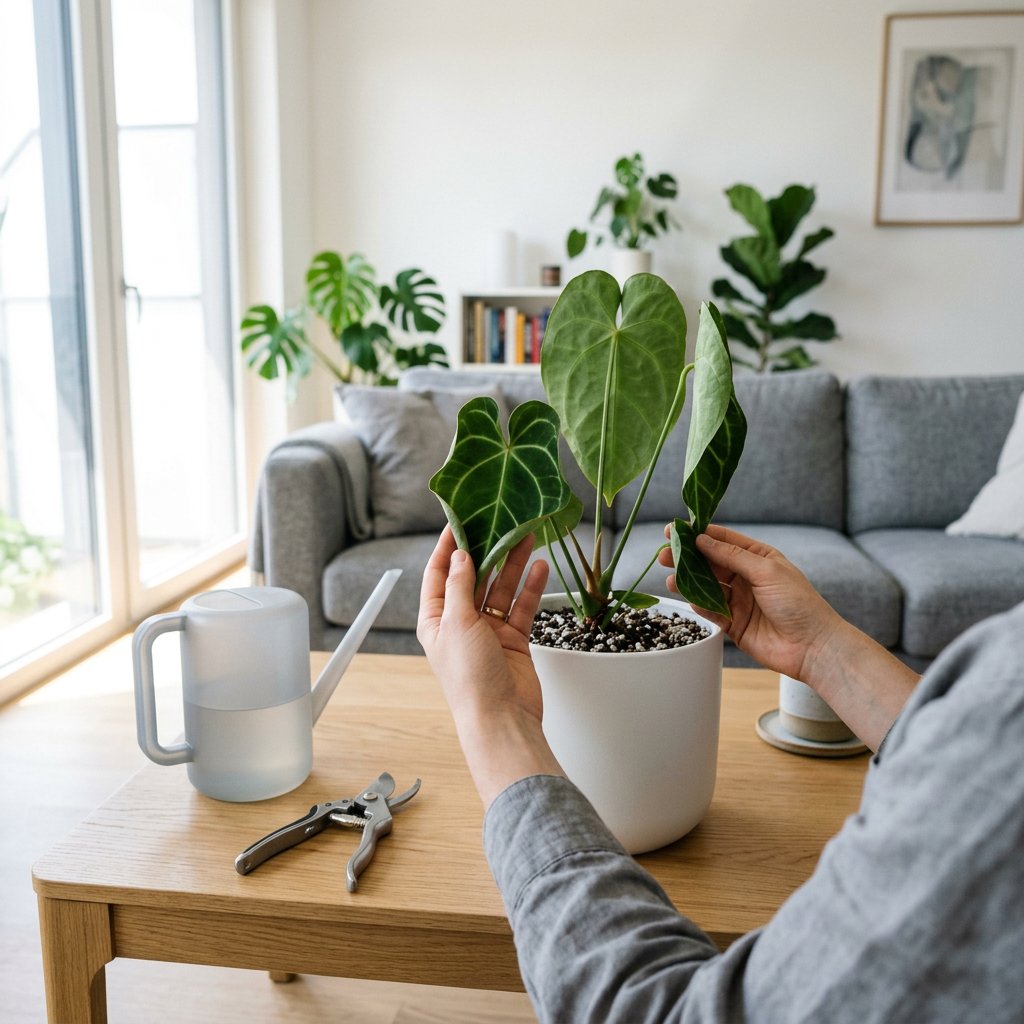
Step 2: Inspect the root system. If your soil is drenched and the yellow leaves feel soft, gently slide the plant out of its pot to check the roots. Healthy Anthurium roots are firm and white or light green. If you see brown, mushy, or foul-smelling roots, your plant has root rot.
Step 3: Repot with the right mix (if necessary). If you discovered root rot in Step 2, use sterile scissors to trim away the mushy roots. Repot your Anthurium in a pot with fresh drainage holes using a chunky, airy soil mix. A blend of high-quality potting soil, orchid bark, and perlite is perfect for mimicking their natural, well-aerated jungle environment.
Step 4: Optimize your lighting. Relocate your Anthurium to a spot that receives plenty of bright, indirect light. An east-facing window or a few feet away from a south-facing window is ideal. Ensure the sun's rays aren't hitting the leaves directly to prevent sunburn.
Step 5: Establish a gentle feeding routine. If your watering and light are perfect but the leaves are still turning a pale yellow, it might be hungry. Apply a balanced, water-soluble houseplant fertilizer diluted to half-strength once a month during the active growing season (spring and summer).
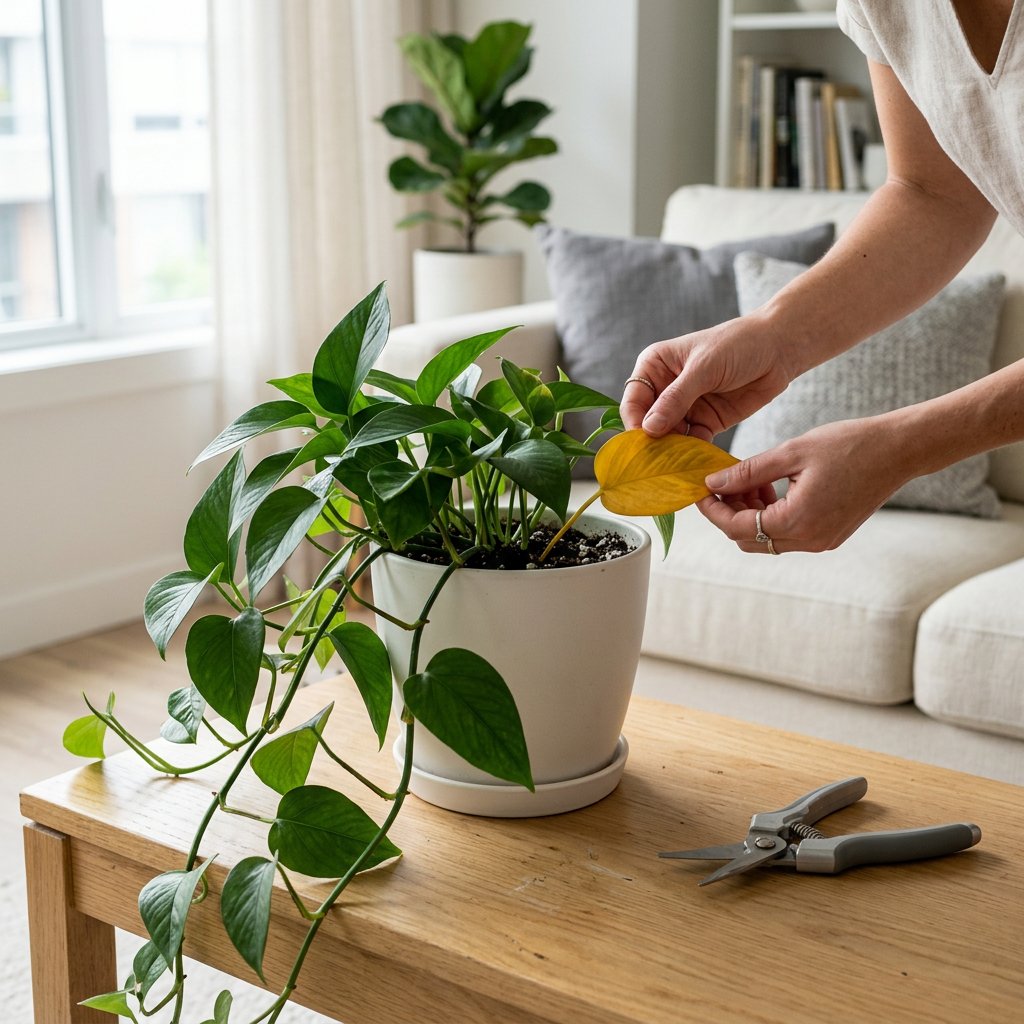
Step 6: Prune the yellow leaves. Once a leaf turns completely yellow, it cannot turn green again. Using clean, sharp pruning shears, snip the yellow leaves off at the base of the stem. This instantly improves the look of your plant and redirects its energy into pushing out fresh, healthy foliage.
You've Got This!
Healing a stressed Anthurium takes a little patience, so don't be discouraged if it takes a few weeks to see new, vibrant growth. You are doing a fantastic job just by taking the time to learn what your plant needs. For ongoing support, personalized watering schedules, and instant health check-ups, remember to log your plant's progress in the Plantiary app. We’re cheering you on every step of your plant parenthood journey!