There is nothing quite like the dramatic, tropical beauty of an Elephant Ear plant. Whether you are growing a stunning Alocasia or a majestic Colocasia, their massive, heart-shaped leaves instantly turn any room into an indoor jungle. But that sinking feeling when you notice those gorgeous leaves looking a little dull, dusty, or covered in tiny webs? We have all been there.
If your Elephant Ear is currently battling a spider mite infestation, please take a deep breath and do not feel guilty. Spider mites are incredibly common, and even the most experienced plant parents deal with them. The good news is that with a little patience and the right care, your plant can make a full recovery. If you’re ever unsure whether those strange spots on your plant are pests or a watering issue, you can always use the AI-powered plant disease scanner in the Plantiary app to get a fast, accurate diagnosis!
Let’s break down exactly what is happening to your Elephant Ear and how to safely banish these tiny pests for good.
The Problem: Spotting Spider Mite Symptoms
Spider mites are arachnids, not insects, and they are incredibly tiny—often looking like moving specks of dust. Because they are so small, you will usually notice the damage they leave behind before you see the mites themselves.
Keep an eye out for these telltale symptoms:
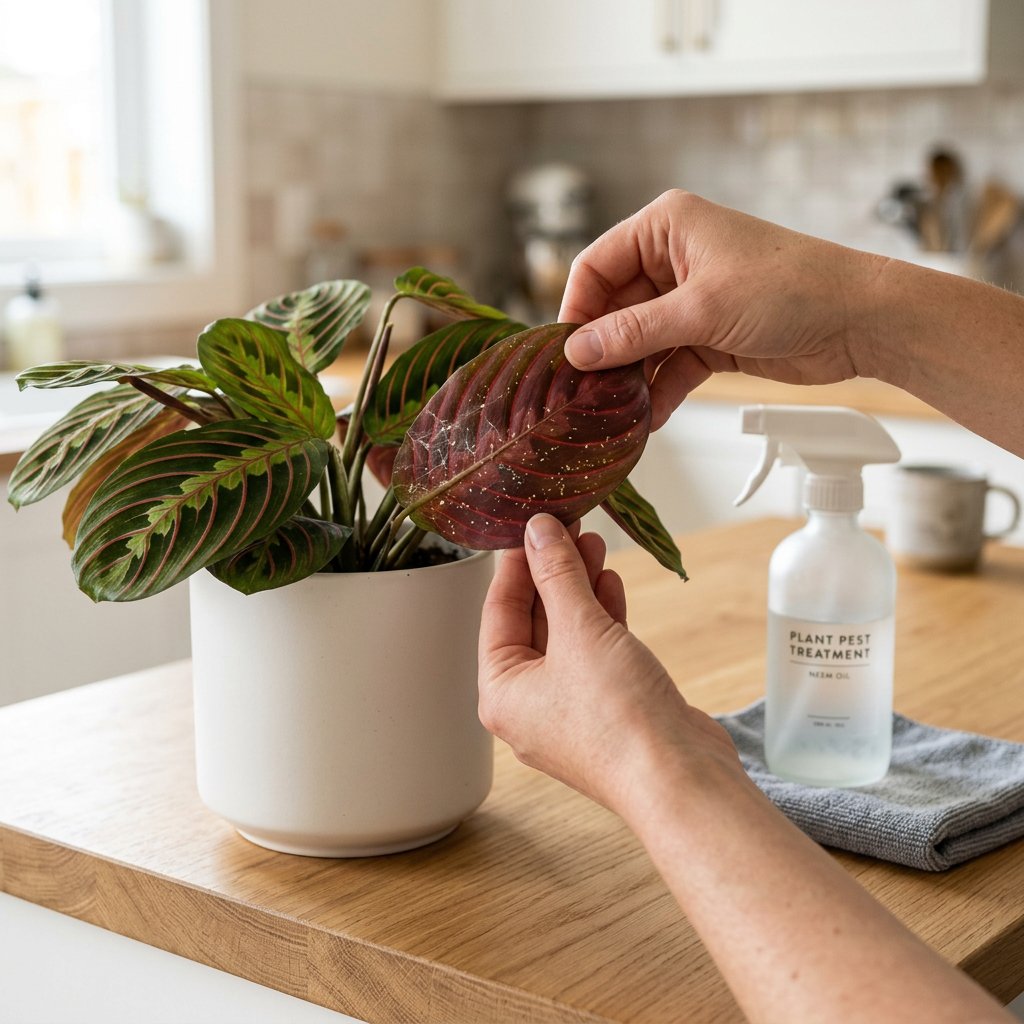
- Stippling: This is the most common sign of spider mites. Stippling refers to tiny, pin-prick yellow or white spots across the surface of the leaf. This happens because the mites are actively piercing the plant tissue and sucking out the sap.
- Fine Webbing: You may notice delicate, silky webs stretched across the undersides of the leaves or where the stem meets the leaf.
- Dull or Fading Foliage: As the mites drain the plant's fluids, the normally glossy, vibrant leaves of your Elephant Ear will start to look matte, faded, or slightly gray.
- Crispy Edges: In severe cases, the edges of the leaves may begin to crisp up and die off.
The Causes: Why Did Spider Mites Attack?
Understanding why spider mites moved in can help you prevent them from coming back.
- Low Humidity: Spider mites absolutely despise moisture, but they thrive in hot, dry environments. Because Elephant Ears are tropical plants that love high humidity, a dry room creates a stressful environment for the plant and a perfect breeding ground for mites.
- Indoor Heating: During the winter, indoor heaters drastically drop the moisture levels in the air, triggering sudden spider mite outbreaks.
- Hitching a Ride: These microscopic pests can blow in through an open window, travel on your clothes after a walk outside, or sneak into your home on the leaves of a brand-new nursery plant.
The Solutions: Step-by-Step Treatment
Forget the strange household hacks like rubbing mayonnaise or dish soap on your delicate leaves—these can clog the plant's pores and cause more harm than good. Instead, follow this scientifically proven, safe treatment plan to save your Elephant Ear.
Step 1: Isolate Your Plant As soon as you spot webs or stippling, move your Elephant Ear away from your other houseplants. Spider mites can easily spread from leaf to leaf, so quarantining the affected plant is critical to protecting your indoor jungle.
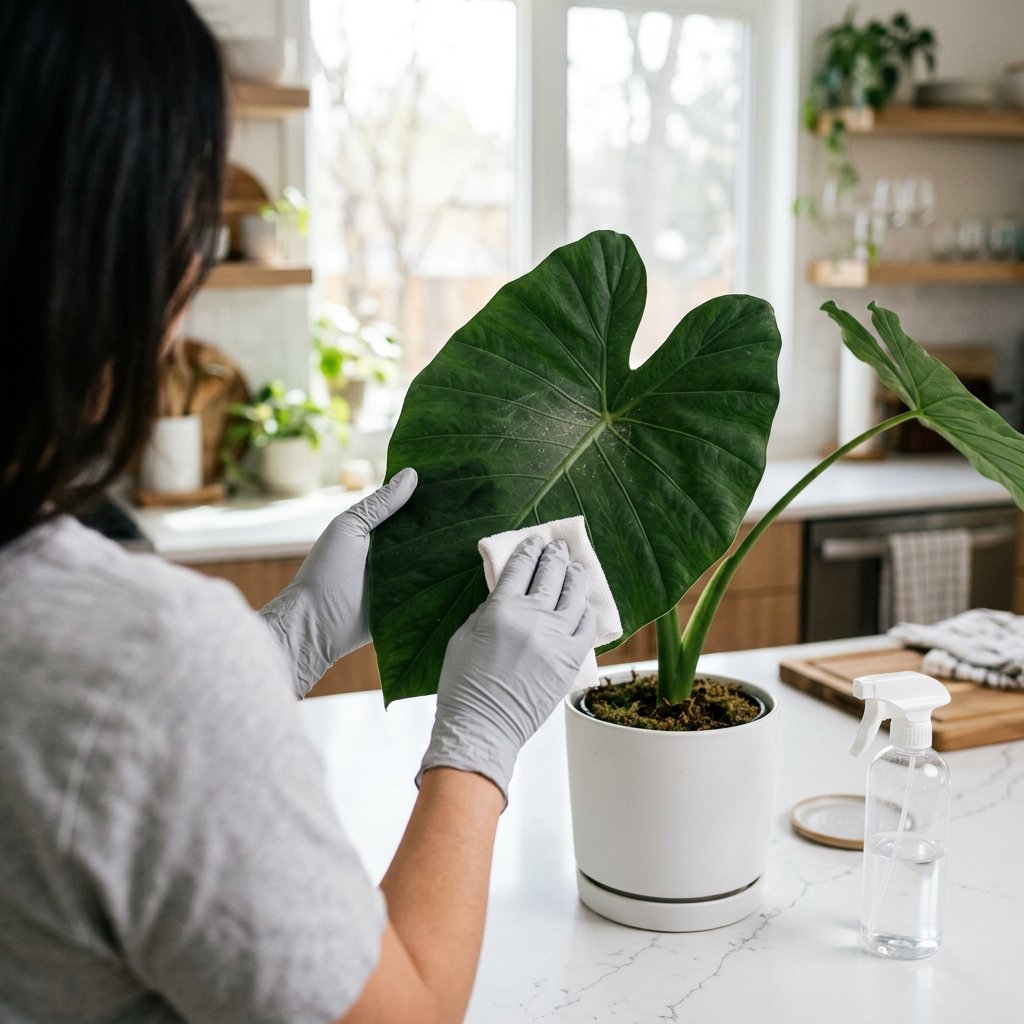
Step 2: Give Your Plant a Shower Spider mites have very weak grips. Take your Elephant Ear to the bathroom or outdoors and gently hose down the foliage with lukewarm water. Pay special attention to the undersides of the leaves, where mites love to hide. This physical removal instantly knocks down the pest population.
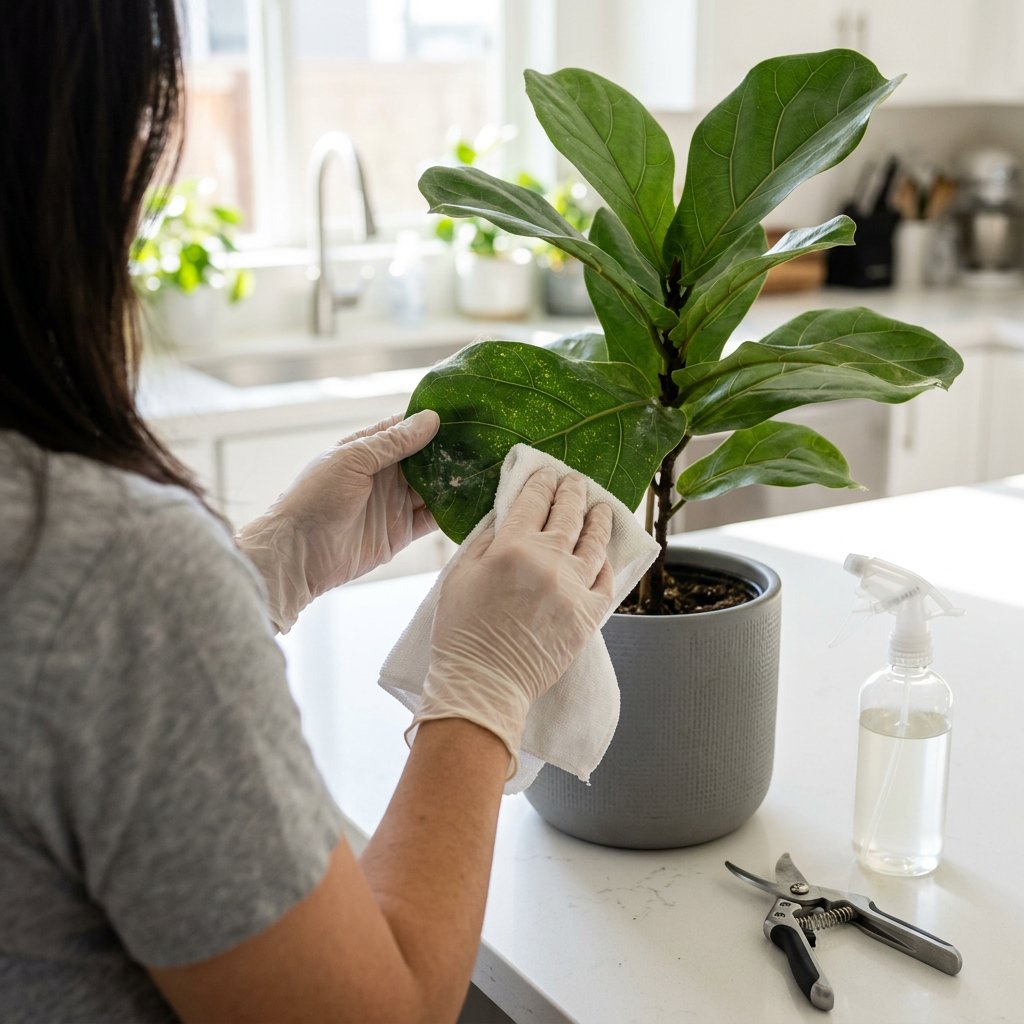
Step 3: Treat with Insecticidal Soap or Neem Oil Once the leaves are dry, thoroughly spray the plant with a high-quality horticultural oil, like Neem oil, or an insecticidal soap.
- How it works: These treatments work by suffocating the mites and disrupting their life cycle without using harsh, synthetic chemicals.
- Application: Spray the tops and bottoms of every leaf, as well as the stems. Repeat this process every 5 to 7 days for about three weeks to ensure you catch any newly hatched eggs.
Step 4: Boost the Ambient Humidity Since spider mites hate moisture, raising the humidity around your Elephant Ear is an excellent preventative measure. Use a humidifier near your plant or place the pot on a pebble tray filled with water.
You’ve Got This!
Treating pests takes a little bit of consistency, but your Elephant Ear is resilient. Don't be discouraged if you have to trim away a heavily damaged leaf; pruning actually helps the plant redirect its energy into pushing out healthy, new growth.
To stay on top of your plant’s environment, you can use the Plantiary app to set up custom care schedules, ensuring your Elephant Ear gets the perfect amount of water and humidity all year round. Happy healing, and keep growing!