There’s nothing quite as rewarding as seeing a beautiful orchid push out a brand-new spike of blooms. But if you’ve recently peeked into your orchid’s pot and noticed the roots turning a mushy, dark brown, you might be feeling a little panic. Take a deep breath! Orchid root issues are incredibly common, even for seasoned plant parents. These elegant plants have unique root systems, and a little discoloration doesn't mean you're a bad plant caregiver. If you’re ever unsure about what’s happening with your leafy friends, you can always use the AI-powered plant disease scanner in the Plantiary app to get an instant diagnosis. Today, let’s explore exactly why your orchid roots are turning brown and how we can bring them back to health.
The Problem: Identifying Unhealthy Orchid Roots
Most popular houseplants grow in regular potting soil, but the orchids we keep in our homes (like the popular Phalaenopsis or Moth Orchid) are typically epiphytes. This means that in their natural tropical habitats, they grow clinging to tree bark rather than buried in the dirt. Because of this, their roots act a little differently than your average houseplant.
- Healthy roots are plump, firm to the touch, and usually look silvery-gray when dry or bright green when freshly watered.
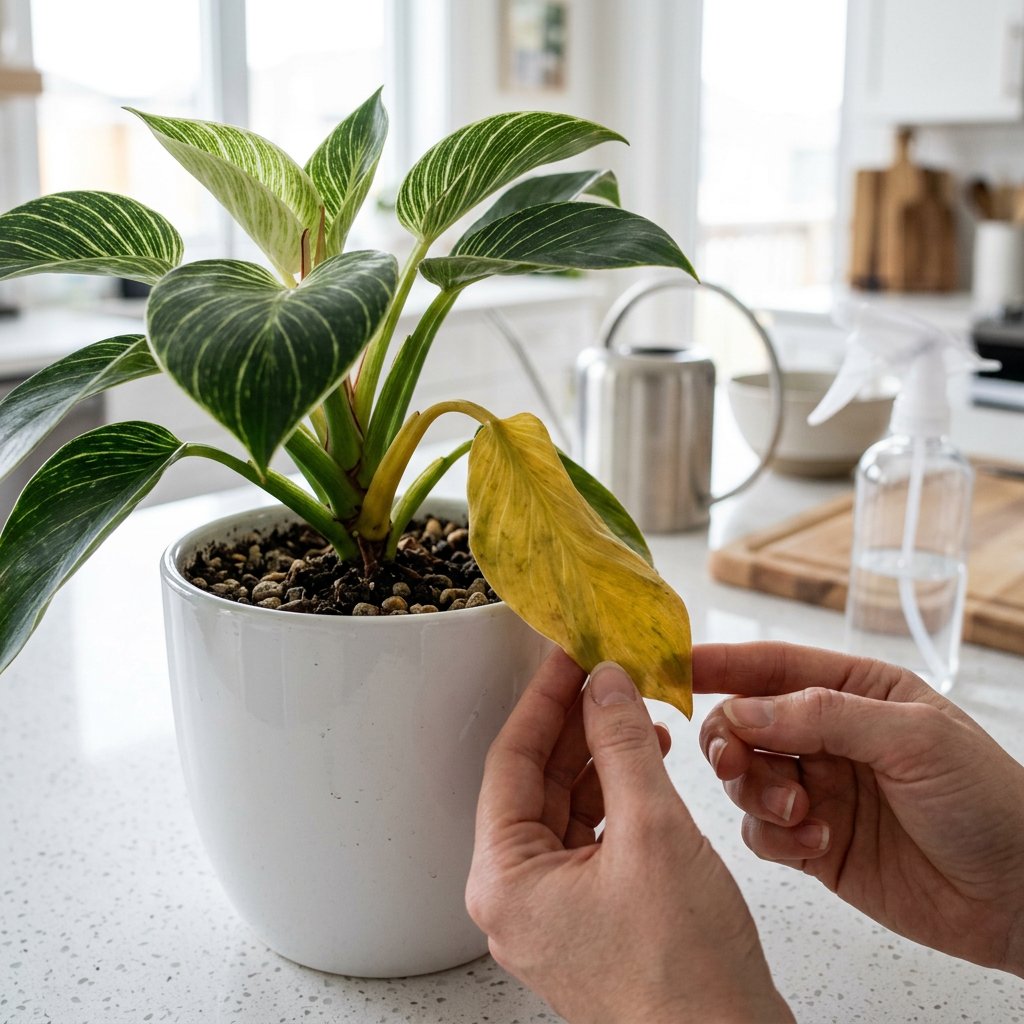
- Unhealthy brown roots are a clear sign of distress. Depending on the issue, they might look shriveled, feel mushy or papery, and sometimes emit an earthy or sour odor.
The Causes: Why Are the Roots Turning Brown?
There are a few different reasons your orchid's roots might be losing their healthy glow. Let's look at the most common culprits:
- Overwatering and Root Rot: This is the number one cause of brown, mushy roots. When orchids sit in soggy, broken-down potting media, the roots suffocate. This lack of oxygen leads to root rot—a fungal or bacterial condition that literally turns the roots to mush.
- Underwatering: If the roots are brown but feel dry, brittle, or hollow like empty paper straws, your plant is simply dehydrated. Severe lack of water causes the root tissue to die off.
- Fertilizer Burn: Feeding your orchid too much or using a fertilizer that isn't properly diluted can cause mineral salts to build up in the potting mix. These salts can chemically burn the sensitive roots, turning the tips black or brown.
- Natural Aging: Sometimes, it’s just the circle of life! Older roots at the very center of the root ball will eventually die back naturally as the orchid focuses its energy on pushing out new, fresh roots near the top of the plant.
The Solutions: Step-by-Step Orchid Resuscitation
If your orchid is suffering from brown roots, don't worry—orchids are incredibly resilient survivors! Follow these step-by-step instructions to properly treat your plant.
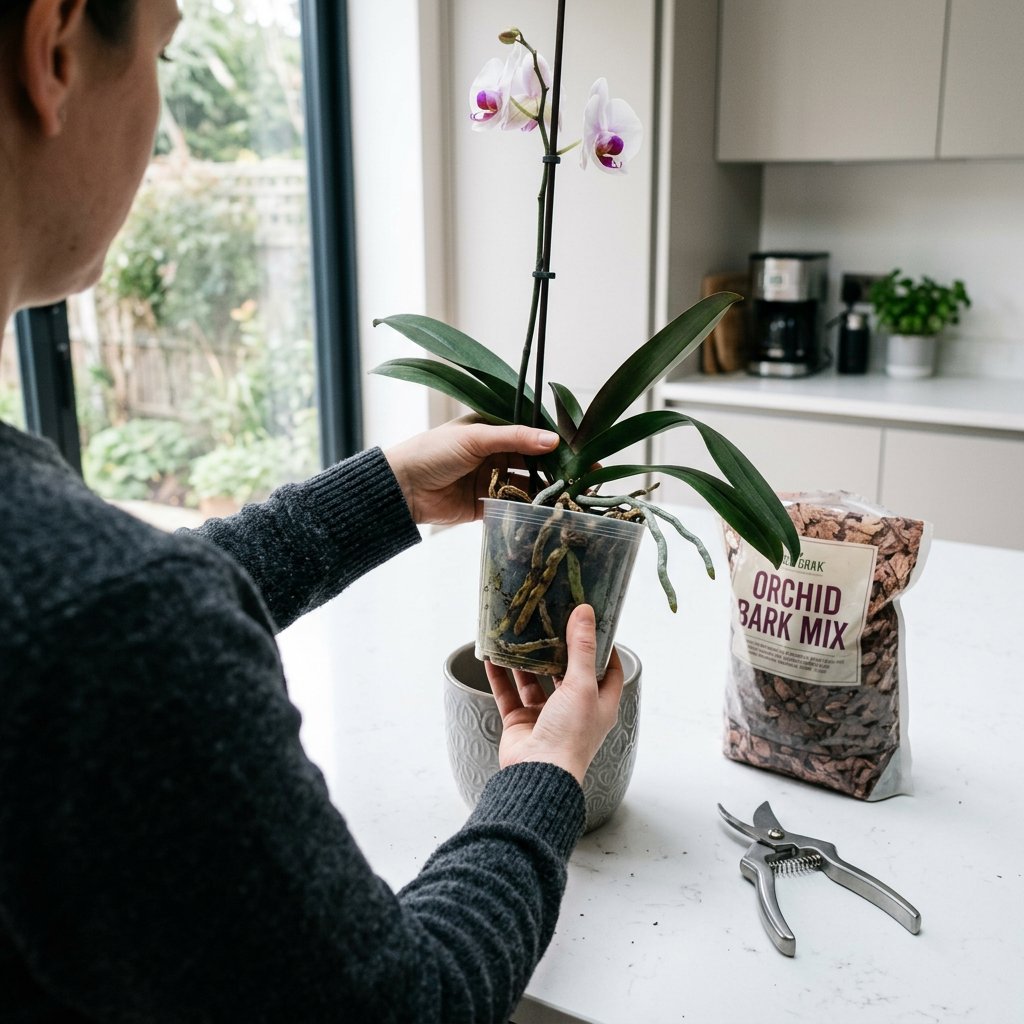
Step 1: Unpot and Inspect Gently remove your orchid from its pot and massage the root ball to loosen and remove the old bark or moss. Rinse the entire root system under lukewarm, gentle running water. This washes away debris and helps you clearly see which roots are healthy (firm and green) and which are truly dead (mushy, smelly, or hollow).
Step 2: Trim the Dead Roots Take a pair of sharp pruning shears or scissors. Important: Wipe the blades with rubbing alcohol first to sterilize them! Carefully snip away any roots that are brown, squishy, or papery. Be precise and try not to cut into the firm, healthy tissue. Removing this dead material is crucial to stop the spread of rot.
Step 3: Treat and Repot If you had to remove a lot of mushy roots due to root rot, you can lightly spray the remaining healthy roots with standard 3% household hydrogen peroxide. This safely bubbles away lingering fungal spores. Finally, repot your orchid in a fresh, well-draining orchid mix (usually a blend of coarse pine bark, perlite, and a little sphagnum moss). Never use regular potting soil for an epiphytic orchid!
Step 4: Adjust Your Watering Routine Moving forward, change how you assess your plant's thirst. Only water your orchid when the potting medium is completely dry and the visible roots look silvery-gray. If the roots are still bright green, put the watering can down and wait a few more days!
Keep Growing with Confidence
Seeing brown roots on your orchid can be intimidating, but it’s simply your plant's way of communicating its needs. By stepping in, trimming away the damage, and providing fresh potting media, you are well on your way to seeing gorgeous blooms again. Remember, every plant parent makes mistakes—it's exactly how we learn and grow alongside our indoor jungles!
To make plant care even easier and avoid future root rot, use the Plantiary app to set up customized watering and fertilizing schedules. This ensures your orchids get exactly what they need, right when they need it. Happy growing!