Seeing a yellow leaf on your beloved Philodendron Birkin can make your heart skip a beat. You brought this stunning, pinstriped beauty home to enjoy its striking green and white foliage, so it is completely natural to feel a bit panicked when those vibrant leaves start taking on a sickly yellow hue.
First, take a deep breath! Plant parenting is a journey filled with trial and error, and dealing with a few unhappy leaves happens to absolutely everyone—even the experts. The good news is that plants are incredibly resilient and excellent communicators. By learning to decode what your Birkin is trying to tell you, you can get it back on the path to vibrant health in no time.
The Problem: Normal Variegation vs. Chlorosis
Before we dive into troubleshooting, we need to look closely at the symptoms. The Philodendron Birkin is famous for its unique variegation—new leaves often emerge almost entirely creamy-white and gradually develop dark green pinstripes as they mature. This is perfectly healthy!
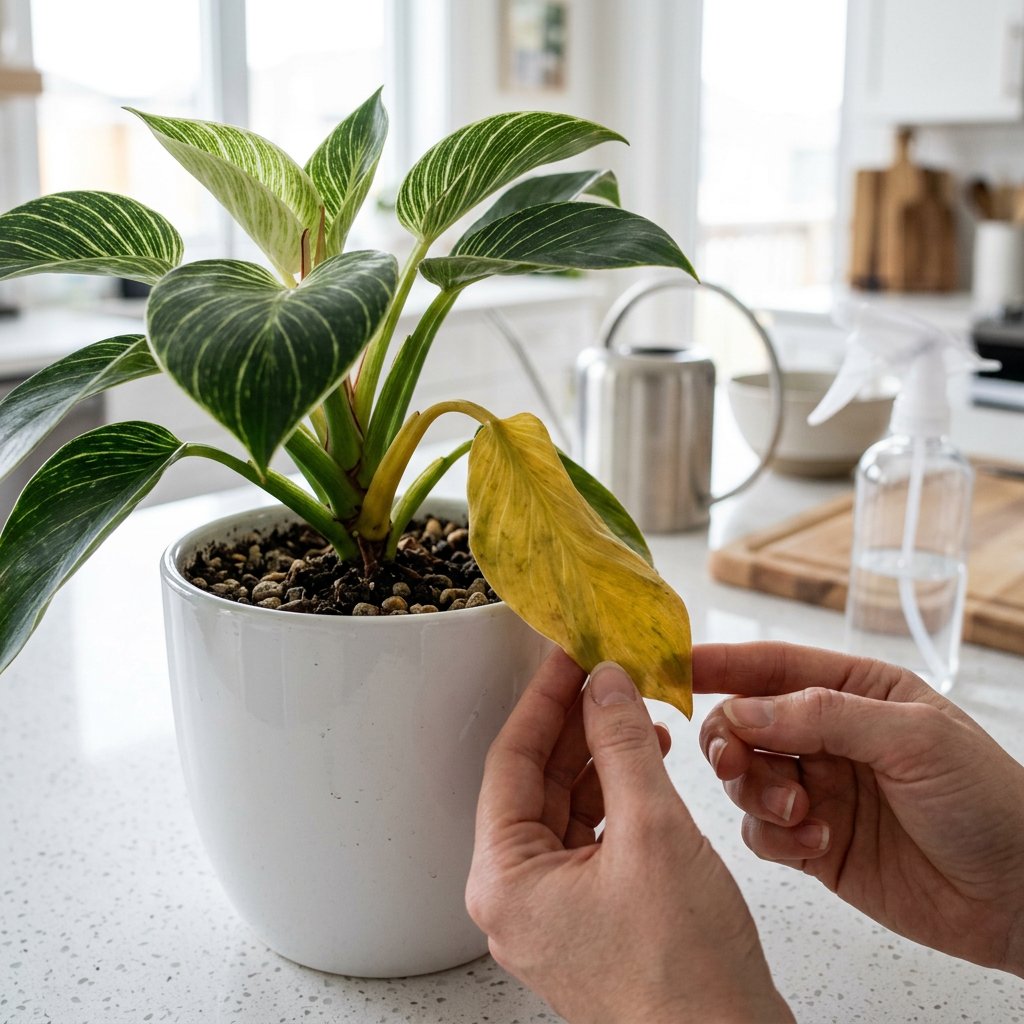
However, if mature, previously green leaves are turning an all-over, mushy, or pale yellow, your plant is likely experiencing chlorosis. Chlorosis is a botanical term for when a plant's leaves lose their chlorophyll (the pigment that makes them green), usually due to environmental stress, watering issues, or nutrient problems.
The Causes: Why Your Birkin is Turning Yellow
If you have ruled out the natural aging process—where an occasional old leaf near the very bottom of the plant yellows and falls off—one of these common culprits is likely to blame:
- Overwatering and Soggy Soil: This is the number one cause of yellowing leaves in houseplants. Philodendrons are tropical epiphytes (plants that naturally grow on other plants or trees), meaning their roots require plenty of air circulation. If they are sitting in heavy, wet soil, the roots literally suffocate and cannot absorb water or nutrients.
- Improper Lighting: Your Birkin needs bright, indirect light to maintain its striking stripes. If placed in a dark corner, the soil takes too long to dry out, leading to root suffocation. Conversely, too much harsh, direct sunlight can scorch the leaves, causing them to bleach and turn a crispy yellow.
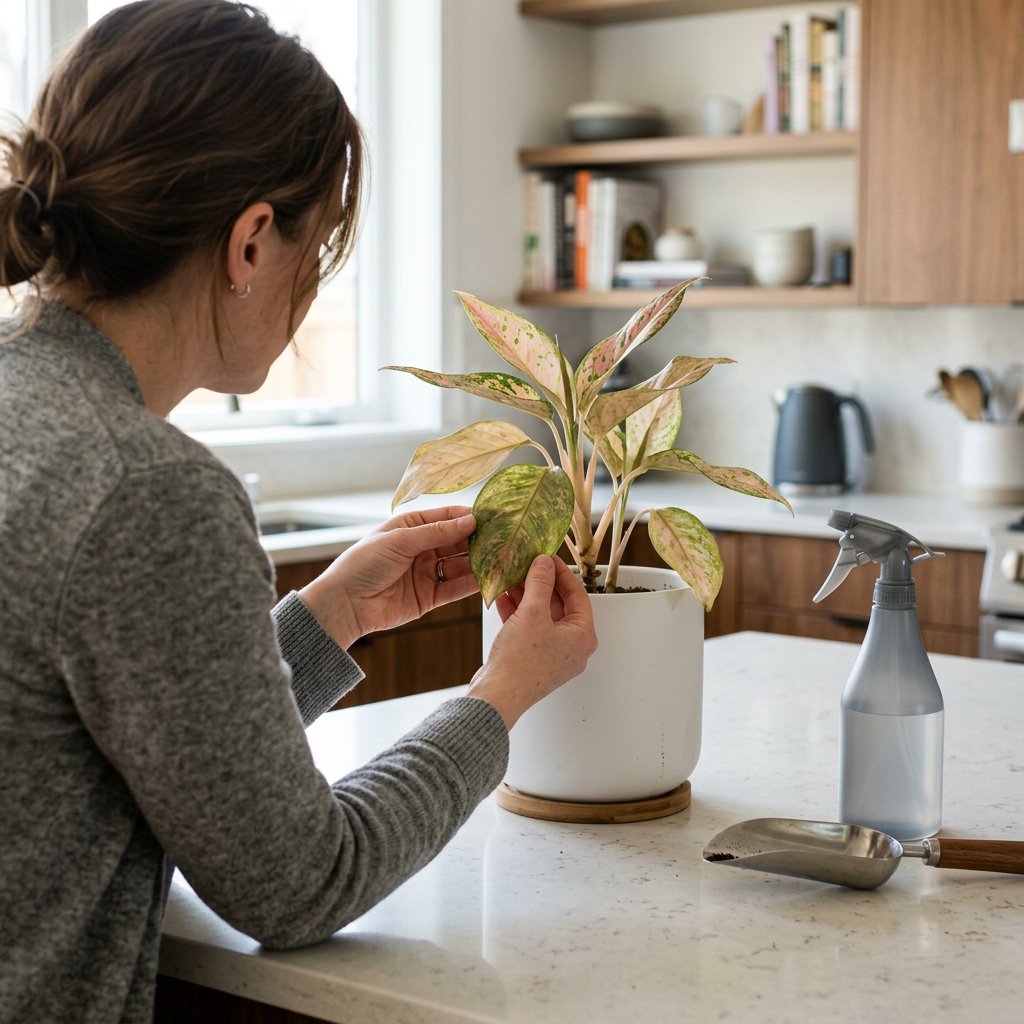
- Pest Infestations: Unwanted visitors like spider mites, thrips, or mealybugs love to pierce the plant tissue and suck out the sap. This damage often presents as speckled, patchy yellowing across the foliage.
- Nutrient Deficiencies: A lack of essential minerals, particularly nitrogen or magnesium, can cause older leaves to fade to yellow as the plant desperately funnels its remaining nutrients to support new growth.
The Solutions: Step-by-Step Recovery Plan
Don't let a yellowing leaf discourage you. Follow this simple, step-by-step treatment plan to revive your Philodendron Birkin:
Step 1: Assess the Soil Moisture Stick your finger about two inches deep into the potting mix. If it feels wet, soggy, or smells like swampy earth, you are dealing with overwatering. Pause your watering routine immediately and let the top half of the soil dry out completely before you water again.
Step 2: Inspect for Root Rot If the soil has been wet for a long time and multiple leaves are yellowing, gently slide the plant out of its pot. Healthy roots should be firm and pale. If you see dark, mushy, or foul-smelling roots, your plant has root rot. Using sterilized scissors, carefully snip away the decaying roots and repot your Birkin in a fresh, chunky, well-draining soil mix (adding perlite or orchid bark works wonders).
Step 3: Optimize the Lighting Evaluate where your plant is living. Move your Birkin to a spot where it receives bright, indirect sunlight—like a few feet away from an East or West-facing window. This will encourage healthy variegation and help the soil dry out at an appropriate rate.
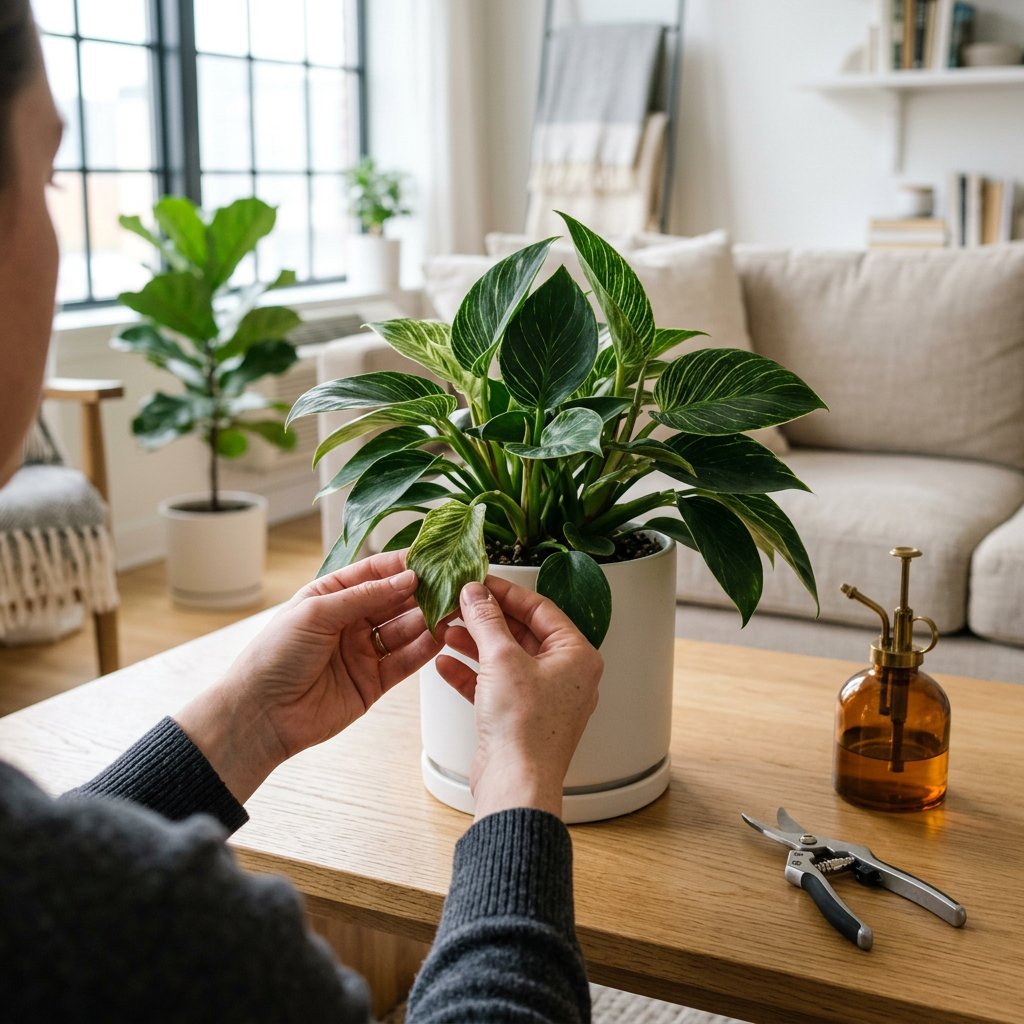
Step 4: Do a Thorough Pest Check Examine the undersides of the yellowing leaves and the stems. If you spot tiny webbing, white cotton-like fuzz, or minuscule crawling bugs, isolate your plant from your other green friends. Wipe the leaves down with a damp cloth and treat the plant with a gentle, scientifically proven horticultural soap or neem oil spray.
Step 5: Utilize Smart Tech for Ongoing Care If you are unsure exactly what is wrong with your plant, you don't have to guess! You can use the AI-powered plant disease scanner in the Plantiary app to get an accurate diagnosis in seconds. Just snap a photo of the yellowing leaf, and the app will guide you on the best treatment. Furthermore, setting up a personalized watering schedule in Plantiary will ensure you never overwater or underwater your Birkin again.
Remember, a yellow leaf will not turn green again, so feel free to prune it off close to the stem so your plant can redirect its energy into pushing out beautiful, healthy new growth. You've got this!