Have you ever walked over to your beautiful orchid, only to find that its once-vibrant green leaves are starting to turn a concerning shade of yellow? First of all, take a deep breath. It is completely normal to feel a little panicked, but please know that yellowing leaves happen to almost every plant parent at some point. Orchids are incredibly expressive plants, and this color change is simply their way of communicating that something in their environment needs a slight adjustment.
Whether you are a seasoned grower or a first-time orchid owner, diagnosing the issue is half the battle. If you are ever unsure what is wrong with your plant, you can use the AI-powered plant disease scanner in the Plantiary app to get an instant diagnosis and put your mind at ease. Until then, let’s break down exactly why this happens and how to fix it.
The Problem: Decoding Yellow Orchid Leaves
In the botanical world, the yellowing of plant leaves is known as chlorosis. This simply means the leaf is losing chlorophyll, the green pigment essential for photosynthesis (how plants make their food). But not all yellowing is the same! To play plant detective, pay attention to exactly how and where your orchid is turning yellow:
- Bottom leaves only: Often a sign of natural life cycles.
- Soft, mushy yellow leaves: Usually points to moisture issues.
- Wrinkled, leathery yellow leaves: Generally indicates dehydration.
- Yellow spots or bleached patches: Typically related to lighting or sunburn.
The Causes Behind the Color Change
Let's explore why your orchid might be feeling a little under the weather.
- Overwatering and Root Rot: This is the absolute most common culprit. Orchids are epiphytes (plants that naturally grow on trees in the wild rather than in soil), meaning their roots need a massive amount of airflow. If they sit in water, the roots suffocate and rot, preventing the plant from absorbing the nutrients it needs to keep its leaves green.
- Underwatering: On the flip side, if the potting medium is bone dry and the leaves are yellowing while looking deeply wrinkled, your plant is likely incredibly thirsty.
- Too Much Direct Sunlight: Orchids love bright spaces, but harsh, direct sunlight will scorch their delicate foliage. This causes the leaves to bleach out and turn yellow or even white.
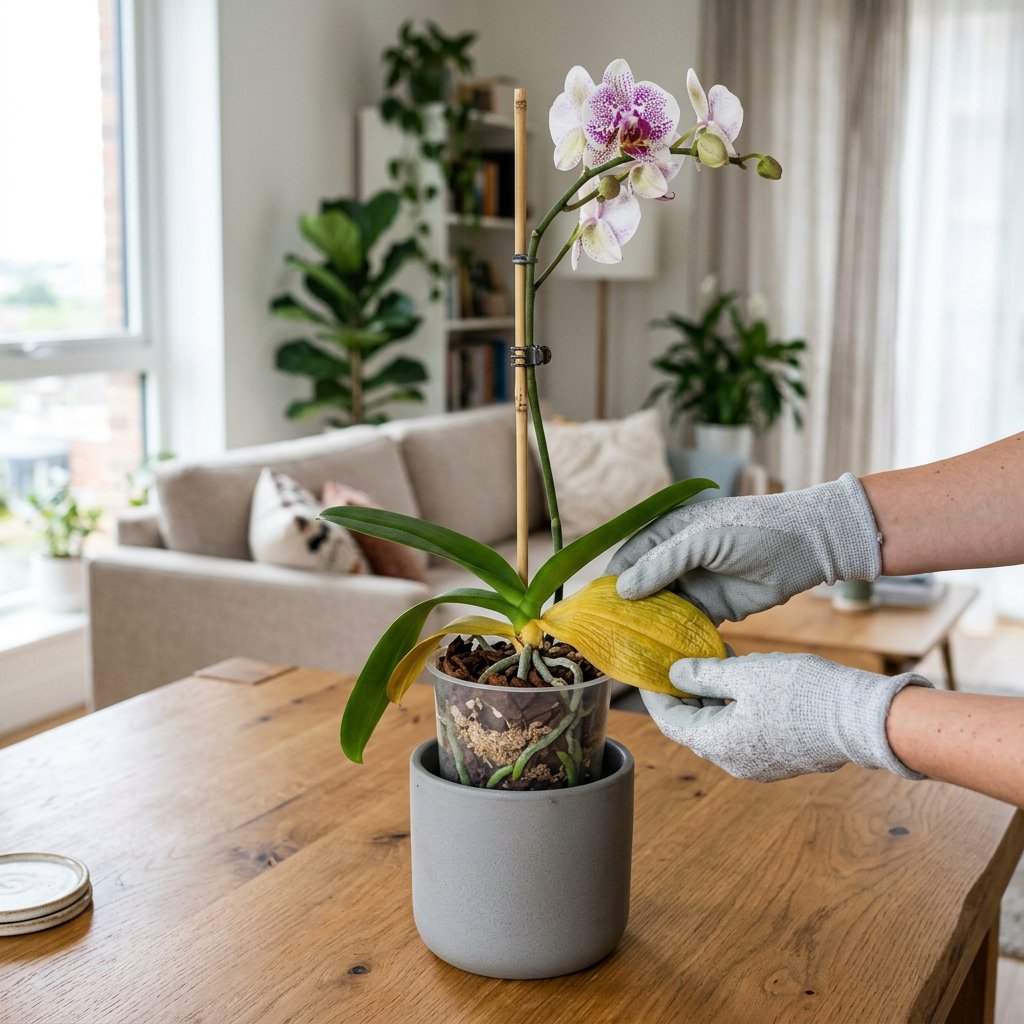
- Natural Aging (Senescence): If only the very lowest leaf on the stem is turning yellow and eventually shriveling up while the rest of the plant looks plump and healthy, congratulations! This is simply normal leaf shedding as the plant makes energy for new growth.
The Solutions: Step-by-Step Treatment
Don't worry—orchids are incredibly resilient and can bounce back with a little targeted TLC. Here is exactly what to do to get your plant back on track:
Step 1: Inspect the roots. Gently lift your orchid out of its decorative outer pot and look at the roots through the clear plastic nursery pot. Healthy orchid roots should be firm, plump, and silvery-green. If you see mushy, brown, or slimy roots, you are dealing with root rot. If they look like dry, hollow paper strings, your plant is dehydrated.
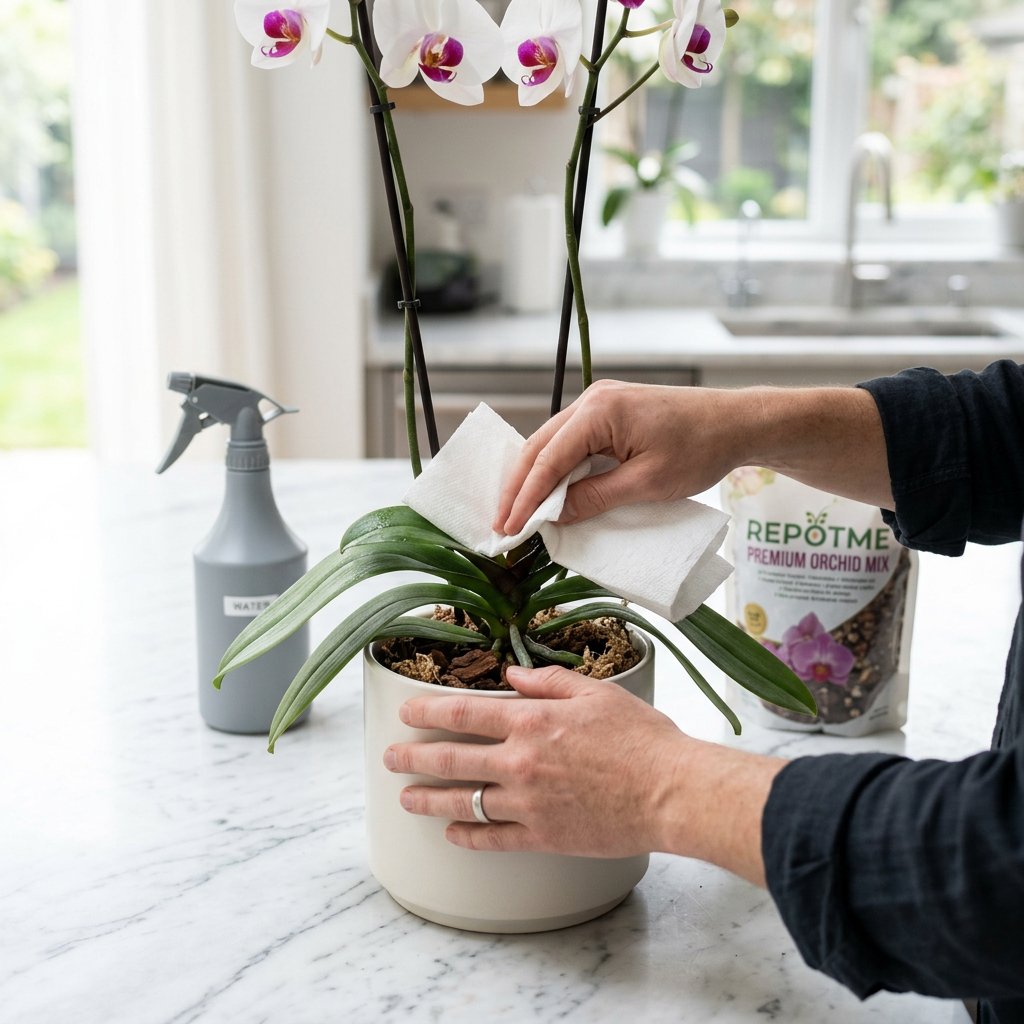
Step 2: Adjust your watering routine. If you suspect overwatering, hold off on giving the plant any moisture until the potting medium (usually bark or sphagnum moss) is nearly dry. If you found severe root rot in Step 1, repot the orchid in fresh, chunky orchid bark to restore airflow. If underwatered, give the plant a thorough soak, making sure to let all excess water drain completely out of the bottom before putting it back in its decorative pot.
Step 3: Relocate for better lighting. Move your orchid to a spot with bright, indirect light. An east-facing window is usually perfect because it provides gentle morning sun. If you only have a harsh south- or west-facing window, use a sheer curtain to filter the rays and prevent further sunburn.
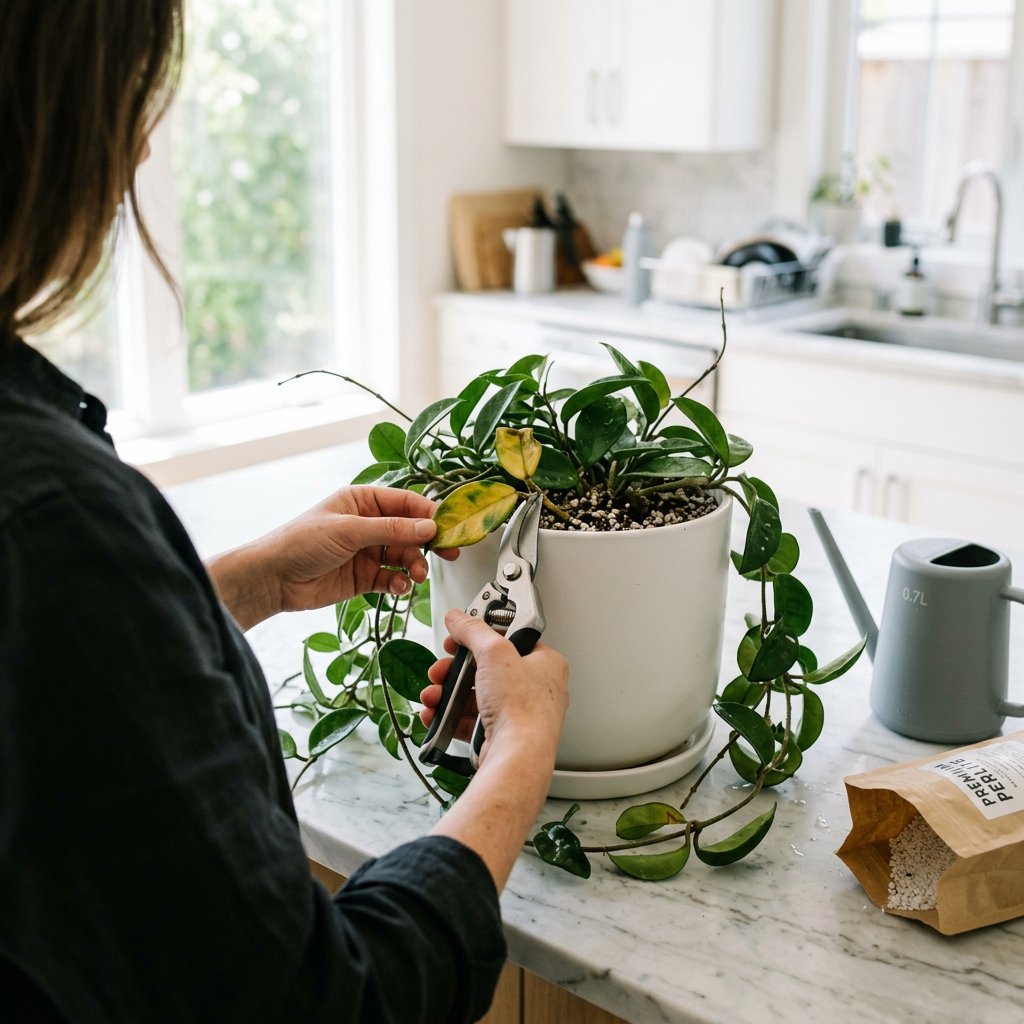
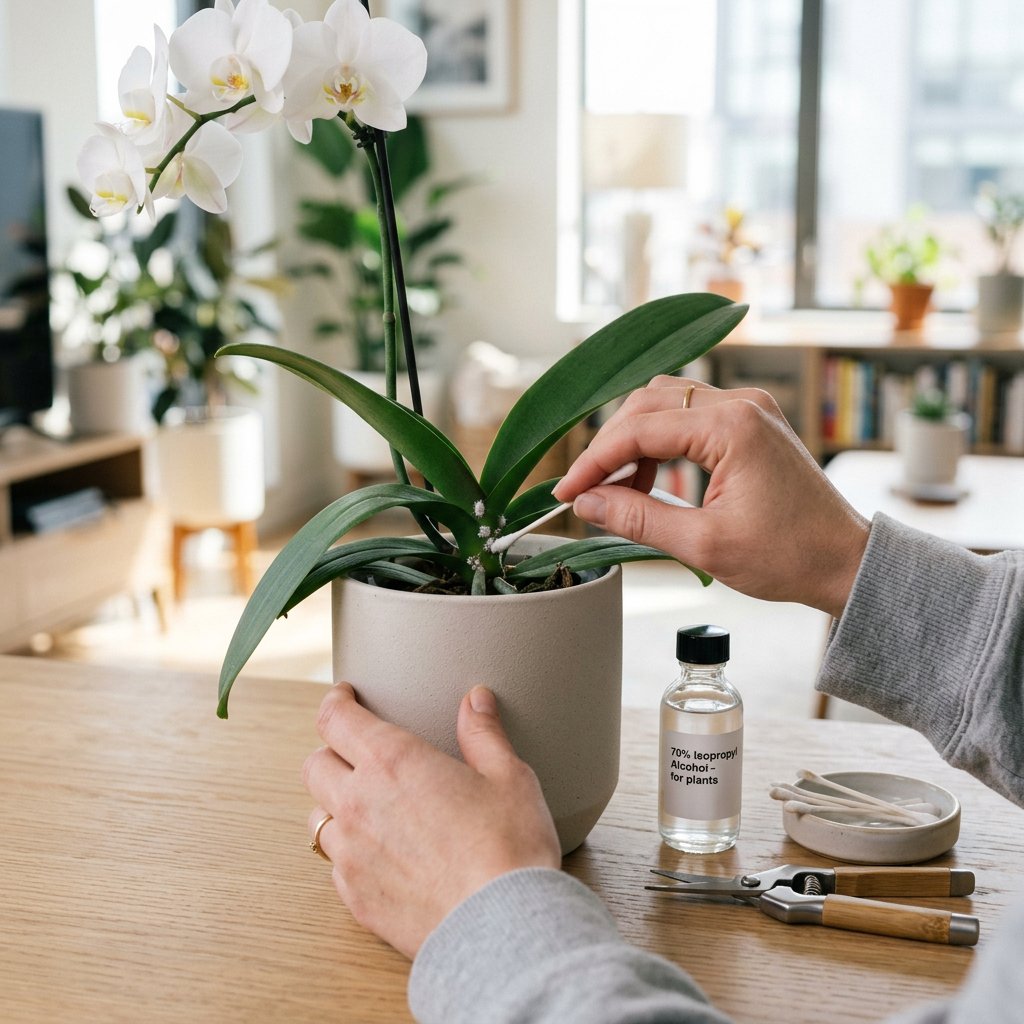
Step 4: Safely trim dead tissue. If a bottom leaf is completely yellow and starting to dry up naturally, simply leave it alone until it gently falls off with a light tug. However, if a leaf is mushy, weeping, or showing signs of fungal rot, it is best to remove it. Sterilize a pair of scissors with rubbing alcohol and carefully snip it off at the base to prevent the rot from spreading to the rest of the stem.
You've Got This!
Caring for orchids is a learning journey, and a few yellow leaves are nothing more than a small bump in the road. Please don't be hard on yourself; simply adjust your care routine and watch as your beautiful plant recovers. And remember, whenever you feel unsure about your plant's health or need a handy watering schedule to prevent future issues, open up the Plantiary app. We are always here to help your indoor jungle thrive!